Manage users, groups and roles
The users and groups management functionality allows administrators and superusers to manage user accounts, groups, and roles.
Each user can belong to one or more groups. A Group is a set of users that share access rights to a given folder/file. For example, as a member of the “Sales” group, a user can access files or folders that have been shared with this group.
Every user has one role. For example, a user can have an Analyst role, a Model Designer role, a Viewer role, or an Administrator role. The role of a user determines the features of Apromore that are accessible to the user. For example, an Analyst can create and edit dashboards and filters, whereas a Model Designer cannot. On the other hand, a model designer can edit process models, whereas a viewer cannot edit process models and can only view process models.
Note
Only users with “Manage users” permissions can manage users, groups, and roles.
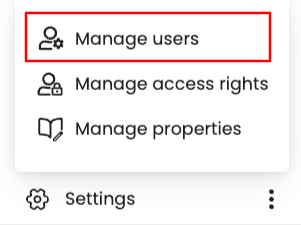
To manage users and groups, click Settings > Manage users.
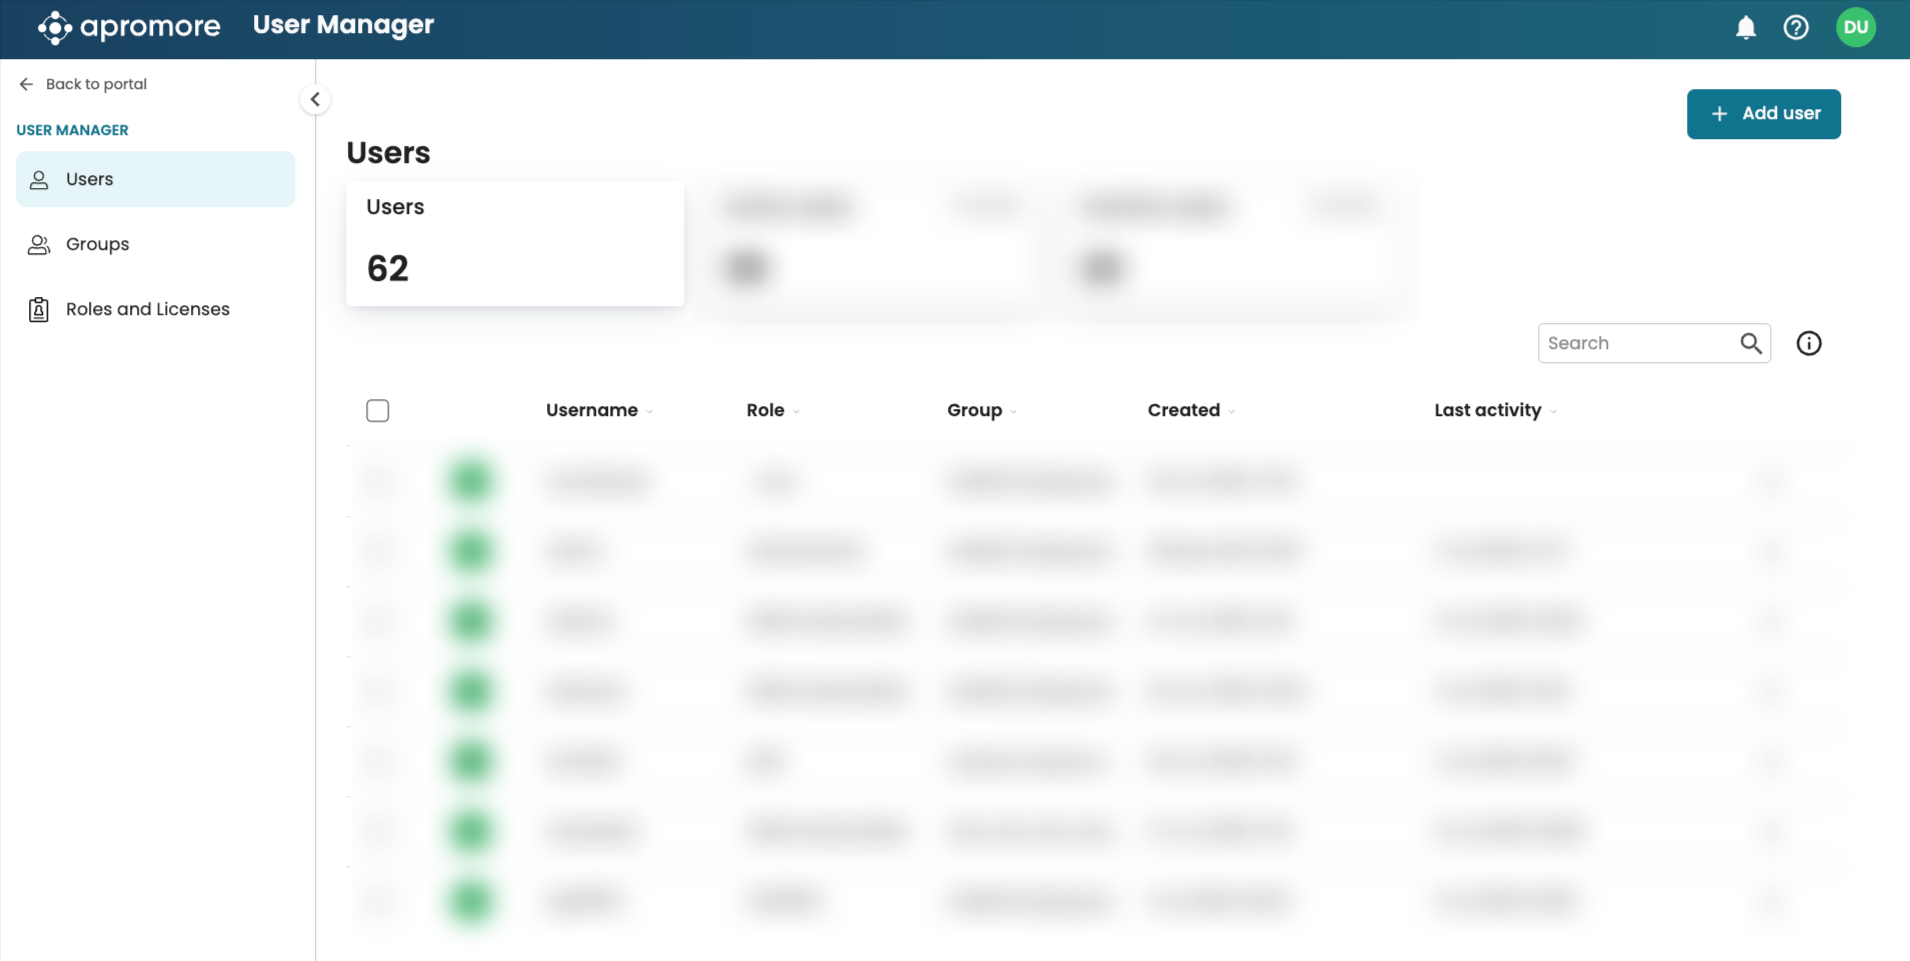
This displays the User Manager page showing the number and list of users.
Manage users
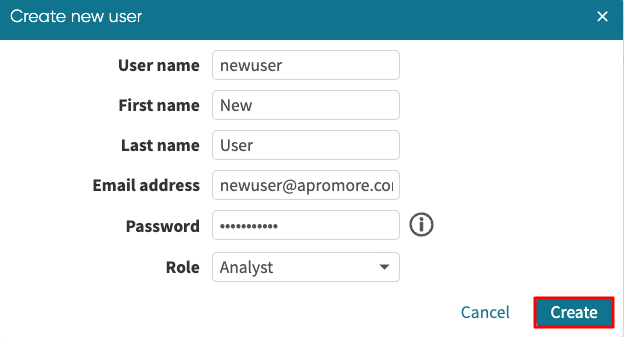
To add a user, click Add user.
Enter the username, first name, last name, email, and role.
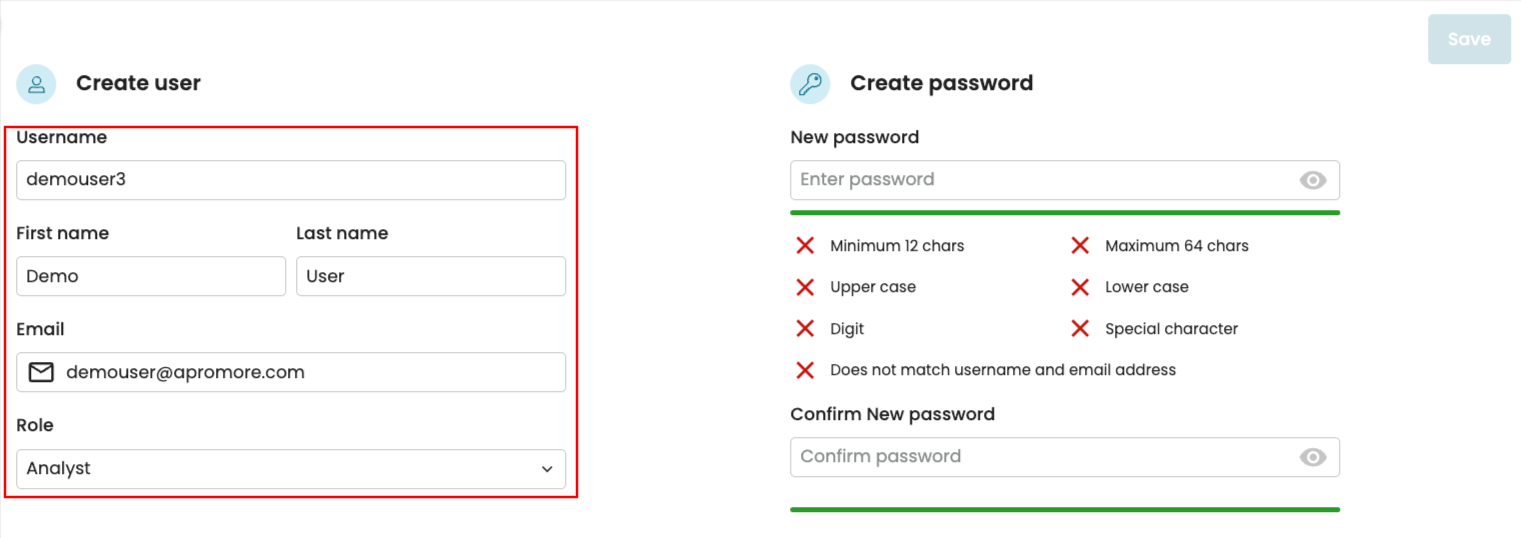
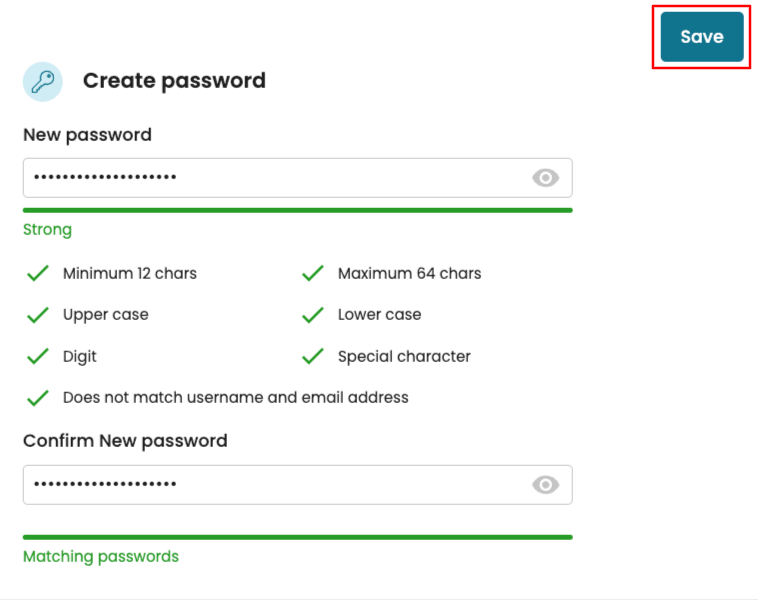
Finally, enter the password twice that the new user will use to log in.
Note
The password must be at least 12 characters long and include an uppercase letter, a lowercase letter, a digit, and a special character. It must also not match the username or email address.
Once done, click Save.
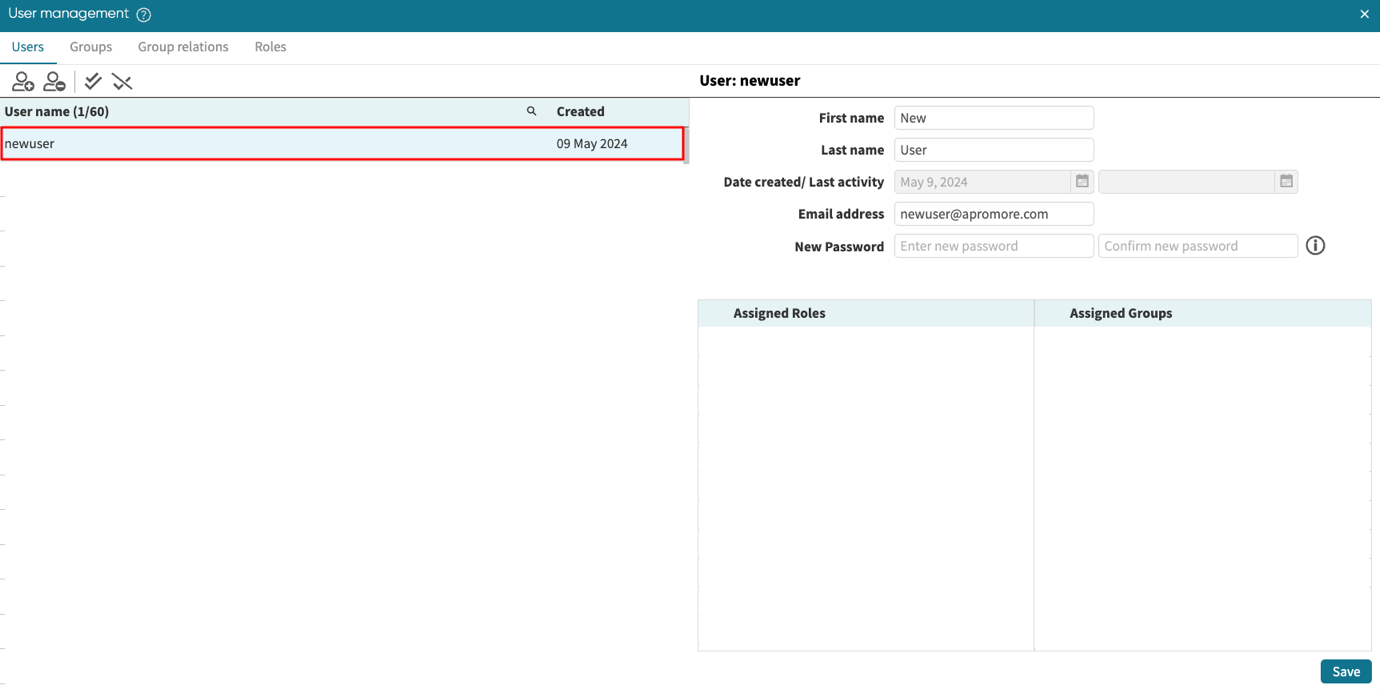
The user will be created.
In the Users window, we can select a user to see their details. Imagine we wish to see the details of demouser3. Search demouser3 and select the user.
Click the info icon to open the side panel displaying the user details.
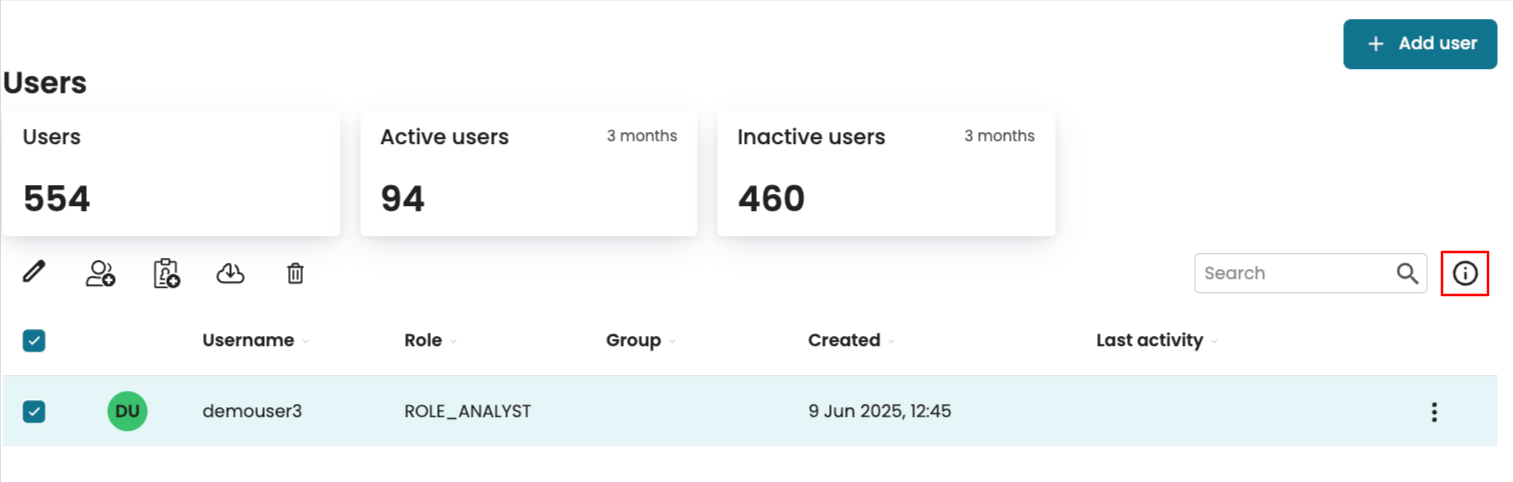
We see the user details, including the date they were created and the time of their last activity.

We can also see or assign the groups the user is currently part of.
Go to the Groups tab.

The user is currently not assigned to any group. Click Add to add the user to a group.
Edit a user detail
To edit a user’s details, select the user. In the menu bar, click the pen icon.
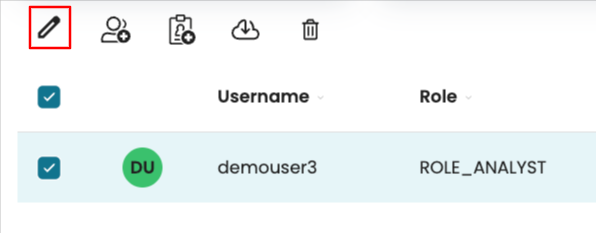
We can change the user’s first name, last name, email address, and role.

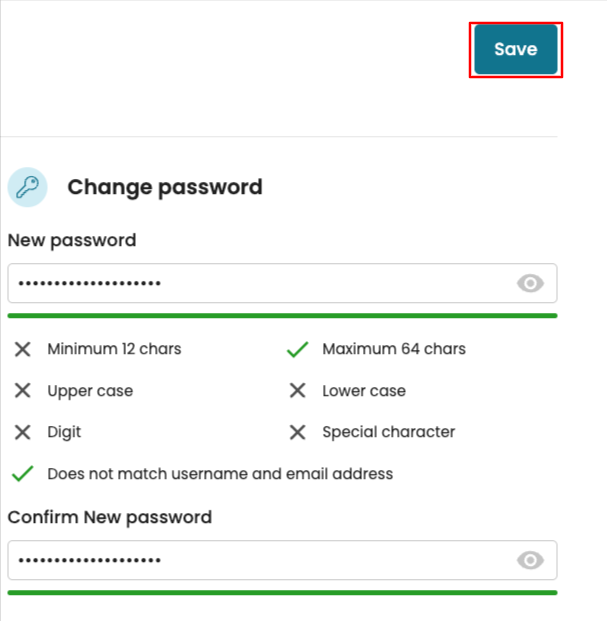
We can also change our passwords. Enter the new password twice. Once done, all the edits, click Save.
Note
We can also change our password from the user menu. To learn more, see User menu.
The tenancy admin can change passwords of users in their instance.
SSO users are non-editable
Assign users to groups
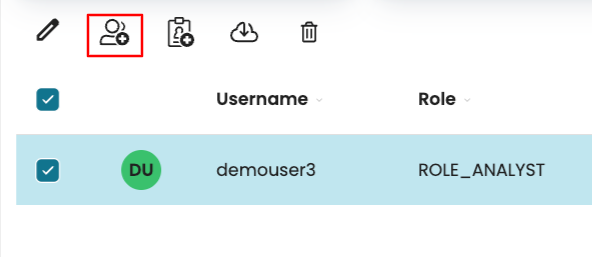
To add a user to a group, select the user. In the menu bar, click the Assign to group icon.
This opens the Assign to group window. Select the group to add and click Add.
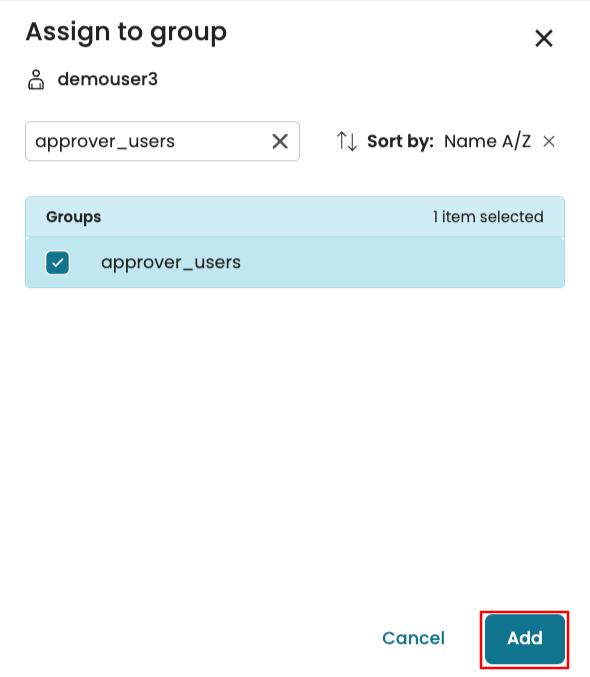
The user is now assigned to the group.
Note
We can assign multiple users to multiple groups with the “Assign to group” functionality. Simply select the users and click the “Assign to group” icon.
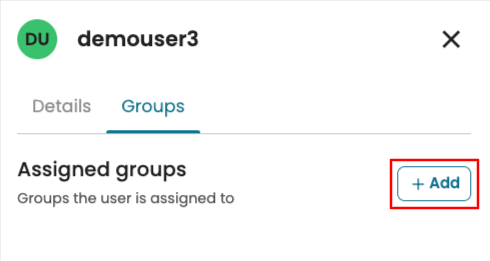
Alternatively, we can assign a user to a group with the side bar. Select the user and click the info icon to open the side panel.

Go to the Groups tab. Click Add to assign the user to a group.
Select the group(s) and click Add.
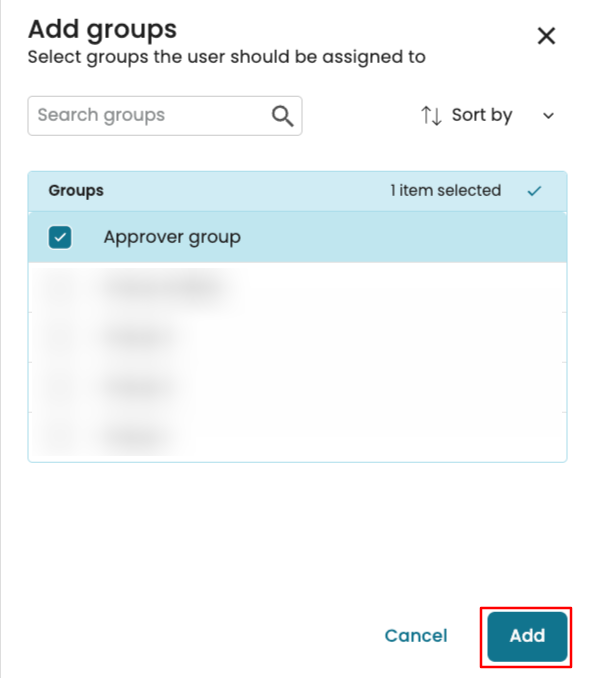
The user gets added to the selected group(s).
Assign a user to a role
Every user has a role. The role of a user determines the operations the user is permitted to do in Apromore. For example, a user with an Analyst role can create and edit dashboards, whereas a user with a Viewer role cannot. Similarly, a user with the role of Analyst or Model Designer can create and edit process models, but a user with a Viewer role cannot.
The following matrix shows the permissions that each role has.
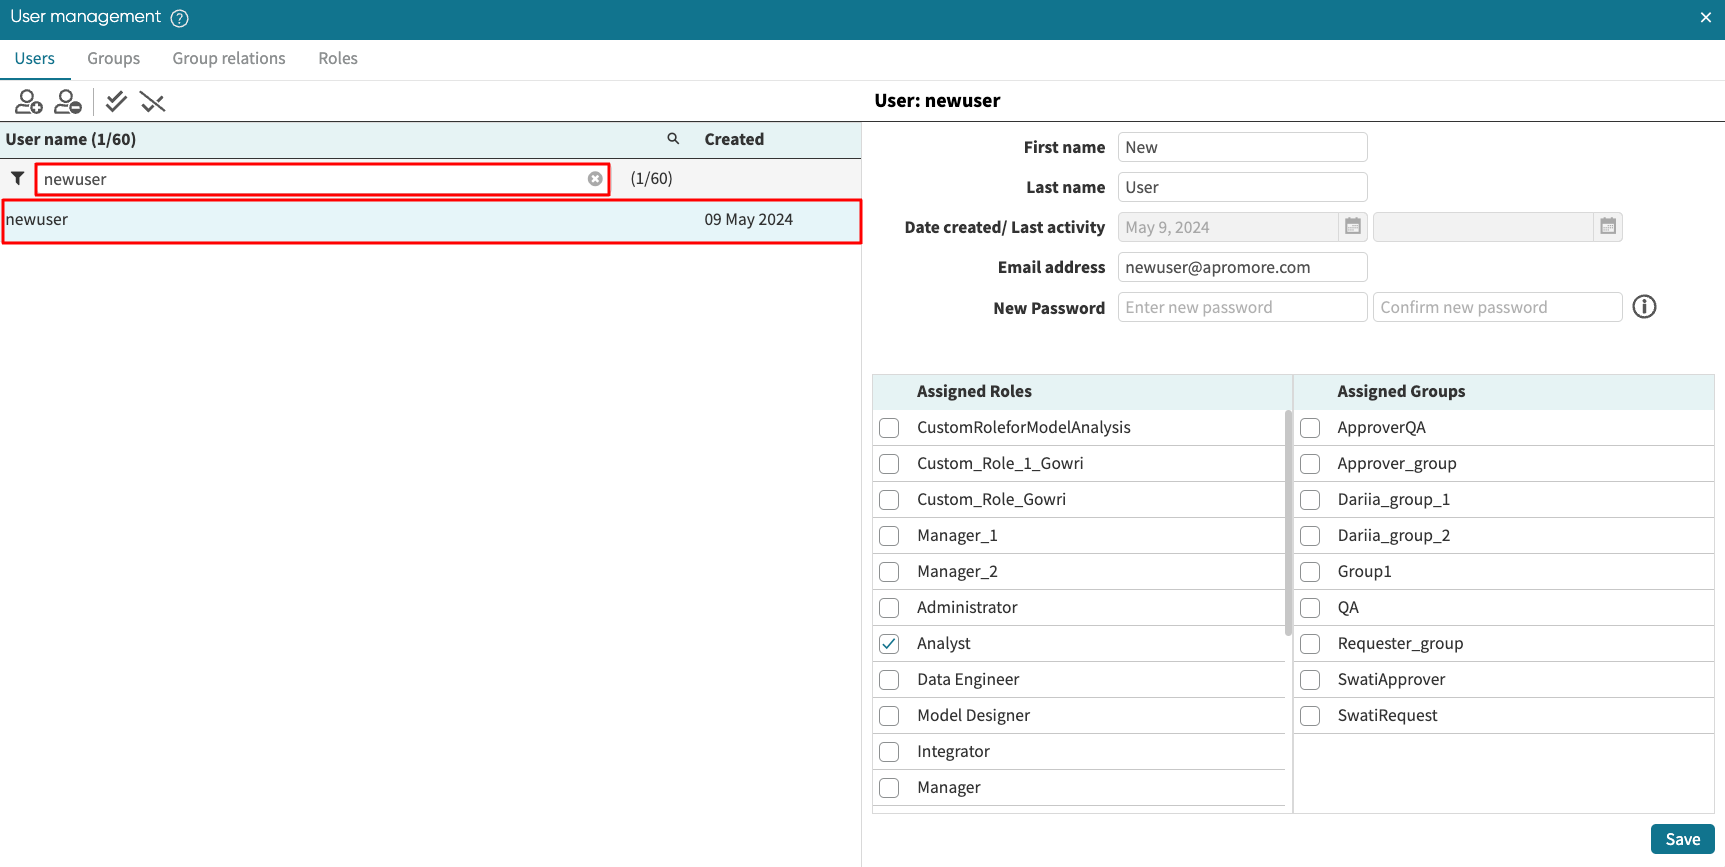
To add a user to a role, select the user. In the menu bar, click the Assign to role icon.
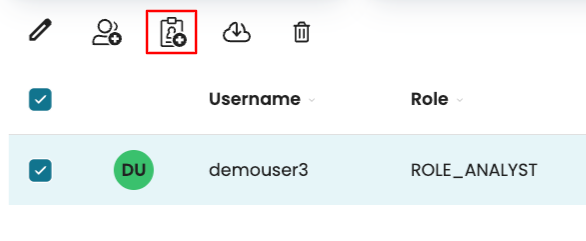
Select the new role of the user and click Add.

The user will now be added to the specified role.
Note
You can assign multiple users to a single role within the “Assign to role” functionality. Select the users and click the Assign to role icon.

Export user details
At any point, we can export users’ details as an XLSX file. This file will display information such as the user’s creation date, time of last activity, attached license, role, and assigned groups.
To export a users’ details, select the user(s) and click the Export user details icon in the menu bar.
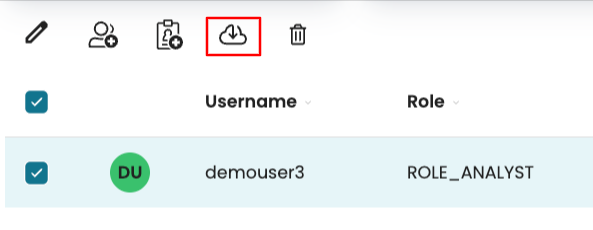
This downloads the details as an XLSX file.
Delete a user
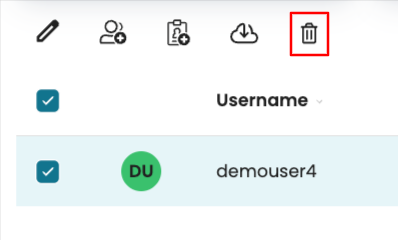
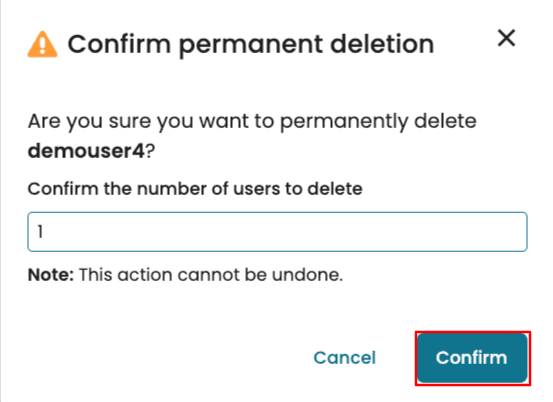
We can delete one or more users at the same time. To delete a user, select the user and click the delete icon.
To confirm the deletion, we are prompted to enter the number of users we intend to delete. This number must match the number of selected users. In our case, since we are deleting one user, enter 1 and click Confirm.
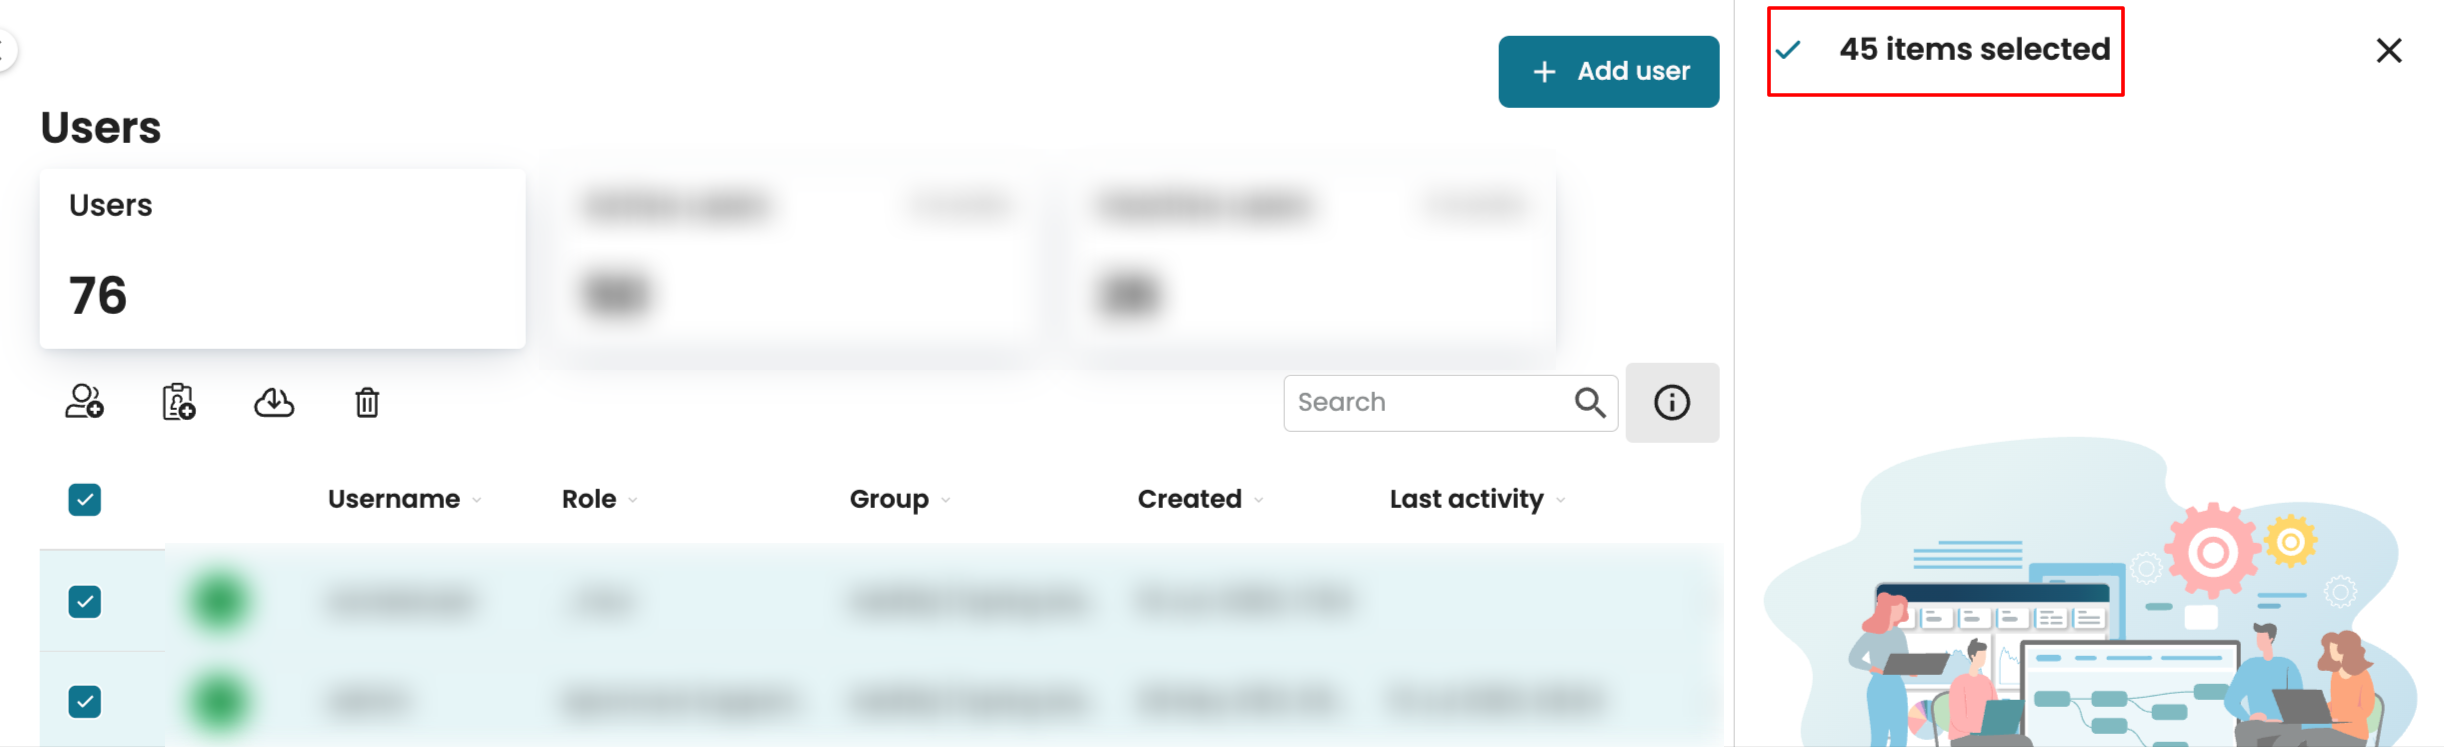
We can also select multiple users to delete them at once. To select all users on the page, click the “Select all” checkbox.

Note
When the “Select all” checkbox is used, Apromore selects all the users displayed on the page, and not necessarily all the users in the instance. To view the number of users selected, click the info icon to open the side panel.
Note
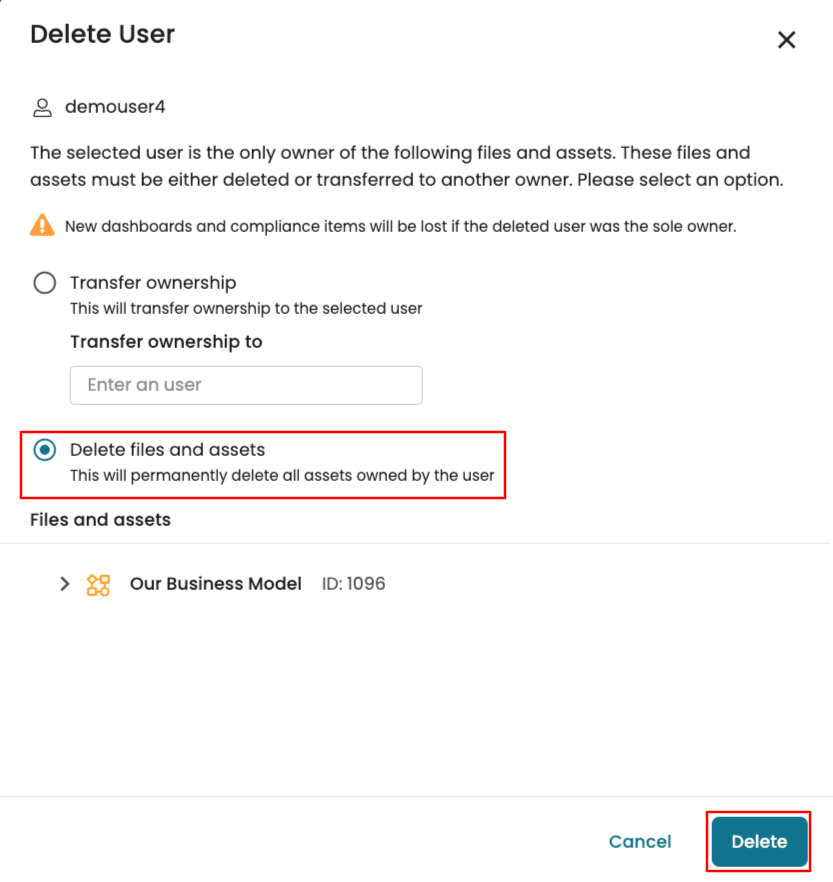
If at least one of the selected users is the sole owner of a file(s), the deletion in bulk will be aborted.
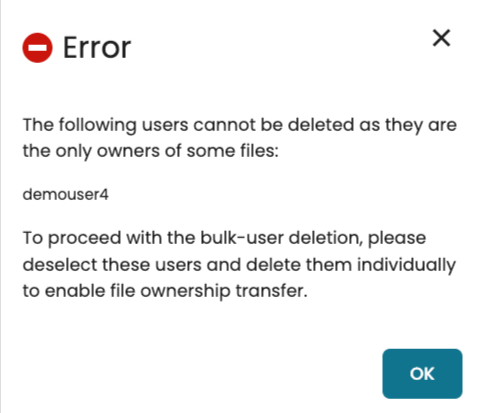
To fix, individually delete users who are sole owners of a file. When we do so, we either choose to transfer the file(s )’s ownership to another user or delete all assets alongside the user.
To transfer ownership, enter the username of the new owner and click Delete.
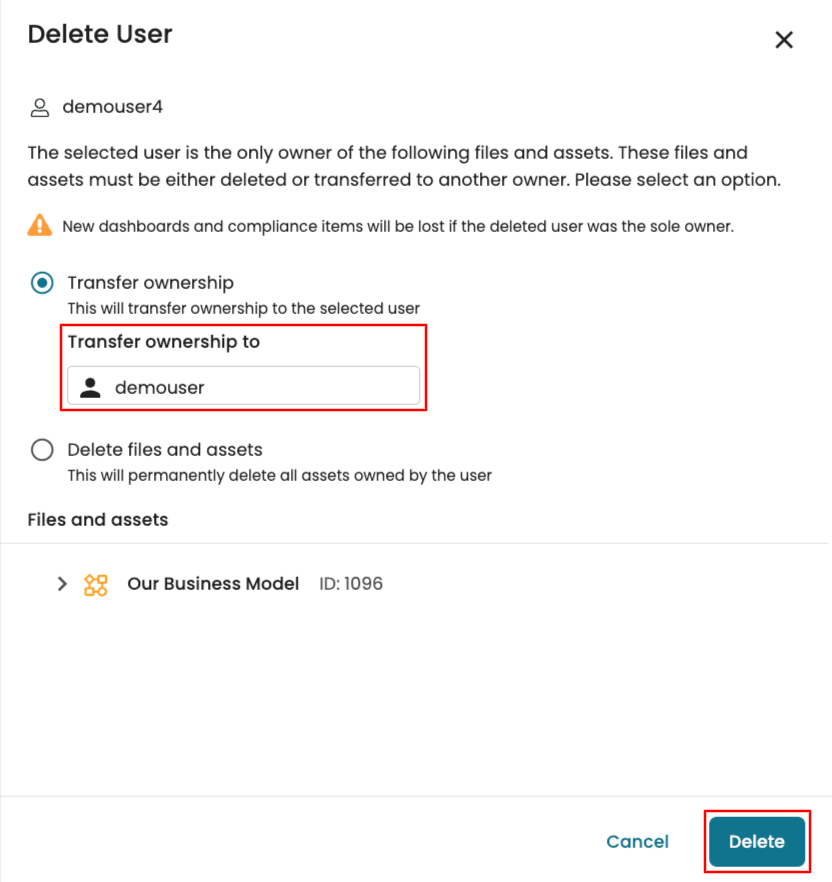
To delete all assets, select Delete files and assets and click Delete.
Manage groups
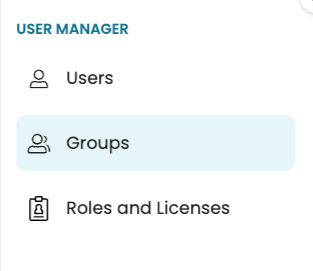
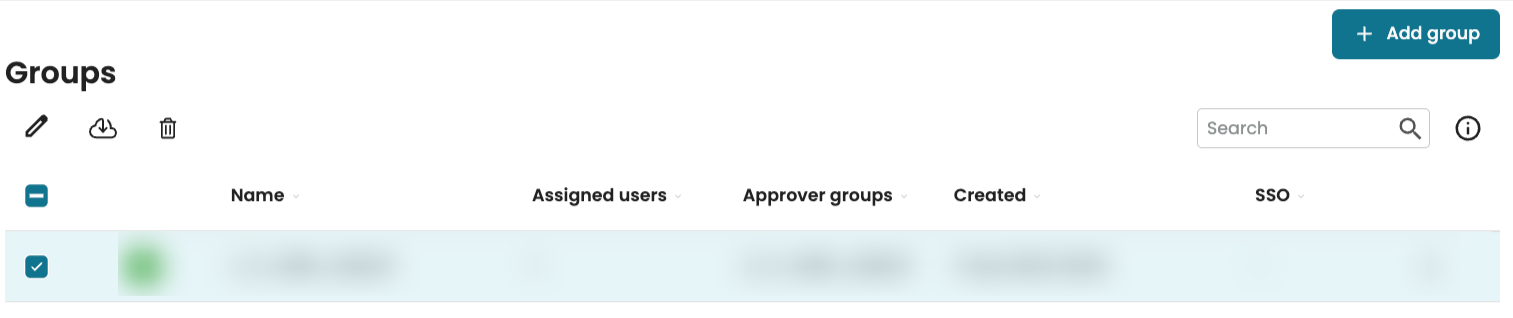
We can add or remove groups in our Apromore instance. In the new user management page, go to the Groups tab.
This displays the list of existing groups. We see the number of assigned users, the creation date, and whether the group is derived from an identity provider (SSO). We can also see the list of approver groups if there are any assigned ones.
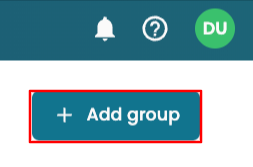
Add a group
To add a new group, click Add group.
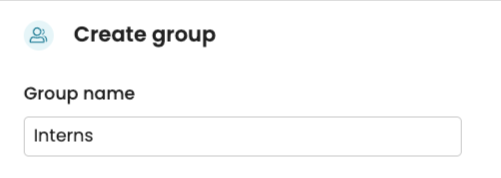
This displays the Create group window. Enter the group name.
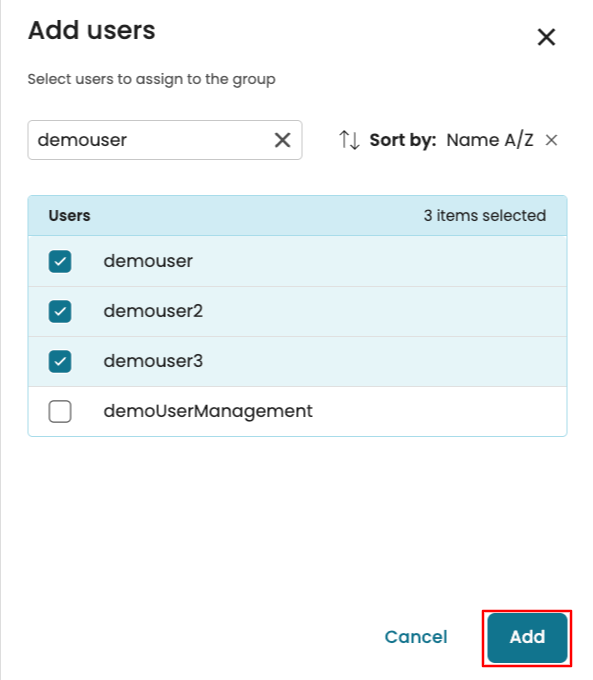
Next, add users that would be assigned to the group. Click Add user.

Select the users and click Add.
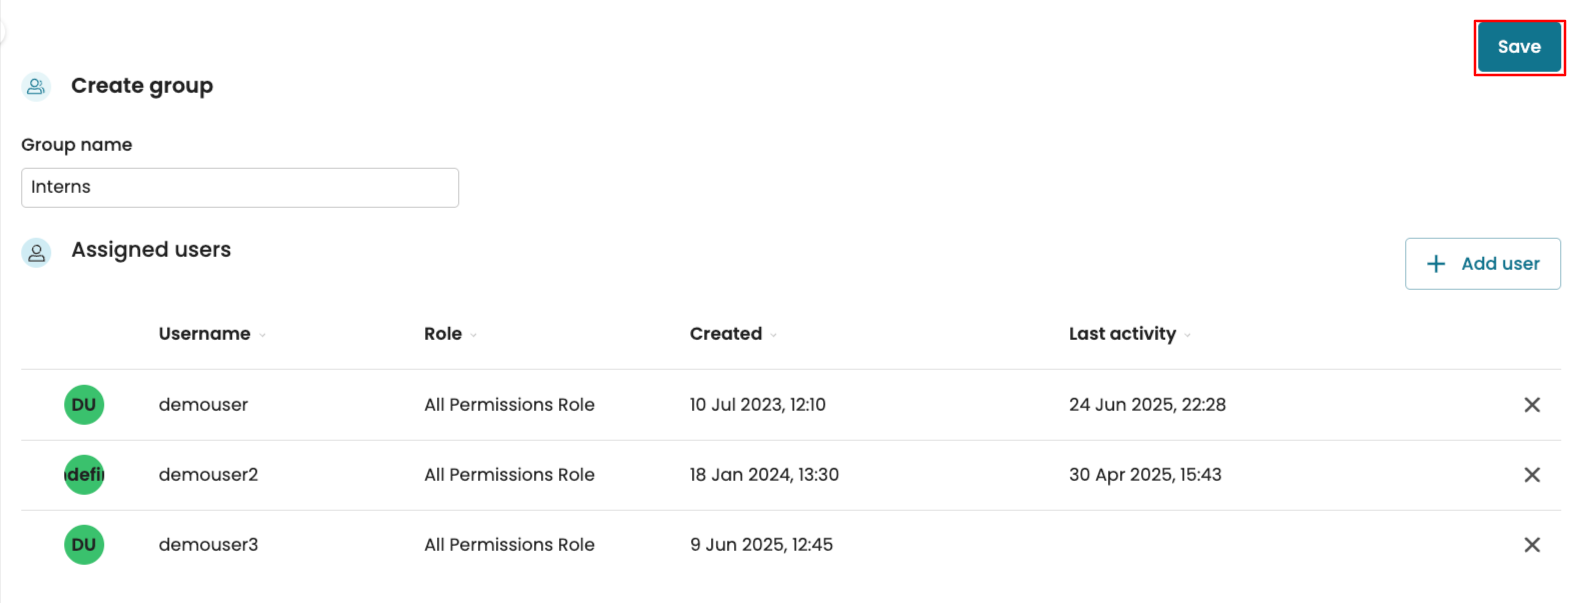
Click Save to confirm the changes.
We would get a banner message informing us that the group has been created.
Edit a group
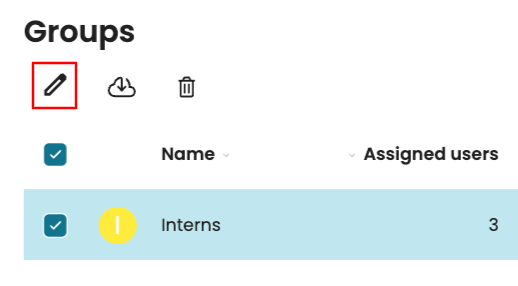
To edit a group, select the group and click the edit icon.
We see the group name and the list of assigned users to the group. We can make any change we wish to make. For instance, to delete a user from the group, click the X button.
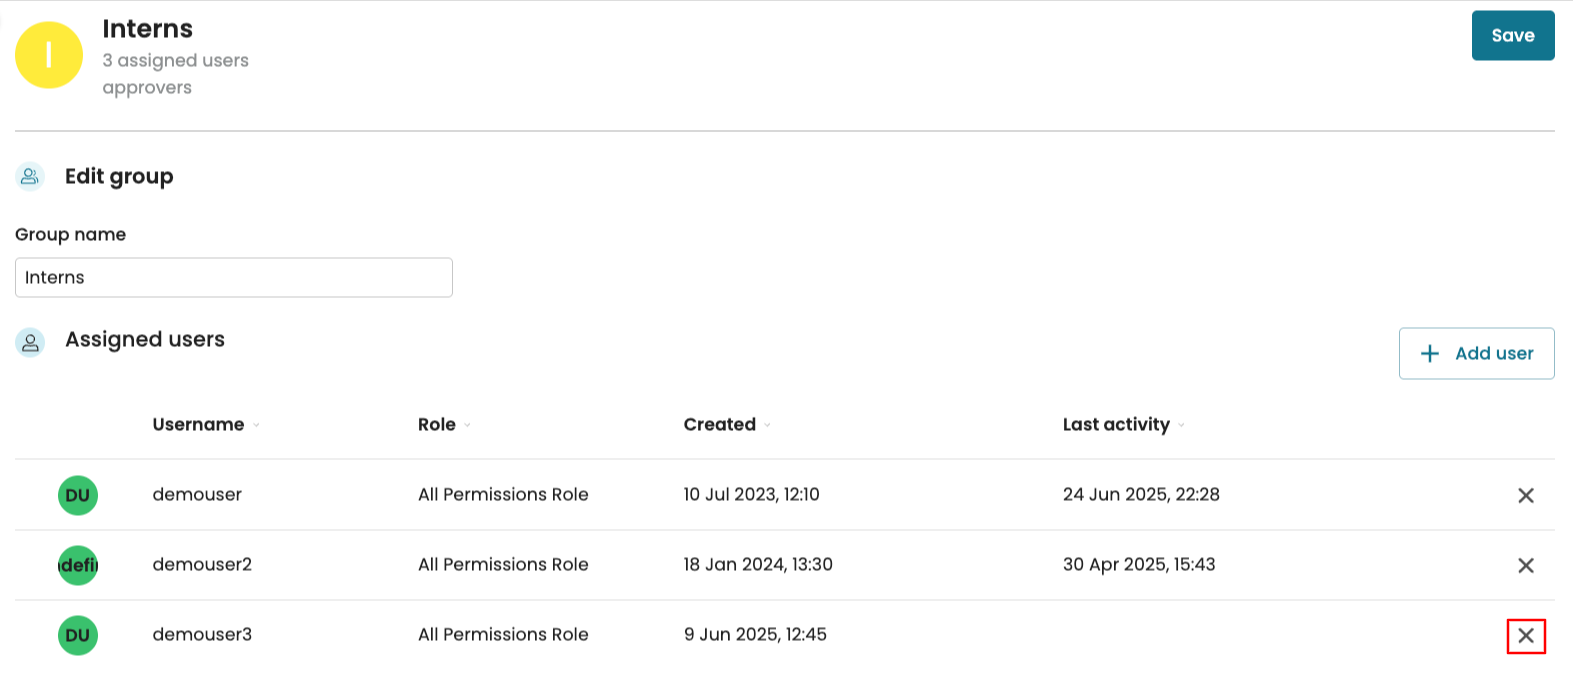
Click Save to confirm the changes.
Note
SSO groups are non-editable
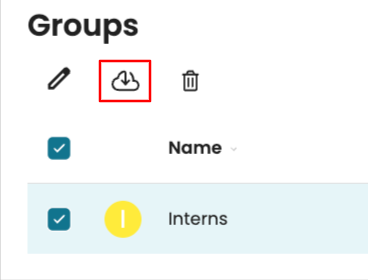
Export group details
To enable us to view the details of one or more groups offline, we can download a file containing their details. This includes information about the users in the group(s), the number of active and inactive users, and the roles assigned to each user.
To download this file, select the group(s) and click the Download icon.
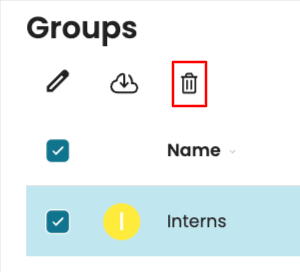
Delete a group
We can delete one or more groups in the Groups page. Select the group(s) and click the Delete icon.
Manage group relations
We can manage group relations through the User Management window. This is particularly useful when setting up a model :
Users in the Requester group must submit a publication request before their model can be published.
Users in the Approval group are responsible for reviewing and approving these requests.
To learn more about the model publication workflow, see Publish process model.
A model is published only after it has been approved by users in the Approval group. To demonstrate how to create group relations, we have created a “Requester” and “Approver” group.
In the Groups page, select the requester group and click the info icon to open the side panel. Go to the Approvers tab.

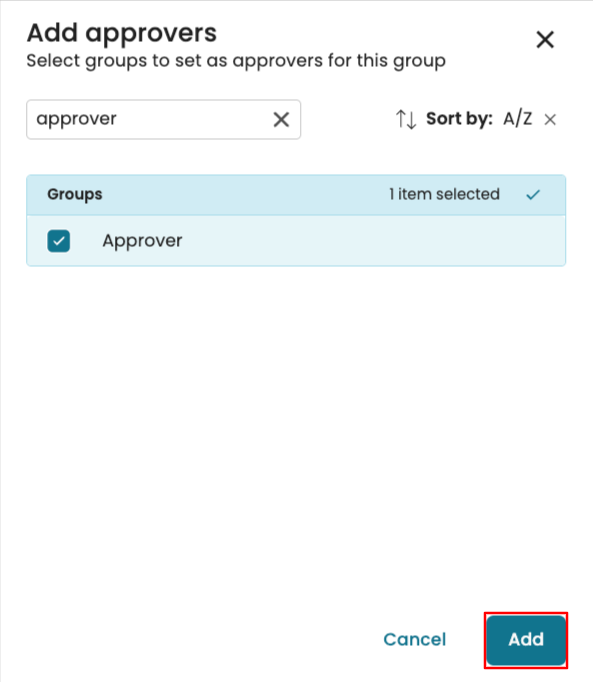
Click Add to add an approver group. This will link the selected requester group to the approver group.
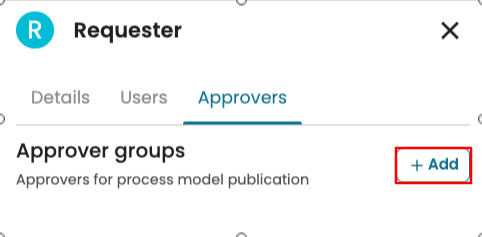
Select the group and click Add.
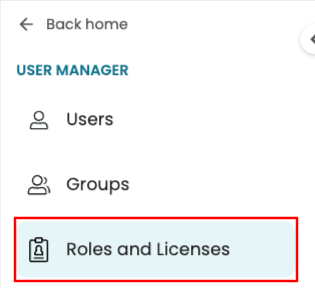
Manage roles and licenses
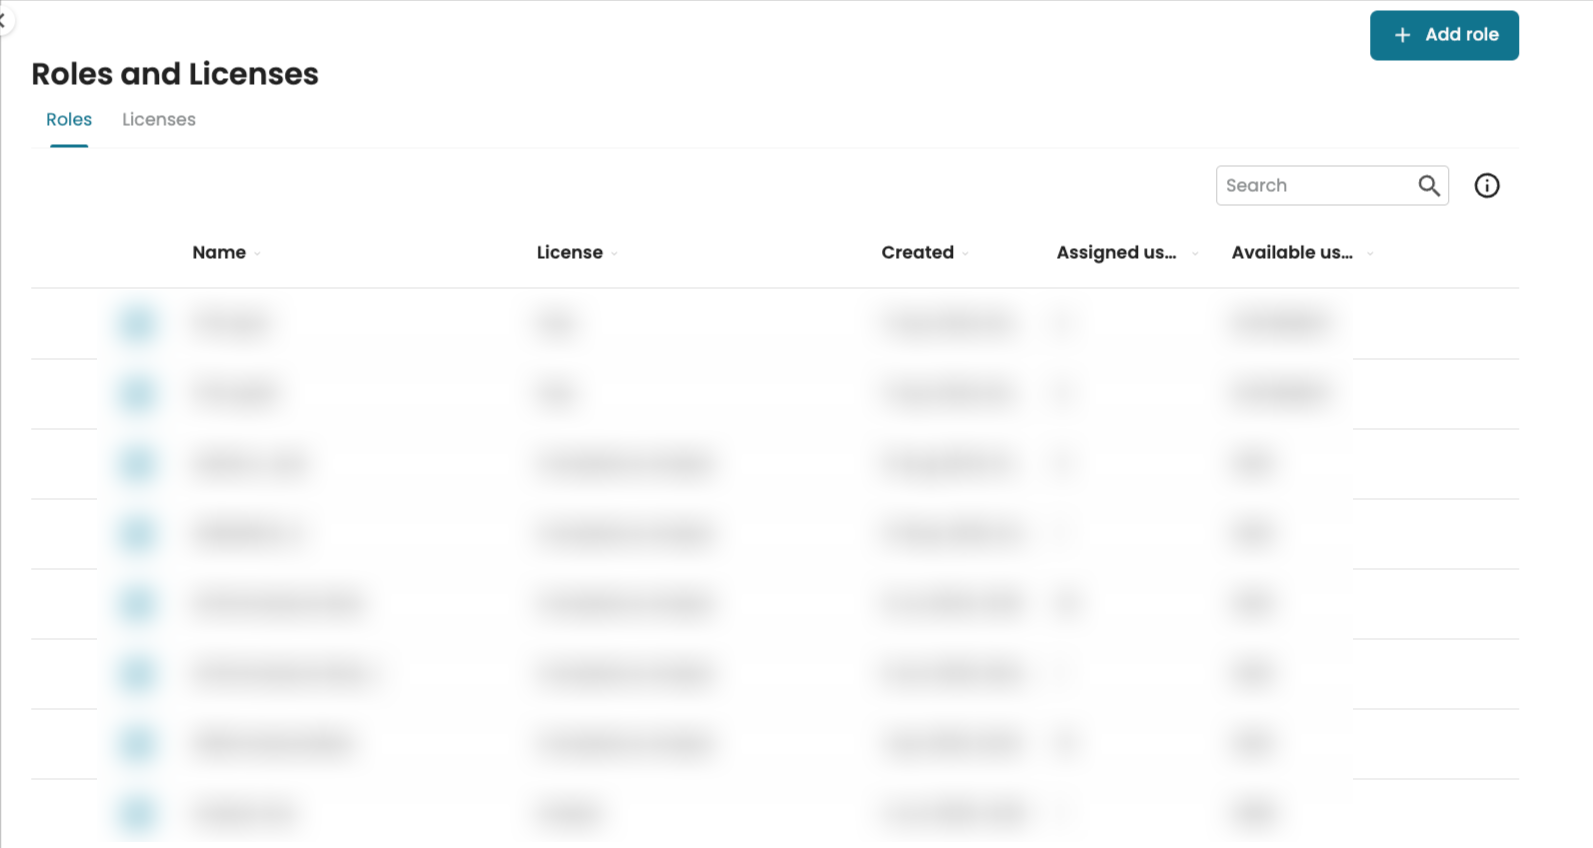
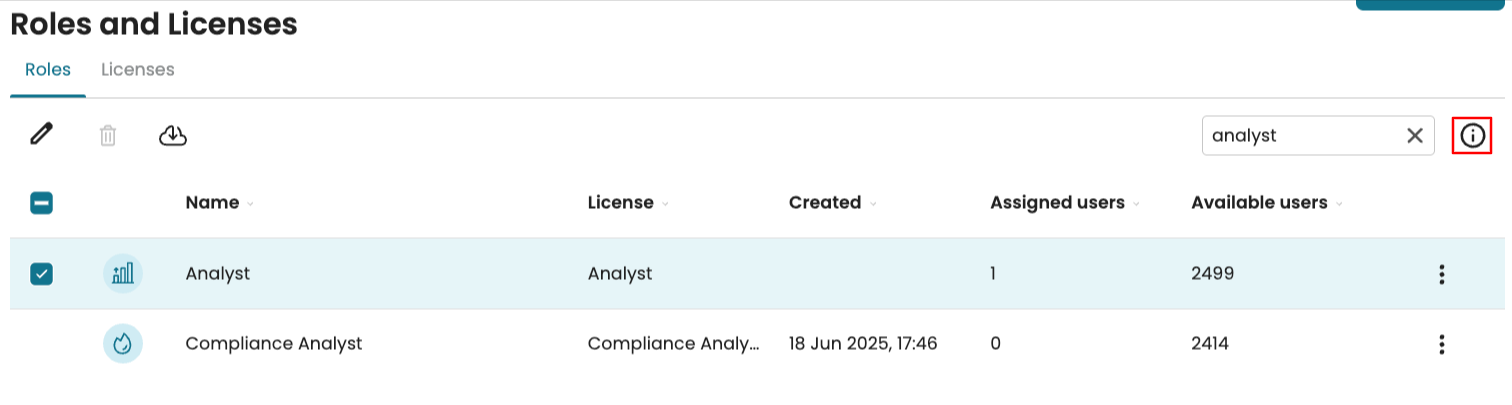
We can manage roles and licenses in the new user management page. Click Roles and Licenses.
This displays the list of existing roles.
Roles and permissions
A role gives a certain set of application permissions. The following table lists the permissions available in Apromore and their meaning.
Permission |
Description |
|---|---|
Create models |
Create new process models in the Workspace. |
Edit models |
Edit existing models in the Workspace. |
View models |
View models in the Workspace. |
Discover models (view only) |
Discover model from a process map but cannot save the model. |
Discover models |
Discover and save model from a process map in Process Discoverer. |
Publish models |
Publish existing models. |
Filter logs (view only) |
Can view and apply existing filters but cannot create a new filter. |
Filter logs |
Create a new named filter. |
Save filtered logs |
Apply a filter to a log and save the resulting filtered log in the Workspace. |
Use GenAI Copilot |
Ask process mining and simulation questions to Apromore Copilot. |
Animate logs |
Run a log animation in Process Discoverer or from the Workspace. |
Compare models |
Use the model comparison feature. |
Check conformance |
Use the conformance checking feature. |
Manage compliance item fields |
Create or edit custom fields for compliance items. |
Manage violations |
Access the ‘Violations page’ and investigate violations. |
View dashboards |
View dashboards associated with a log. |
Edit dashboards |
Edit an existing dashboard or manage dashboard templates. |
Simulate models |
Start a simulation using the process model editor or the Workspace. |
Edit compliance items |
Edit an existing risk, obligation, or control in the compliance center. |
Delete compliance items |
Delete an existing risk, obligation, or control in the compliance center. |
Assign/remove compliance items |
Assign/remove a compliance rule to/from a specific event log. |
Create compliance dashboards |
Create a dashboard block that utilizes the compliance center. |
View calendars |
View existing calendars in the Apromore Workspace. |
Edit calendars |
Edit existing calendars in the Apromore Workspace. |
View KPIs |
View existing KPIs that have been applied on a log. |
Edit KPIs |
Create and edit KPIs. |
View cost centers |
View the cost for each role in the cost center. |
Edit cost centers |
Edit the cost for each role in the cost center. |
Merge models |
Use the ‘Merge models’ feature in the Workspace. |
Search similar models |
Use the ‘Search similar models’ features in the Workspace. |
Manage predictors |
Create a new predictor or edit or remove existing predictors. |
View predictions |
View the generated predictions. |
Create data pipelines |
Open the data pipeline environment from the Workspace. |
Manage data pipelines |
Open the ‘Manage data pipelines’ window to view and edit existing pipelines. |
Access S3 connector |
Extract micro-batches from an Amazon S3 folder in the data pipeline environment. |
Manage task mining projects |
Create, edit, or delete task mining projects. |
Manage task mining agents |
Add task mining agents and download agents metrics in the task mining cockpit. |
Download raw data |
Download the collected raw data for task mining projects. |
Download logs |
Download an event log from the Workspace. |
Upload logs |
Upload an event log to the Workspace. |
Delete logs |
Delete an event log in the Workspace. |
Download models |
Download a process model from the Workspace. |
Upload models |
Upload a process model to the Workspace. |
Delete models |
Delete a process model in the Workspace. |
Delete folders |
Delete a folder in the Workspace. |
Create folders |
Create a folder in the Workspace. |
Navigate portal pages |
Access and navigate the pages in Portal. |
Manage access rights |
Open the ‘Manage access rights’ window. Note that every user can manage access rights to the logs they own via the Share button. |
Manage users |
Create, edit, or remove users, groups, or roles. |
Manage properties |
Add, edit or delete model properties from the Properties Manager. |
Access API |
Access the functionality of Apromore via its API. |
Configure inventory |
Configure columns in the Inventory |
Note
If a “view only” permission is selected, its corresponding permission that allows editing or modifying will be automatically deselected.
Create a role
To create a new role, click Add role.
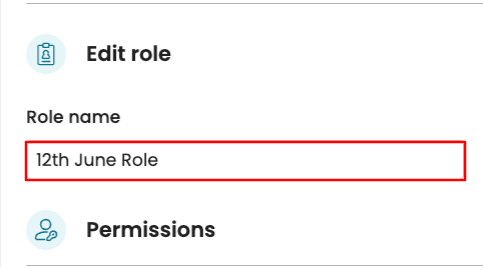
This opens the Edit role page with a blank slate. Enter the new role name.
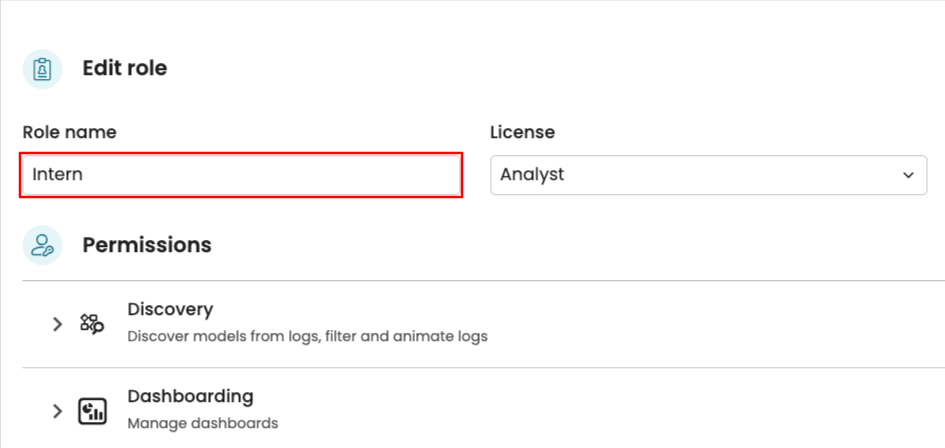
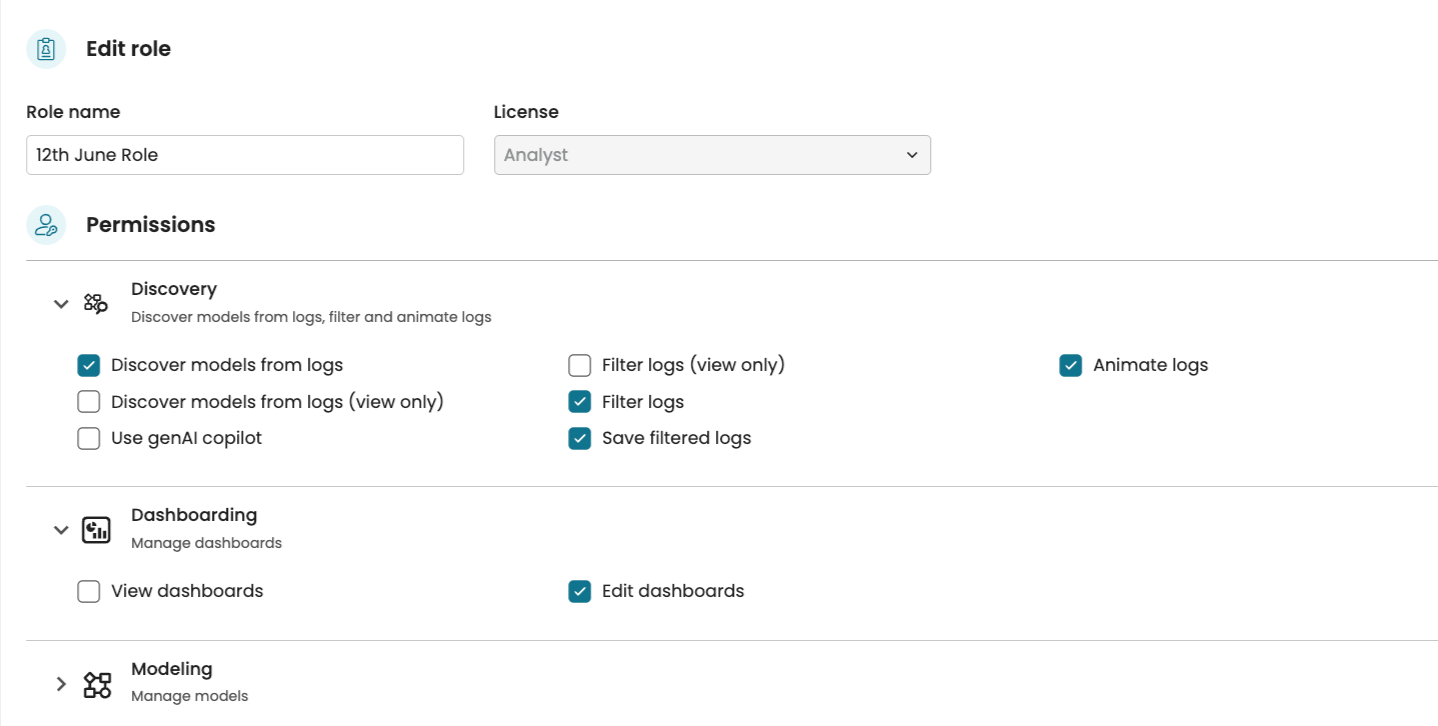
In the License dropdown, select a license.
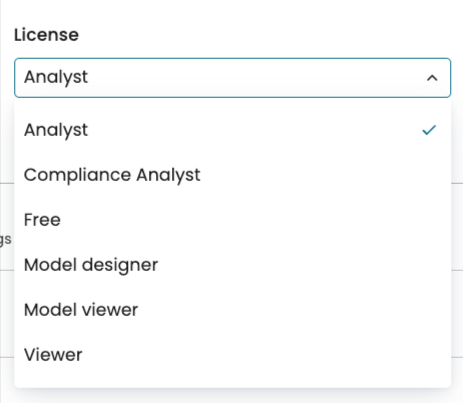
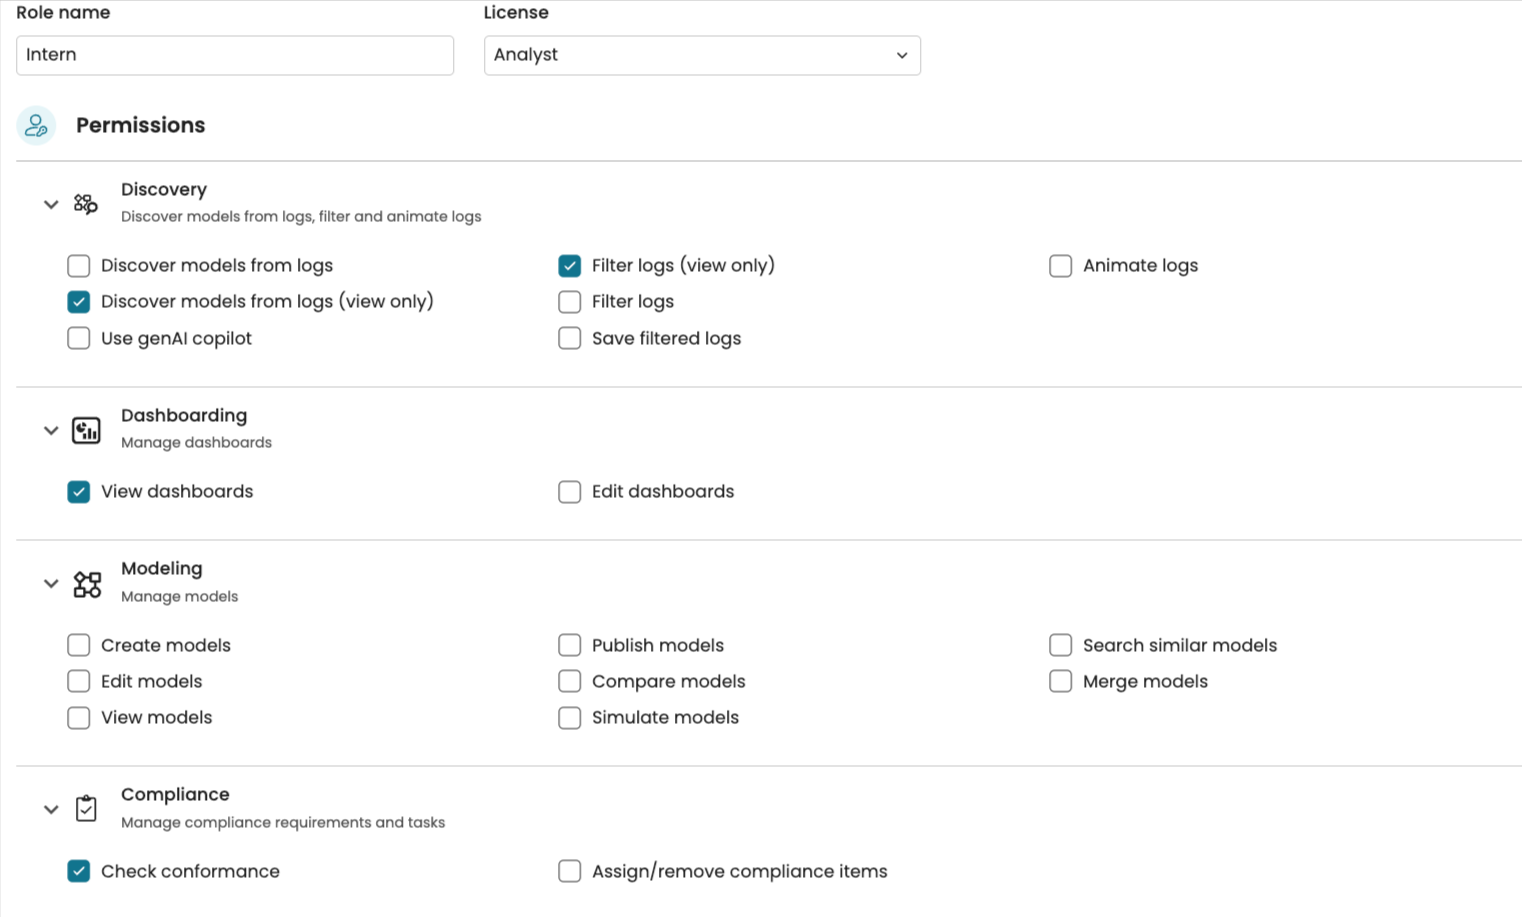
Based on the selected license, a set of permissions will be displayed. Check the desired permissions for the role.
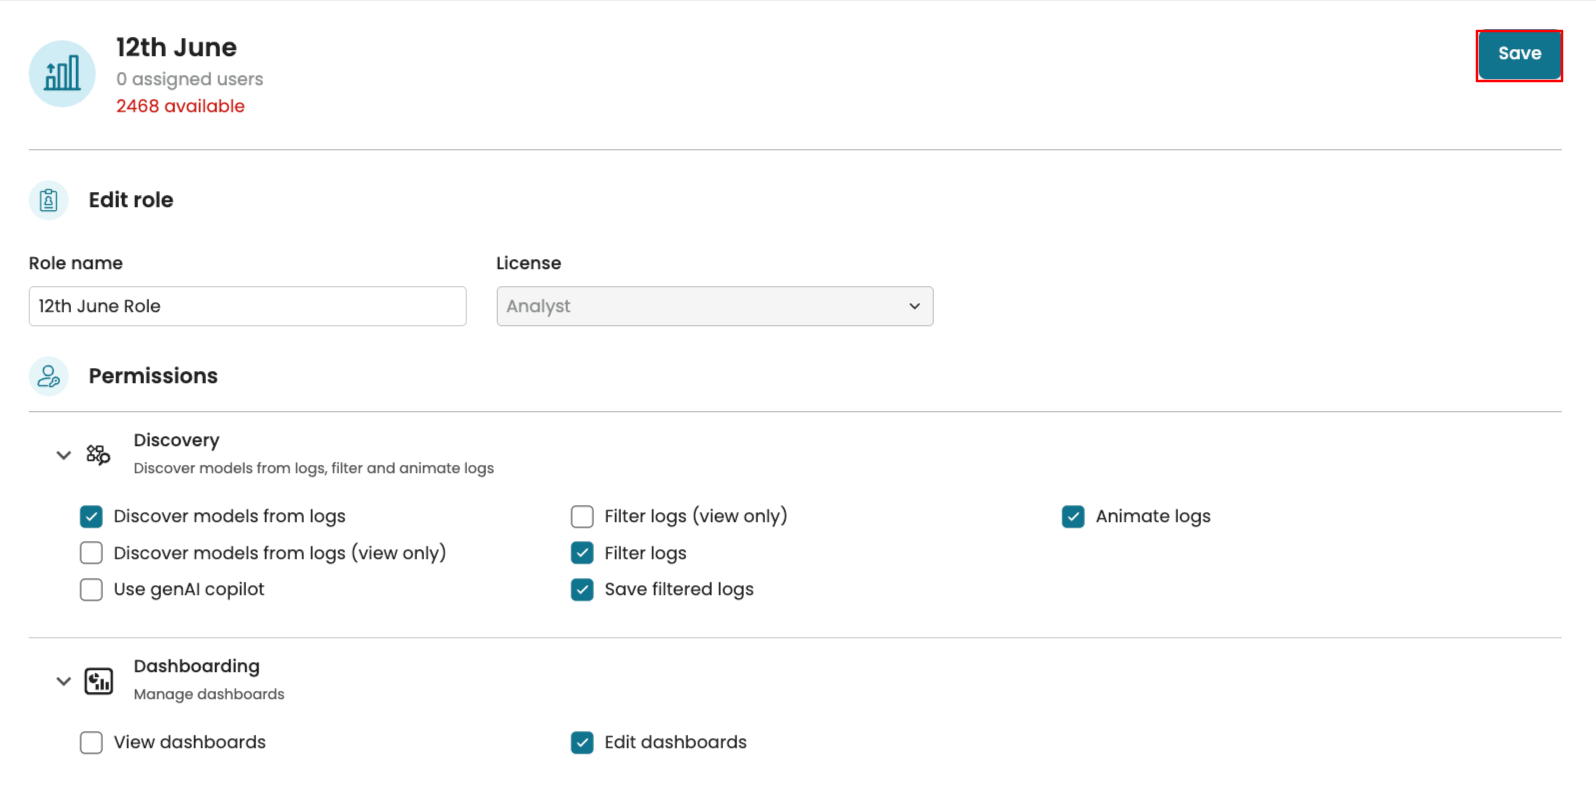
Click Save.

Edit a role
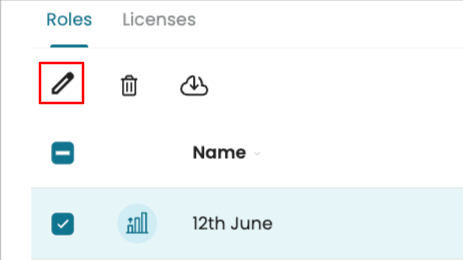
We can also edit a role and change its permissions. To edit a role, select the role and click the edit icon.
We can change the role name.
We can also change the permissions assigned to the role using the dropdowns.
Click Save to confirm the change.
Note
If Single Sign-On (SSO) with role sync is enabled, changing a role name may affect role synchronization with the identity provider. To help avoid unintended impact, a warning message is now shown when a role name change is saved.
Assign a role to a user
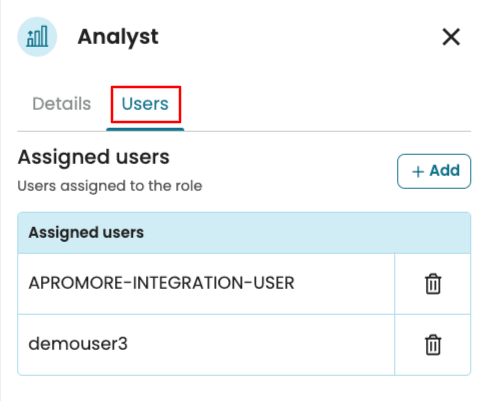
We can assign a role to a user from the Roles and Licenses page. Select the role and click the info icon to open the side panel.
Go to the Users tab. We see users who have been assigned to this role.
To add other users to the role, click Add.
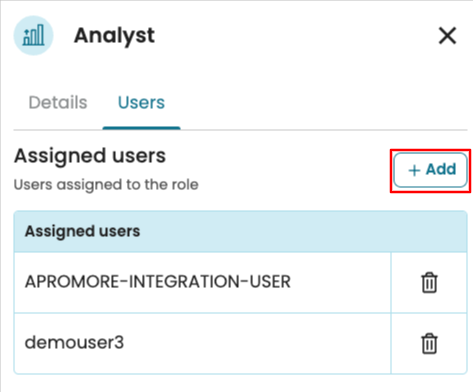
Select the user(s) to add and click Add.

Now, the role gets assigned to the user.
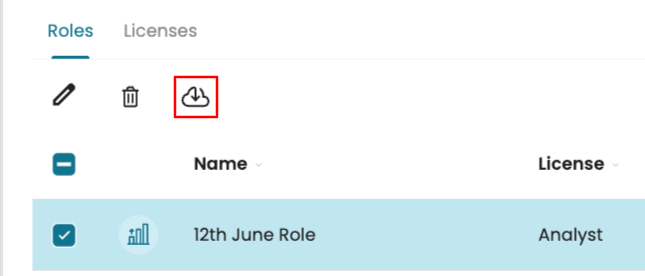
Download a role detail
We can also download a role detail. Select the role and click the download icon.
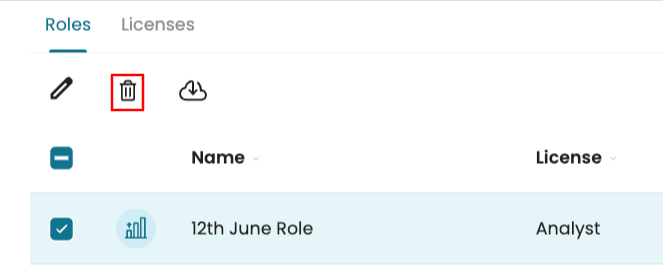
Delete a role
To delete a role, select the role and click the delete icon.
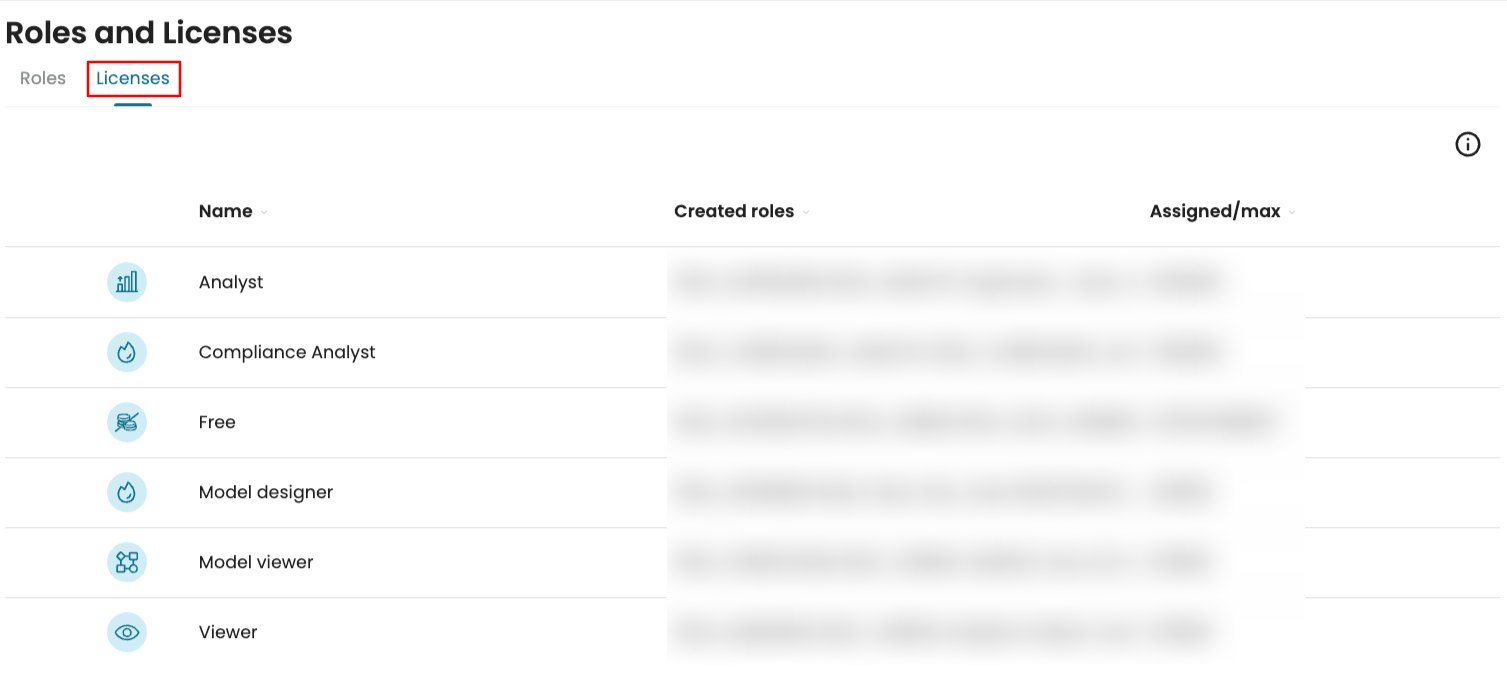
Manage licenses
Licenses are templates that define the permissions available for a role. All users in Apromore are mapped to a license. To see a list of licenses, go to the Licenses tab.
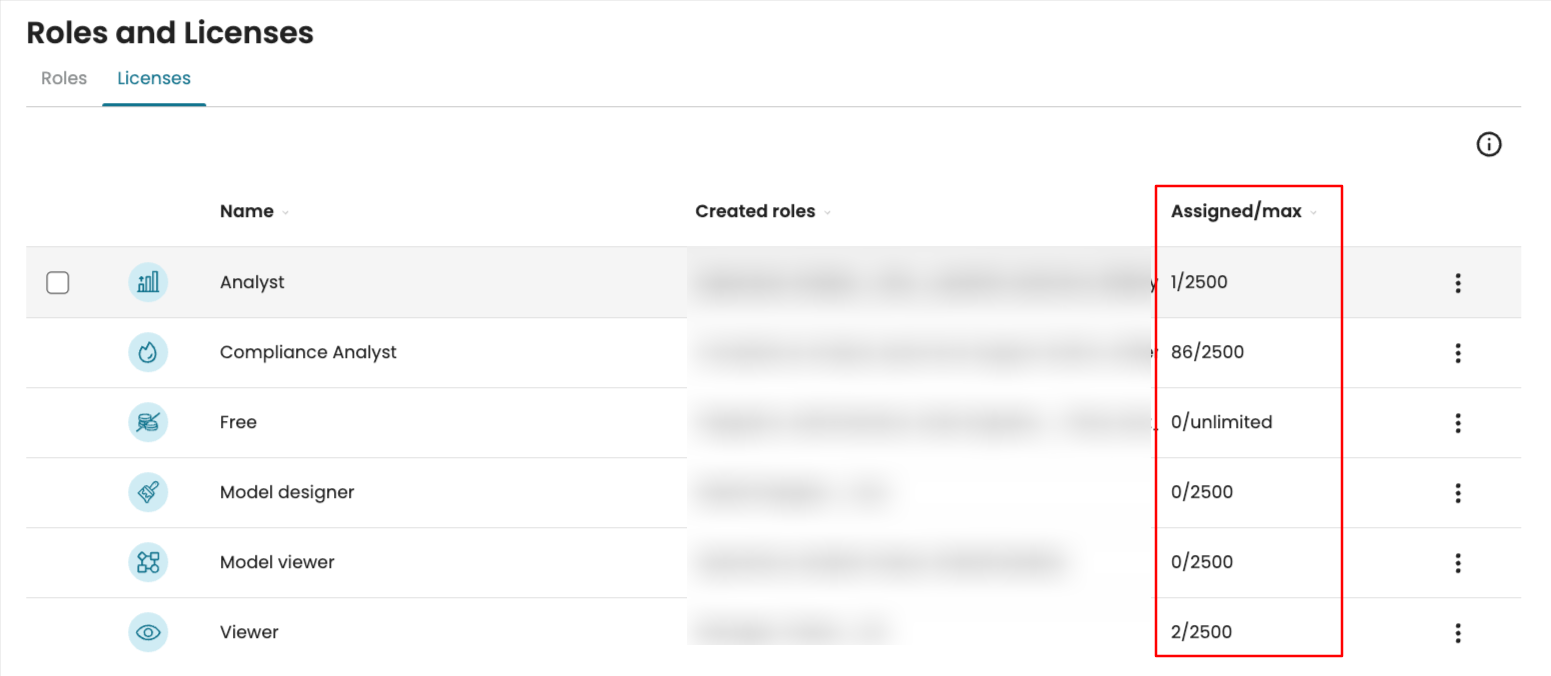
We can also view the maximum number of available licenses in a tenancy. When a license is assigned to a user, the available count is updated automatically. In the Assigned/Max column: - Assigned shows the number of users currently using the license.
Max shows the total number of licenses available in our tenancy.
Note
If the limit of a role is reached, and the tenancy admin creates a new user assigned to that role, the user is created, but the role is not assigned. This can be observed by the fact that there is no assigned role in the user management window. The Superuser or Administrator needs to assign the user to another role whose limit has not been reached to permit the user to log in.
If you require more licenses or want to know more about the different license types in Apromore, please contact your account executive.
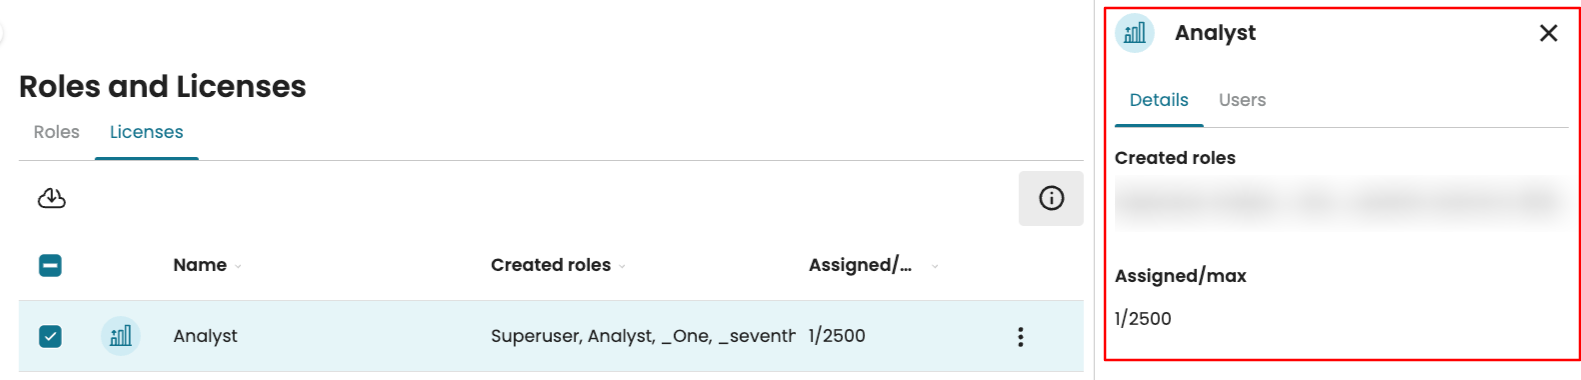
We can also view the details of a license, along with the list of users currently using it, in the side panel. To do this, select a license and click the info icon to open the panel.
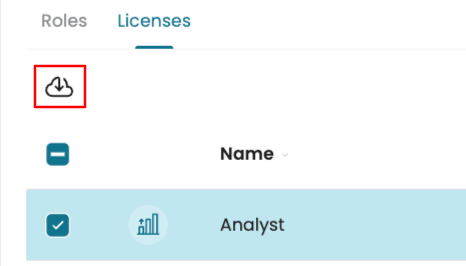
We can download a detailed report that shows how a license is being used. The report contains:
Creation date of the license
Active vs. inactive users
Name of users and groups with the license
To download the report, select the license and click the download icon.
Manage home page for users and groups
We may want specific users or groups to be directed to a particular page or dashboard when they log in to Apromore. For example, in an organization, we want all viewers to see the “Performance Status” dashboard upon login. We can set a specific page or dashboard as the home page for individual users or groups.
Note
Only users with “Manage users permissions” can set or manage home pages.
Set a home page for users or groups
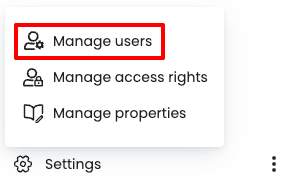
To set a home page for a user or group, click Settings > Manage users to open User Manager.
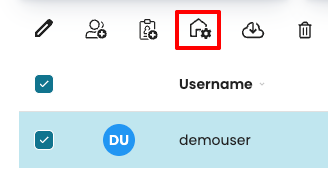
To set a home page for one or more users, in the Users page, select the user(s) and click the Set homepage icon.
To set a home page for a group, open the Groups tab, select the group, and follow the same steps.
We can choose a default Apromore page or a specific dashboard as the home page. The default pages are:
Home folder
Recent
Starred
KPIs and Metrics
Inventory
Dashboards
Task mining
Compliance
Note
The list of pages displayed depends on the pages to which we have access in our instance.
For example, to set KPIs & Metrics as the user’s home page, select KPIs & Metrics and click Set.
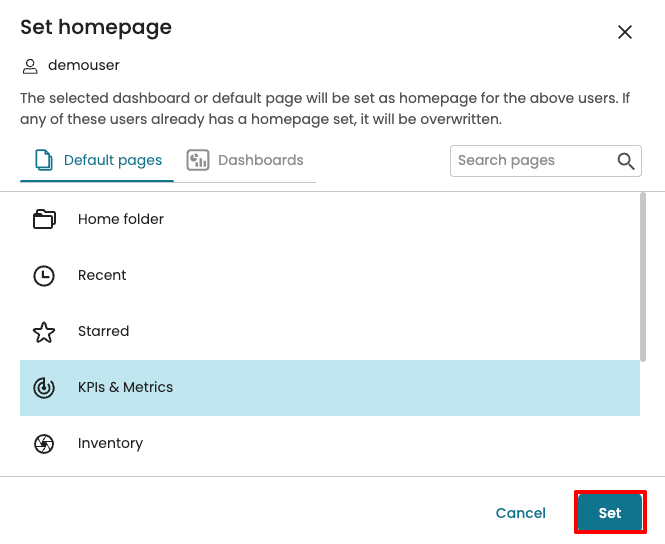
The KPIs & Metrics page will now open automatically when the user logs in or navigates to their home page in Apromore.
To set a specific dashboard instead, open the Dashboards tab.
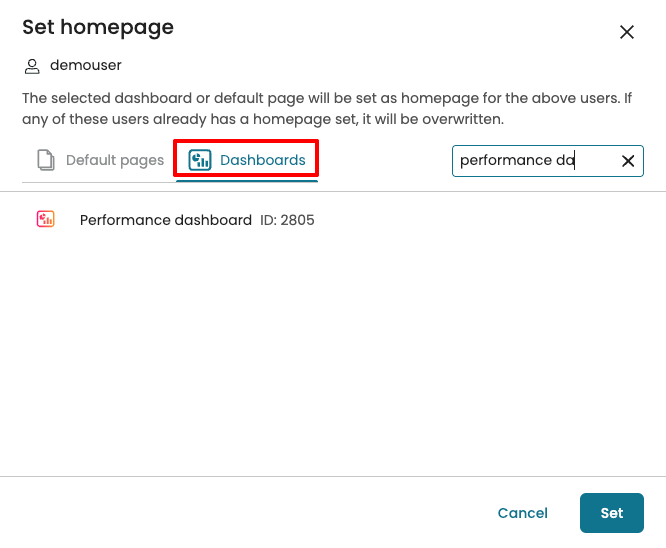
Select the desired dashboard (e.g., Performance Dashboard) and click Set.
View or remove home page
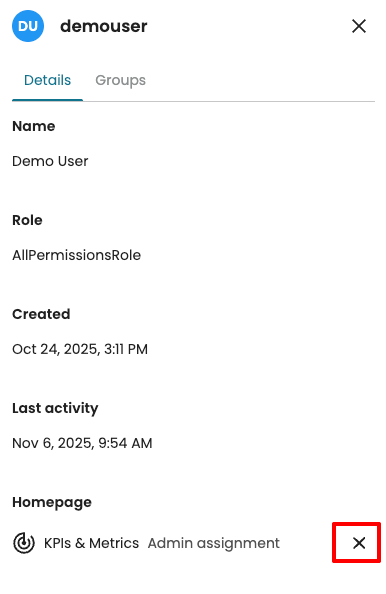
To view and remove a home page from a user or group, select the user/group and click the info icon to open the side panel.
Under Home Page, the current home page setting is displayed.
To remove the assigned homepage, click the X icon next to it.
Click Confirm to confirm the removal.
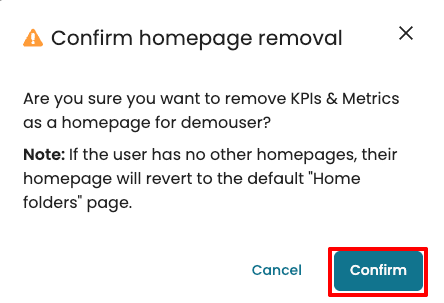
If the user or group has no other homepages, they will then revert to the system default home page.
Note
If we are assigned a homepage but do not have the required permissions or access rights to view the page or dashboard, our homepage will default to Home folders until the necessary permissions are granted.
If we change our own homepage in the User Manager, our selection overrides any homepage that was previously assigned by an administrator.
If we have not set a personal homepage and we belong to multiple groups that each have a homepage, we will receive the homepage of the group whose homepage was assigned most recently.