Publish process model
Publishing a process model version follows a defined approval workflow.
The Admin (or superuser) creates groups of Requesters and groups of Approvers and adds users to these groups.
A Requester is a user who can submit a process model version for publication.
An Approver is a user who can approve the publication of a process model version.
The Admin assigns one or more Approver groups to a Requester group.
When a user in a Requester group submits a model for publication, the request must be approved by a member of one of the associated Approver groups.
Users who are not members of a Requester group, or whose Requester group has no associated Approver groups, can publish process model versions without approval.
Define the “Requesters” and “Approvers” groups
Before defining a relationship between Requesters and Approvers, we must first create both groups.
To create the groups, as an admin or superuser:
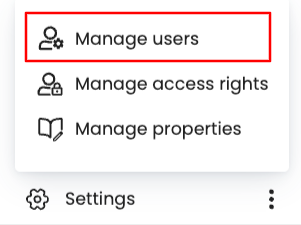
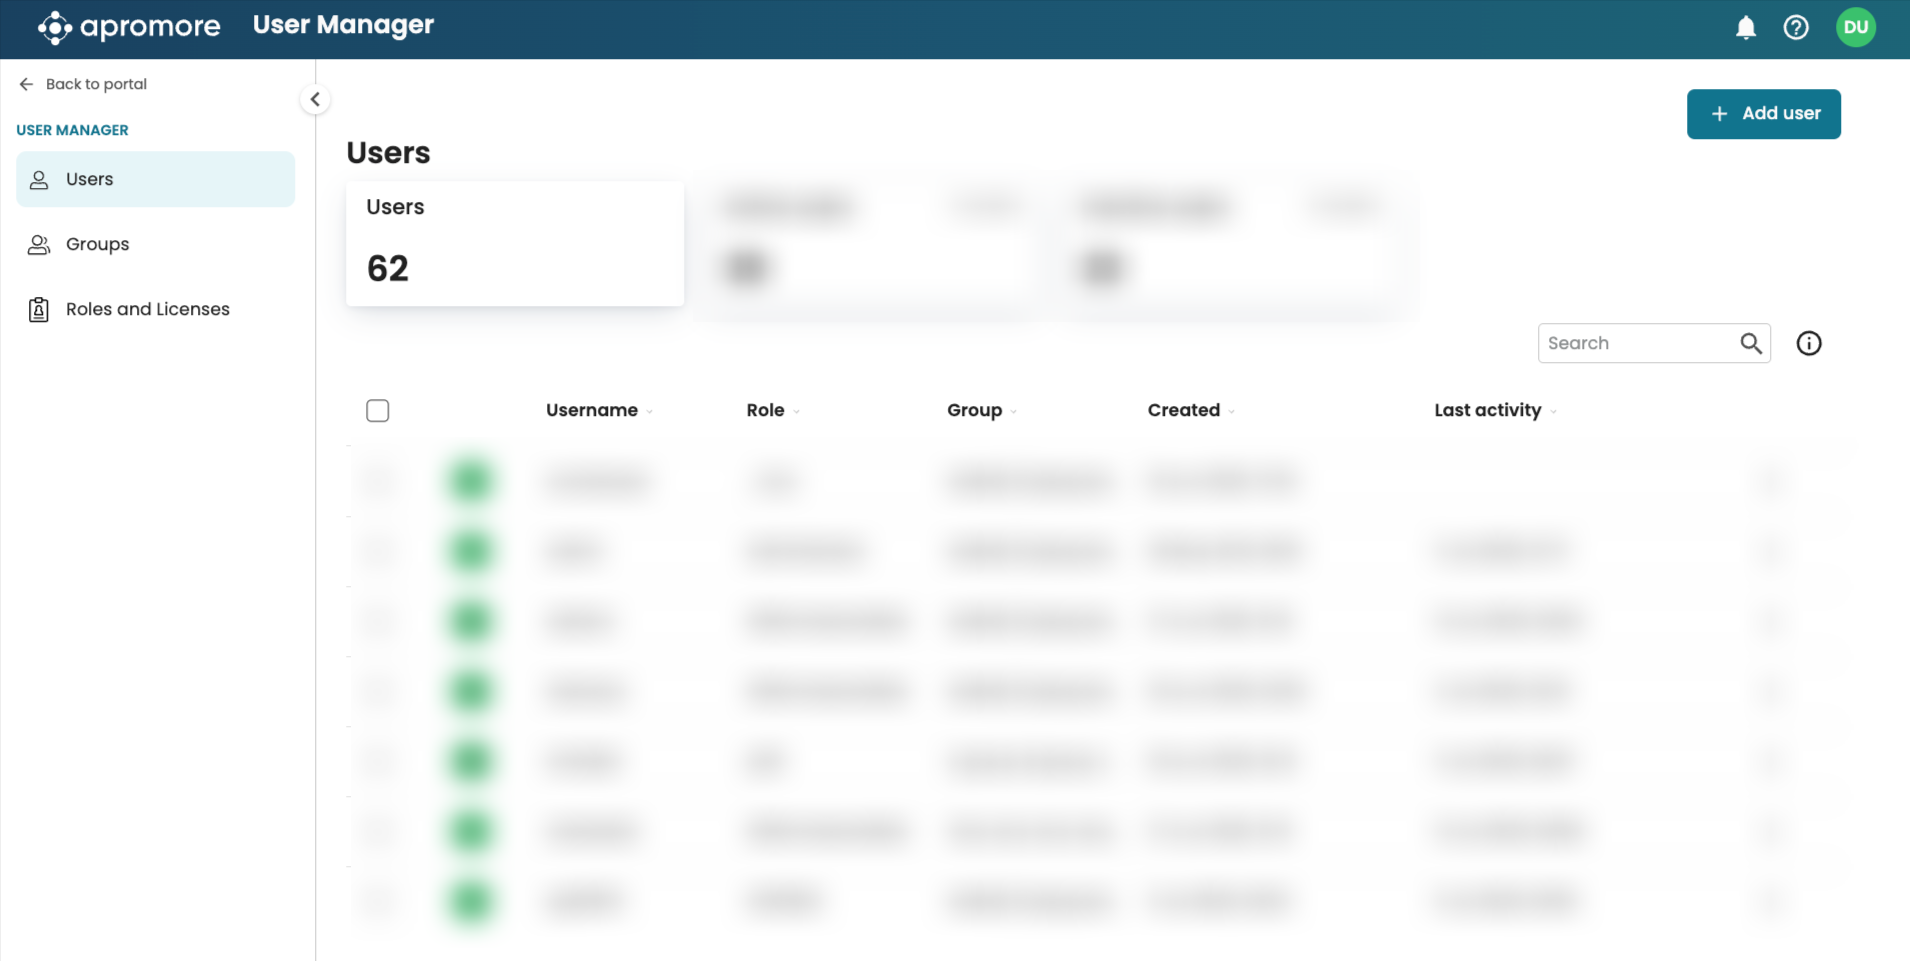
From Portal, click Settings, then Manage Users to open the User Manager* page.
Go to the Groups tab.
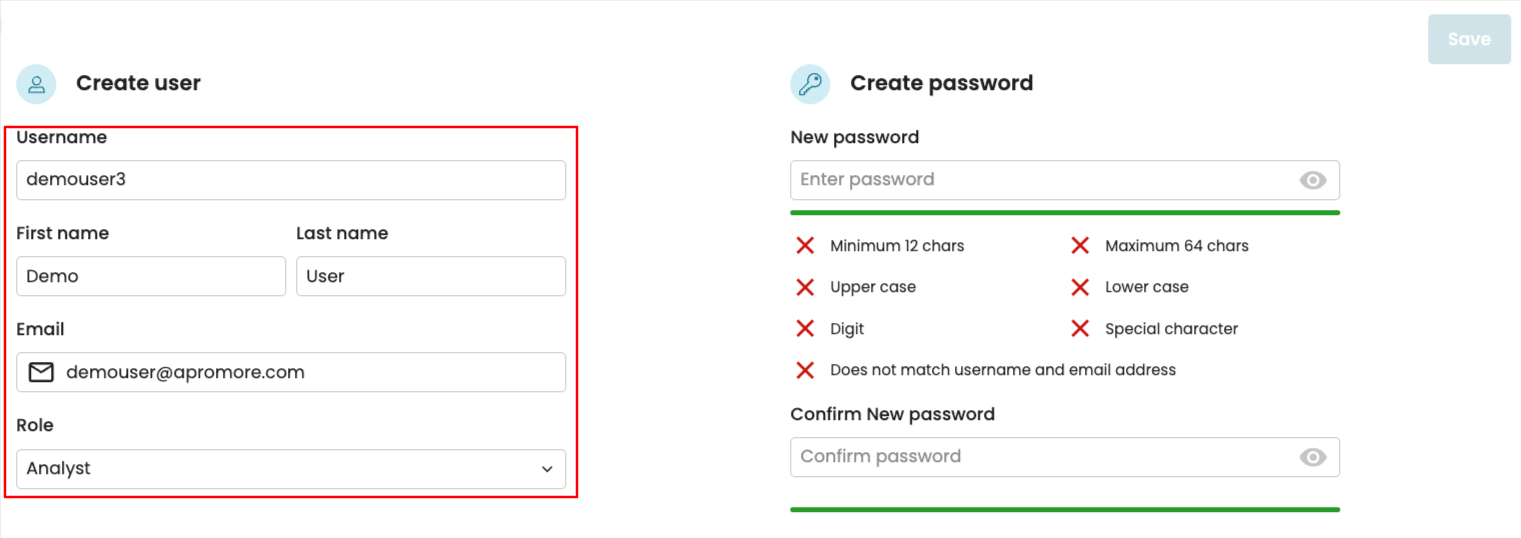
Create a “Requesters” group and add the users who will request the publication of process models.
Create an “Approvers” group and add the users who are responsible for the approval process model publications.
To learn how to create groups and add users to the group, see Add a group.
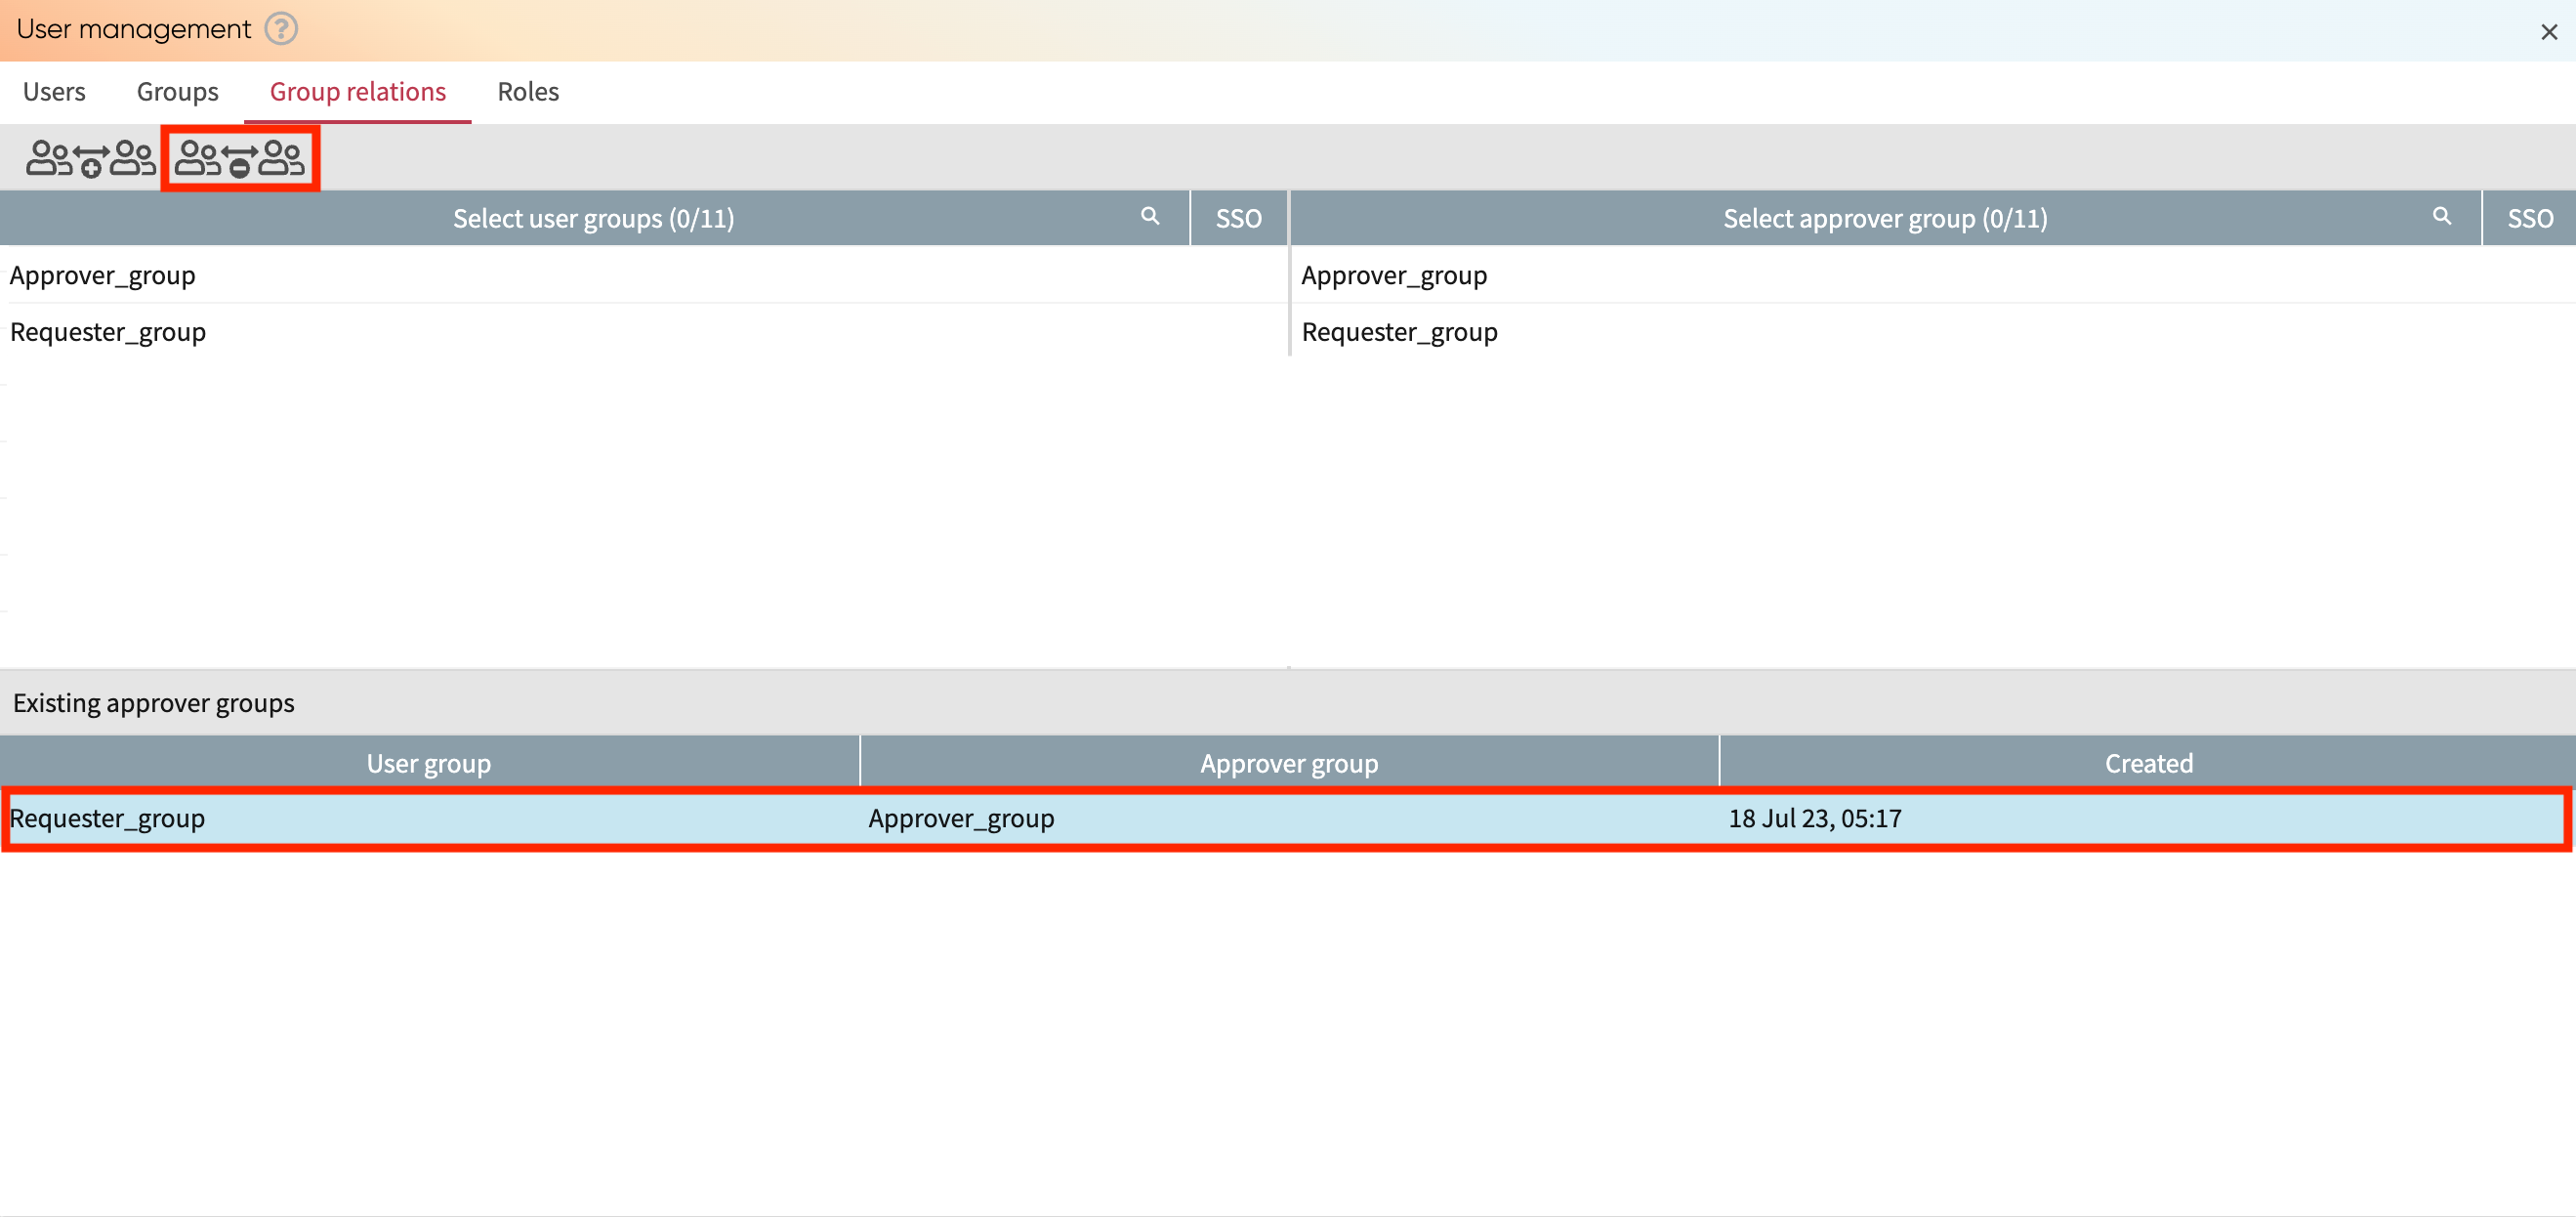
Create the “Requester-Approver” group relation
A “Requester-Approver” group relation is created by assigning one or more approver groups to a requester group.
In the Groups tab, select the requester group and click the Info icon to open the sidebar.
In the sidebar, go to the Approvers tab.
Click Add to add a group.
Select the approver group and click Add.
Now, when a user in the requester group publishes a model, the publication is pending, and a publication request is sent to the users in the approver group(s).
Note
The requester group (hence, a set of users) may be assigned multiple approver groups and vice versa.
Starting a publication approval workflow
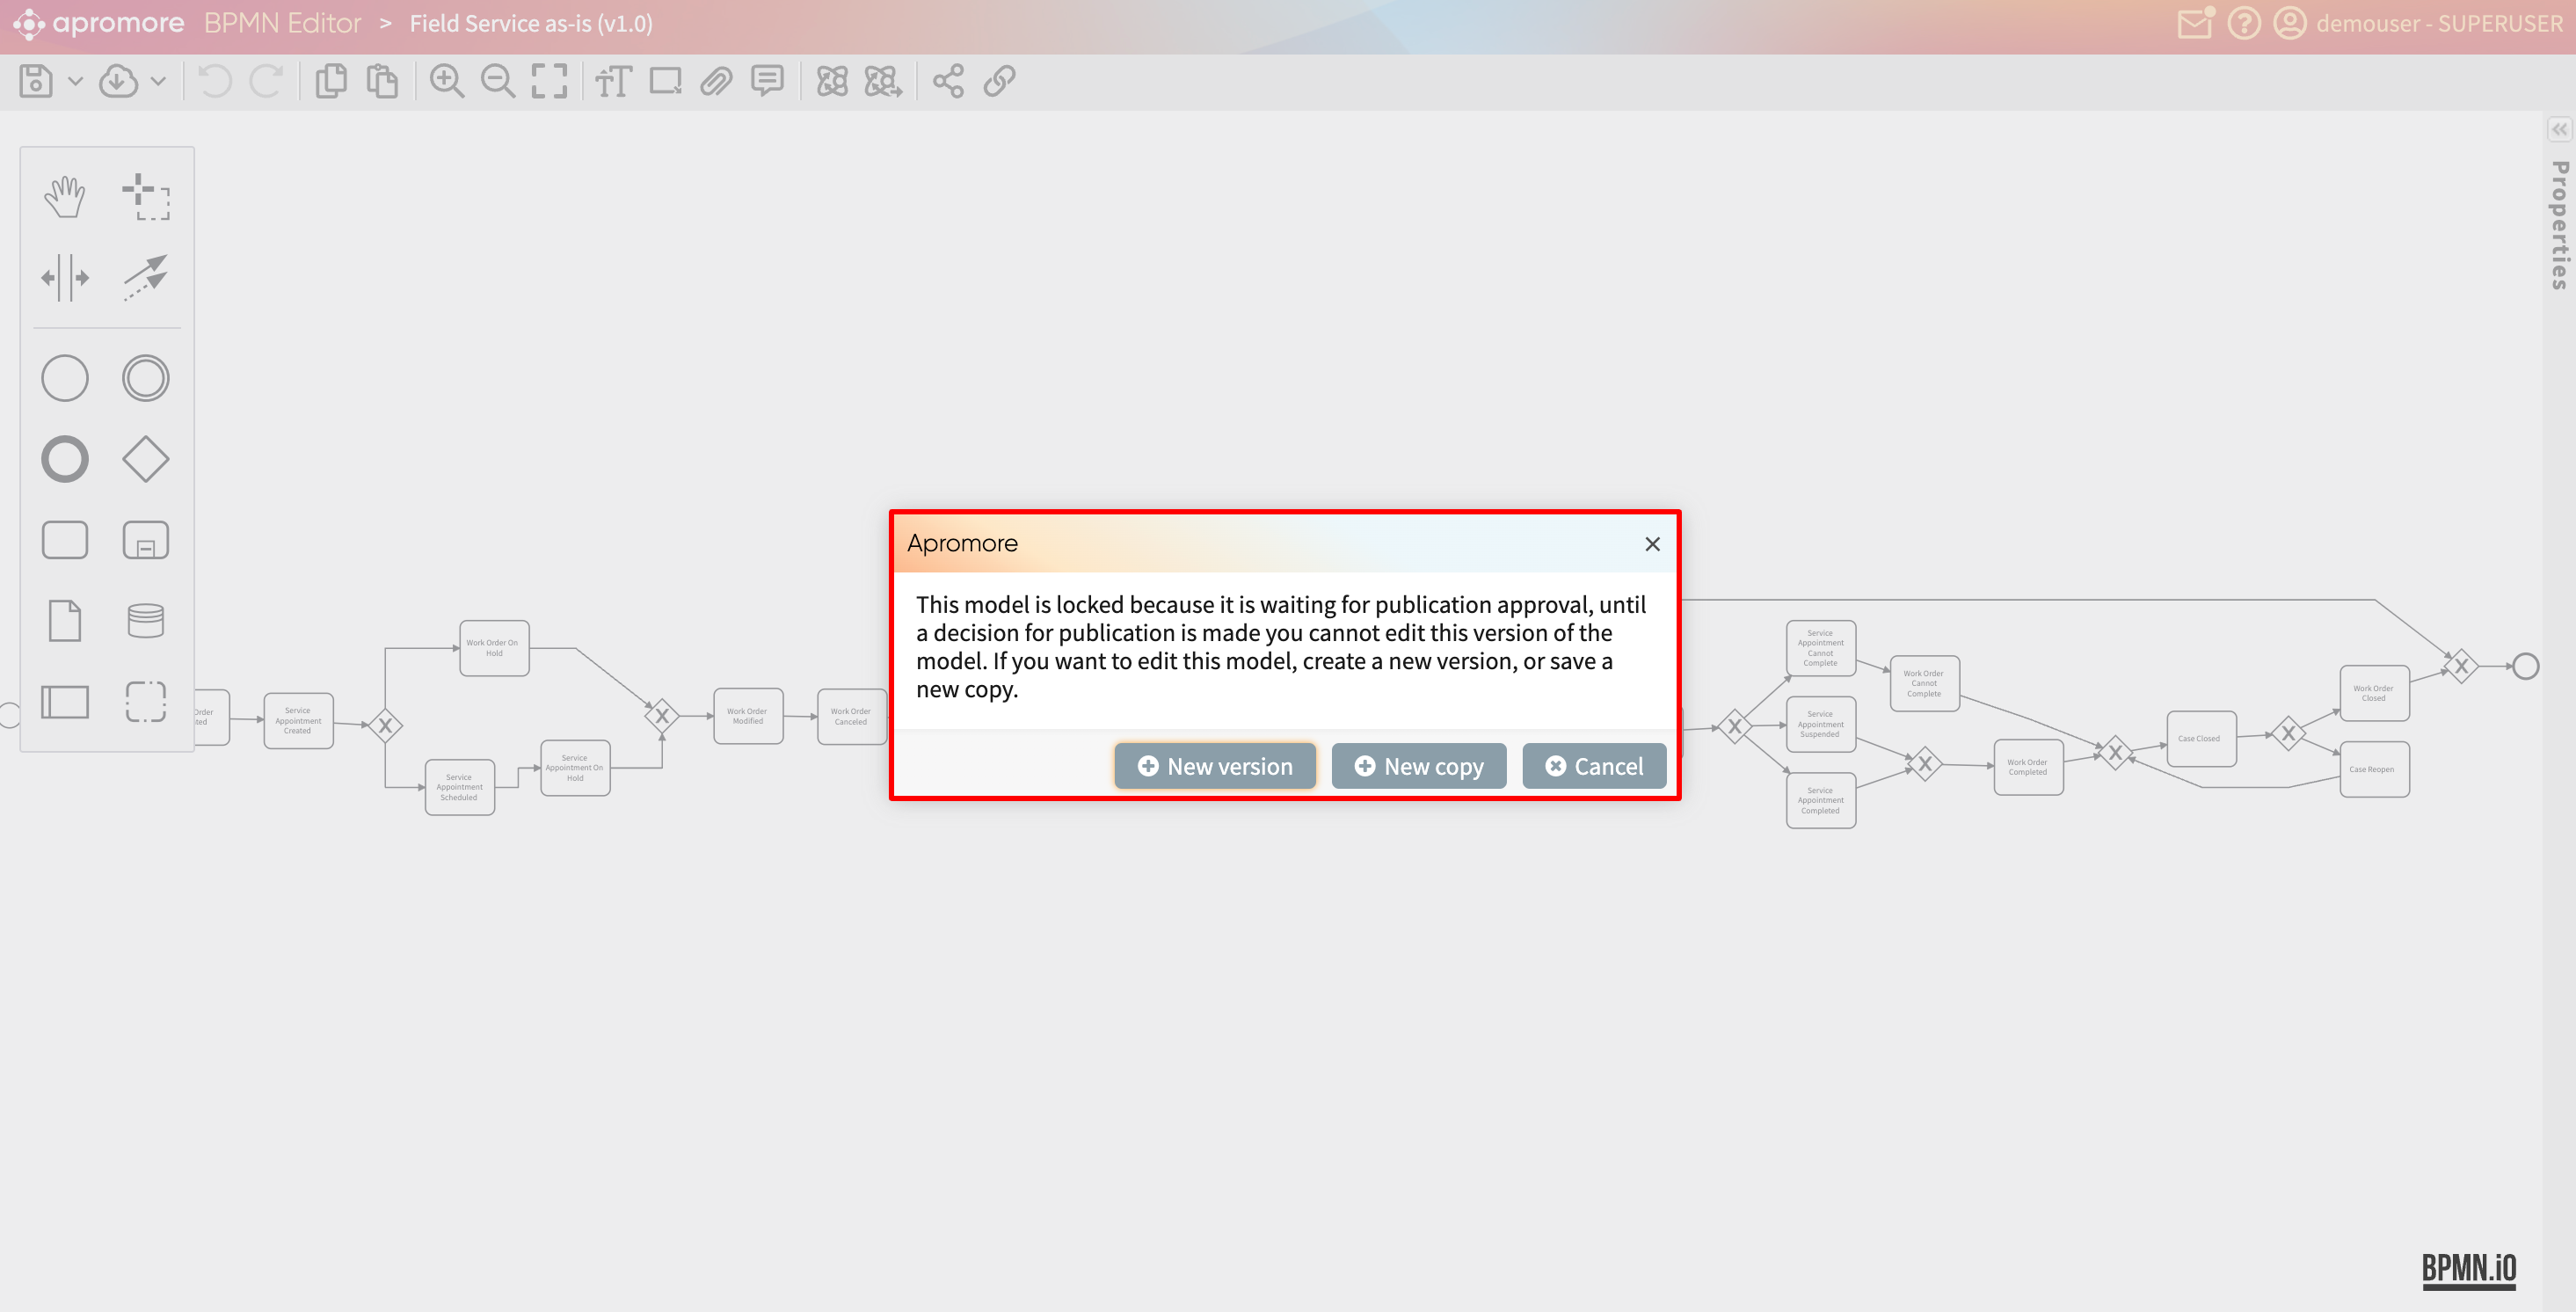
In Portal, select a model version and click Publish in the right-click (the publication of a process model version can also be triggered from the top bar of the BPMN Editor).
We receive a notification saying a published model cannot be edited. Click Continue.
Note
Make sure that your user belongs to at least one Requester group and that such a group is linked to an Approver group.
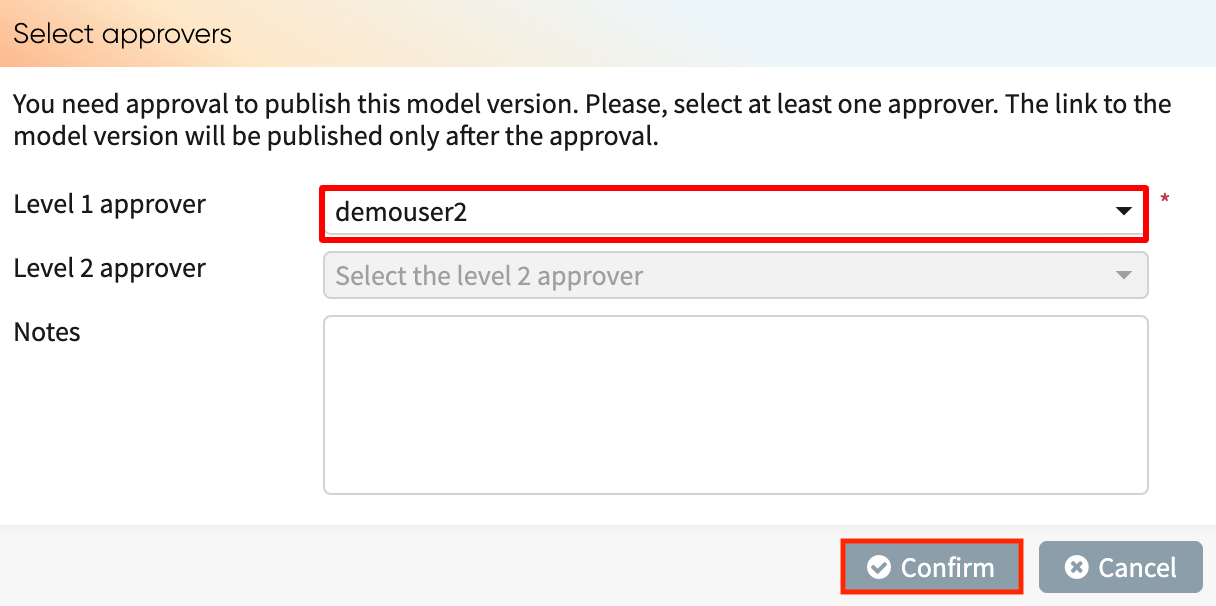
A message will appear with a Select approver dropdown. We must select the user who will approve the publication of the model version. The users displayed in the dropdowns belong to the “Approver” groups associated with the “Requester” groups that the current user belongs to. At least the Level 1 Approver must be selected.
Select a Level 1 approver and a Level 2 approver (if needed).
Enter notes for the approvers (if required) and click Confirm.

The model version is locked. If opened, it cannot be edited until a publication decision is made.
When the requester clicks Confirm, the Level 1 Approver will receive a notification.
Approving or rejecting a model publication request
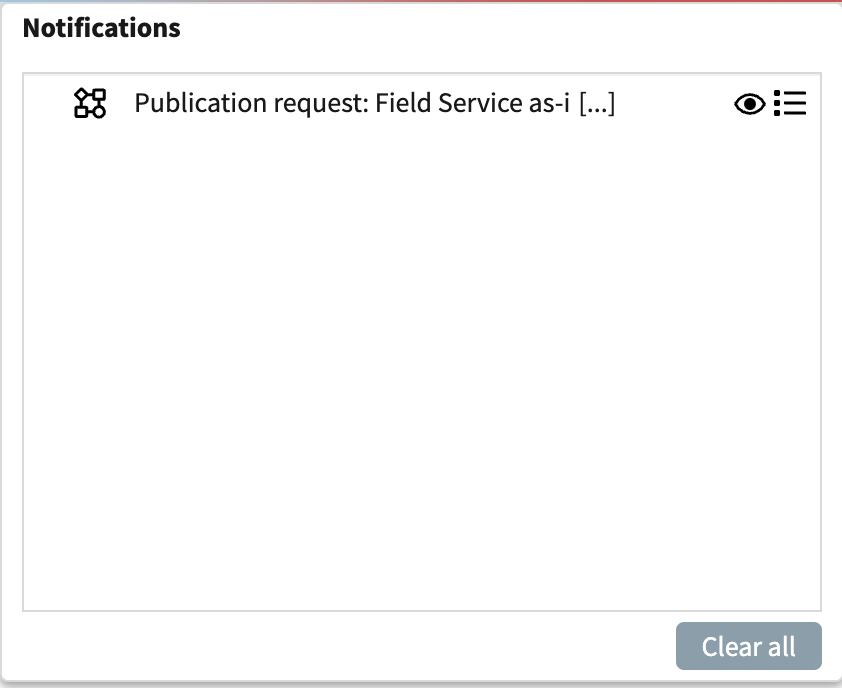
After the requester has sent a publication request, the approver receives a notification about the request. The notification is received through the notification center or via email (if email notifications are turned on).
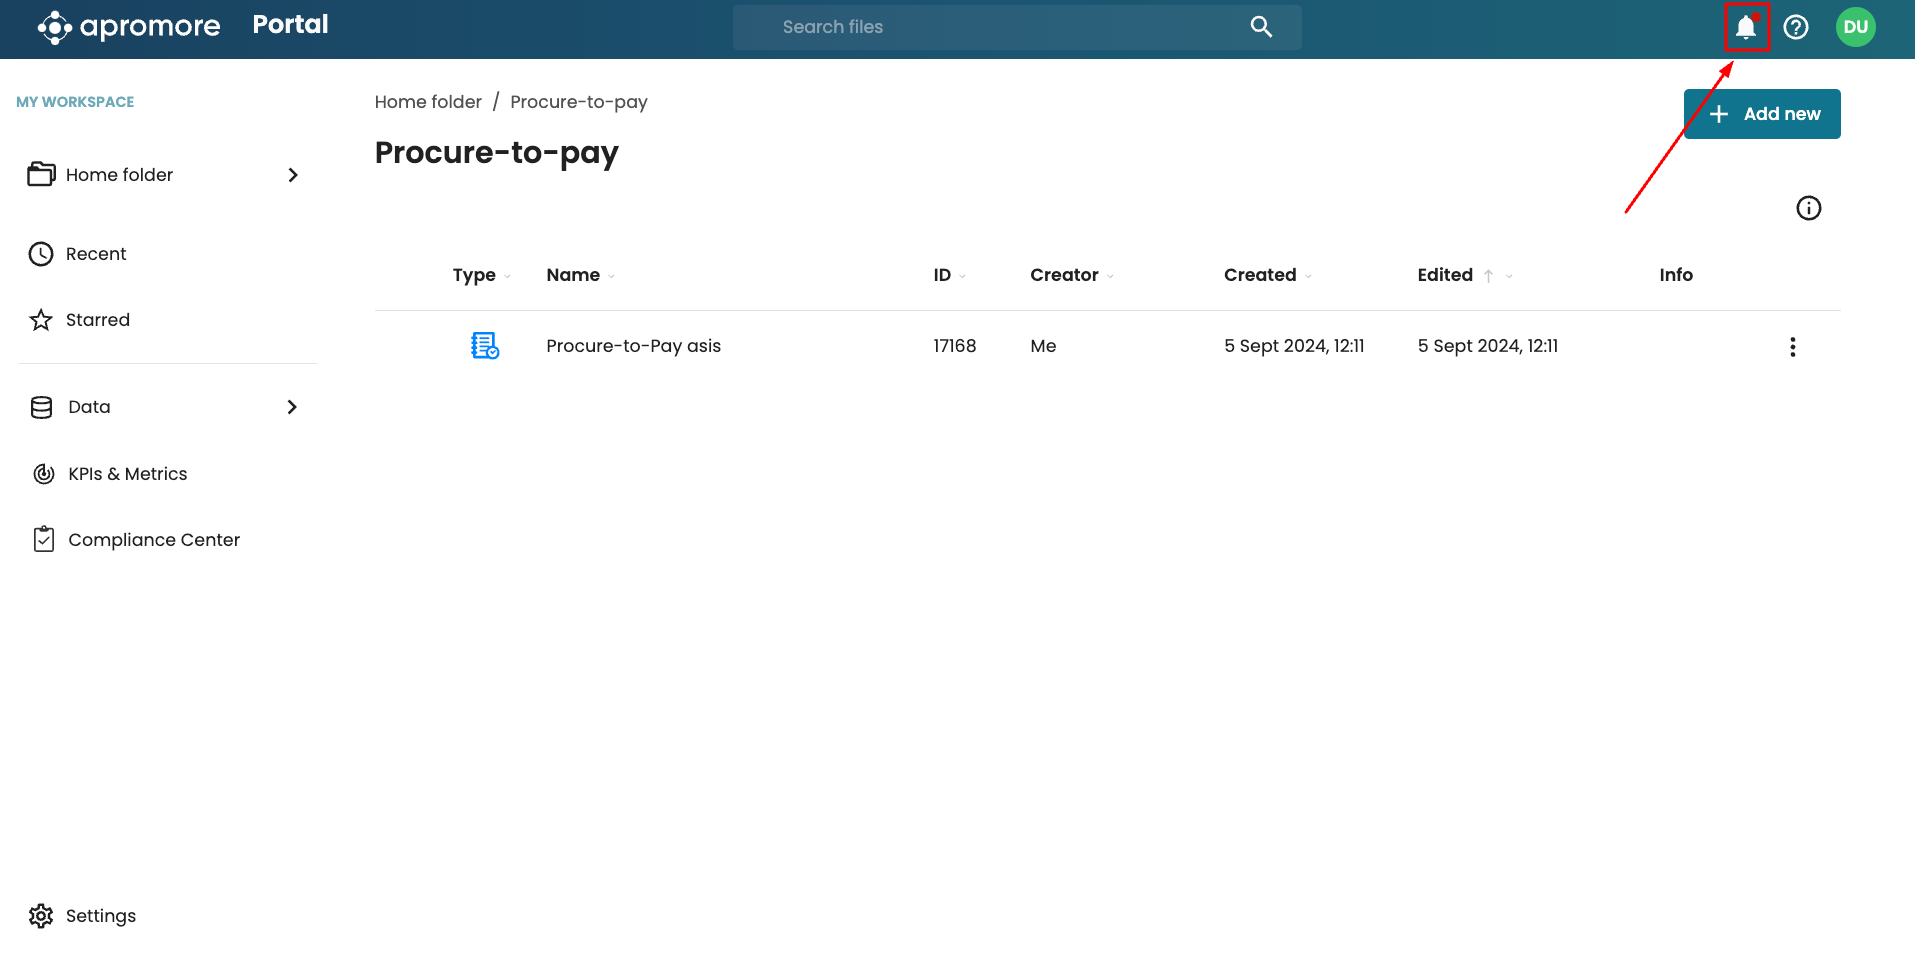
When there is a new notification, a red dot appears on the bell icon in Portal. Click the bell icon to open the notification.
We see the approval request.

The approver can:
Click the model name to view the model to be published.
Click the decision icon
 to approve or reject for publication.
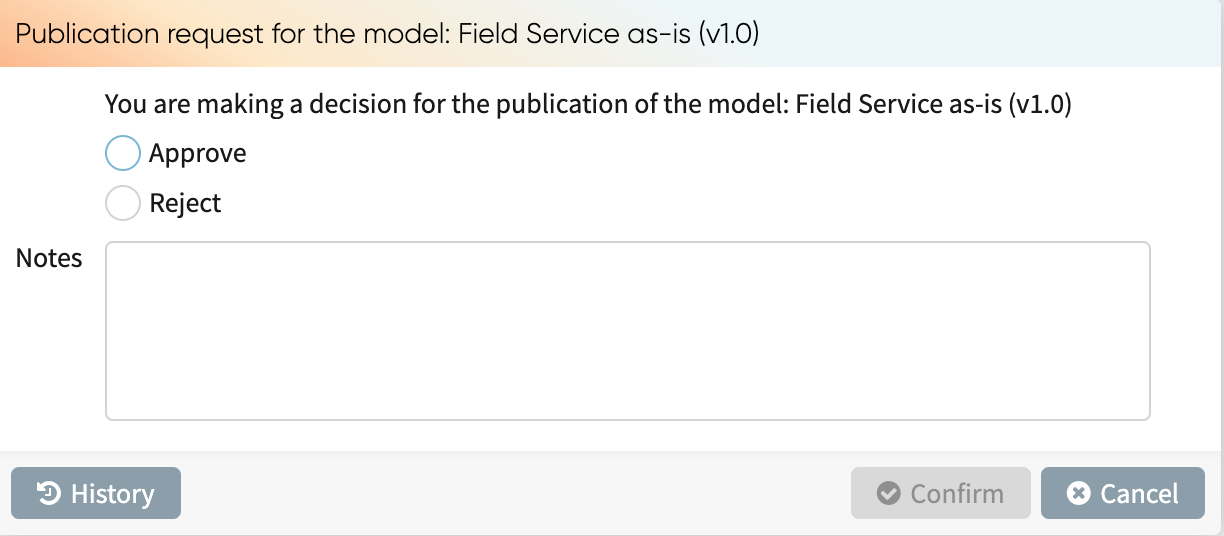
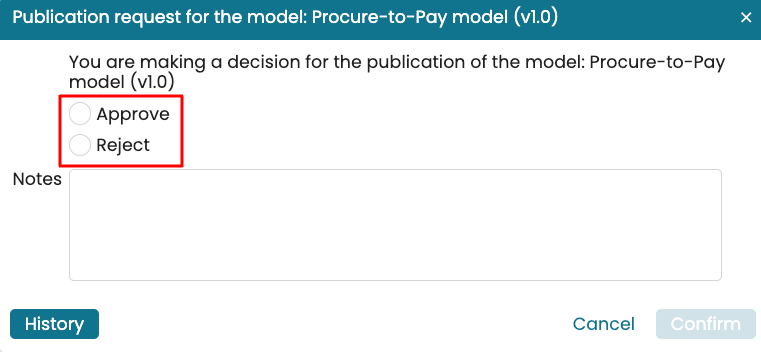
After clicking the decision icon, Apromore opens a window where we approve or reject the request.
To approve the model publication, Select Approve and write additional notes if required.
To reject the model publication, Select Reject and write additional notes.
Note
Adding a note is mandatory for rejections.
Approving or rejecting publication request through email
If the approver has turned on email notifications for BPMN model publication requests, they will receive an email about the requester’s publication request.
Note
Email notifications can be enabled in the Notification settings. To learn how to turn on email notifications, see Notification settings.
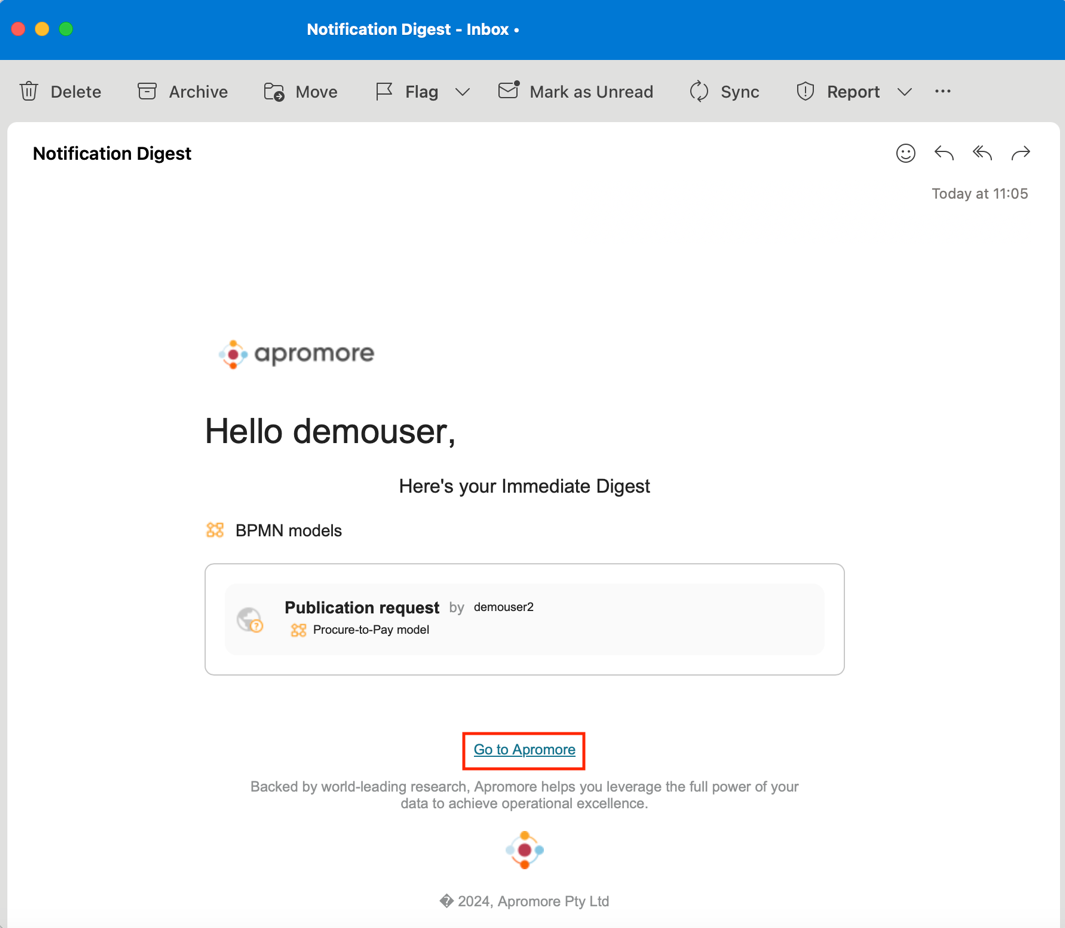
Open the email.
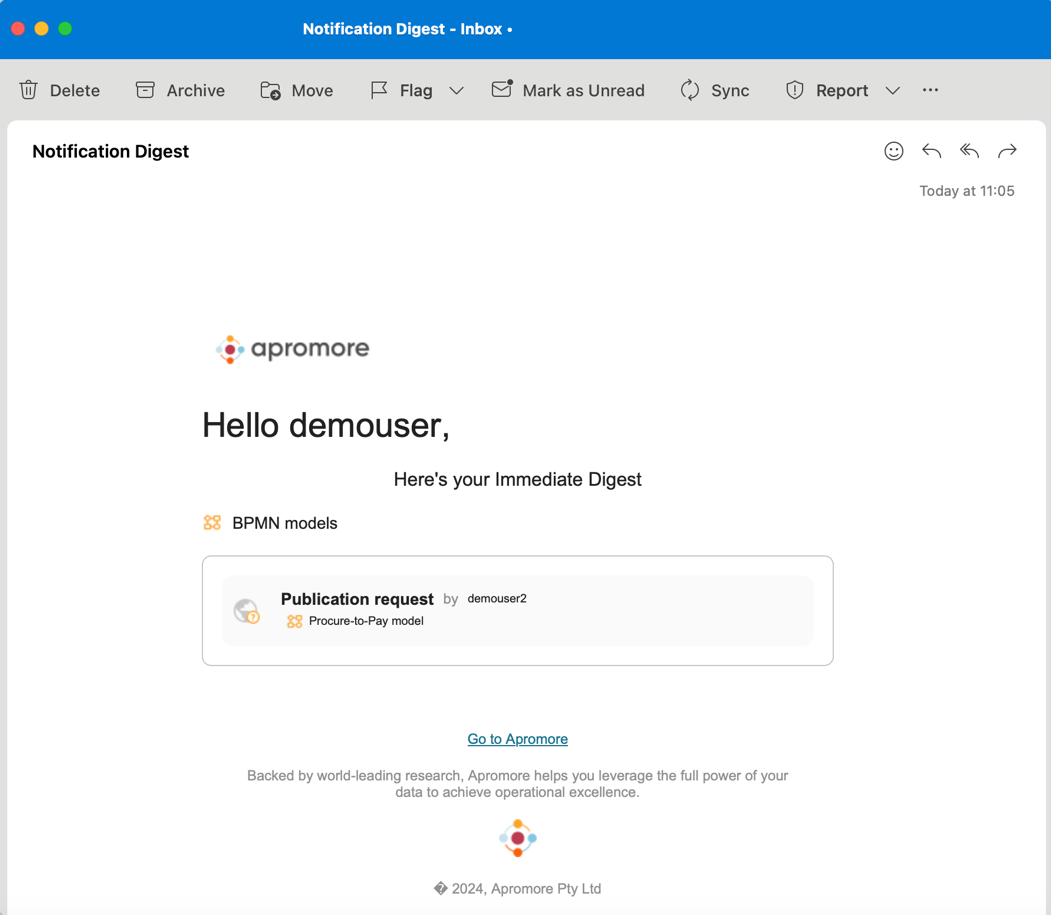
We receive information about the publication request. The screenshot shows that demouser2 wants to publish “Procure-to-Pay model”. To accept or reject the publication request, click Go to Apromore.
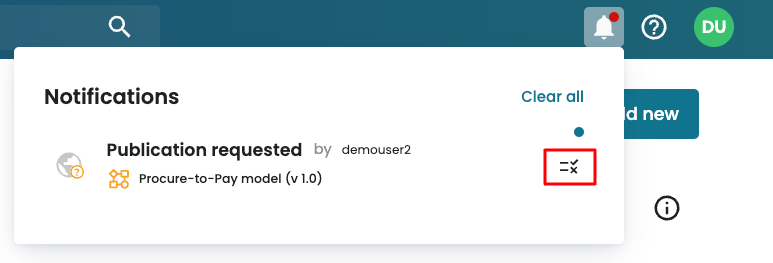
This redirects you to your Apromore instance login page. Once logged in, a red dot will appear on the notification bell icon, indicating new notifications to review. Click the bell icon to open the notification.
We see pending notifications.
In our case, the approval request is from another user, demouser2.
To approve or reject the request, click the decision icon  .
.
We can then approve or reject the publication request
Publication approval workflow: Level 1 approver approves
If there is only one approver (i.e., only Level 1) and they approve the publication, the model is published, and its public link is provided. If there are two approvers (Level 1 and Level 2) and Level 1 approves the publication, the Level 2 approver will receive a notification and be asked to decide:
If the Level 2 approver rejects the publication, the model is unpublished and unlocked (i.e., editable again), regardless of the Level 1 approval
If the Level 2 approver approves the publication, the model is published, and its public link is provided. We will be notified about any decision made in the Notification Center.
Publication approval workflow: Level 1 approver rejects
If the Level 1 approver rejects the publication:
The model is unpublished
The publication approval process is aborted and will need to be retriggered.
If a Level 2 approver was assigned, they will not receive a notification.
Publication approval workflow: Model is published
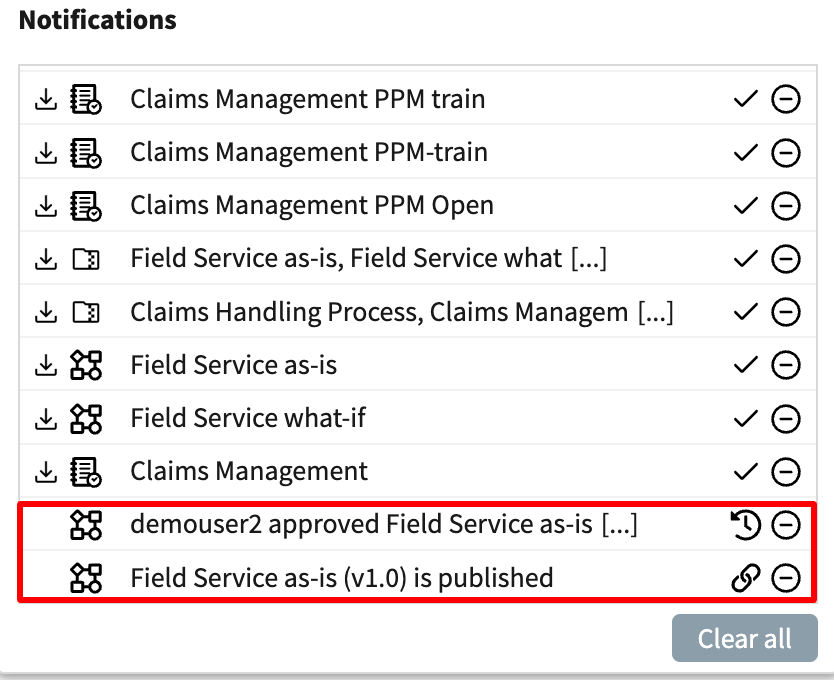
Once the model publication is fully approved, we are notified via the Notification Center.
By clicking the “link” icon/button, the shareable link of the published model version is copied. All users having access to the shareable link can see the model version in the view-only mode.
Note
When publishing a model, we can set how long the model will be published. After the set time, we get a notification to either renew the publication or unpublish the model. By default, the model is published indefinitely. To set a publication expiration date, please create a support ticket.
Publication approval workflow: States
The status of the publication workflow of a model version is indicated via icons in the Portal.
Waiting for publication
When we request the publication of a model, the state of the model version will be changed to Waiting for publication. This is indicated by an hourglass icon next to the process model, in the Portal, and in the Versions tab of the info panel.

The model version remains in the Waiting for publication until the last approver records a decision.
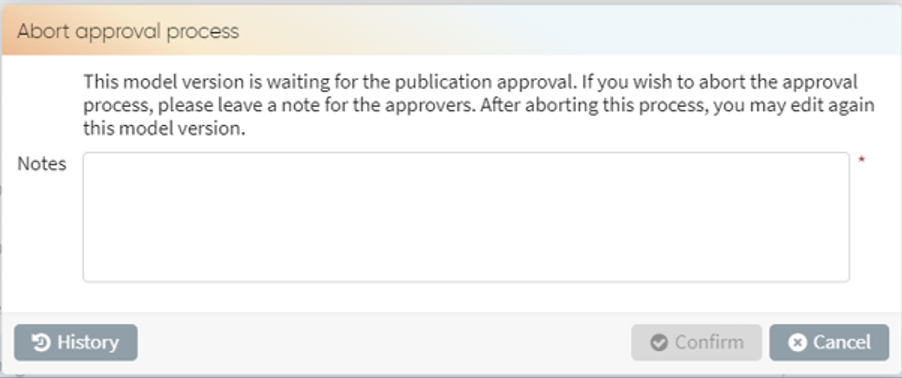
When clicking the hourglass icon in the Details section, the Abort publication window appears.
By clicking Confirm, the publication process is aborted, and the approvers are notified via the Notification Center.
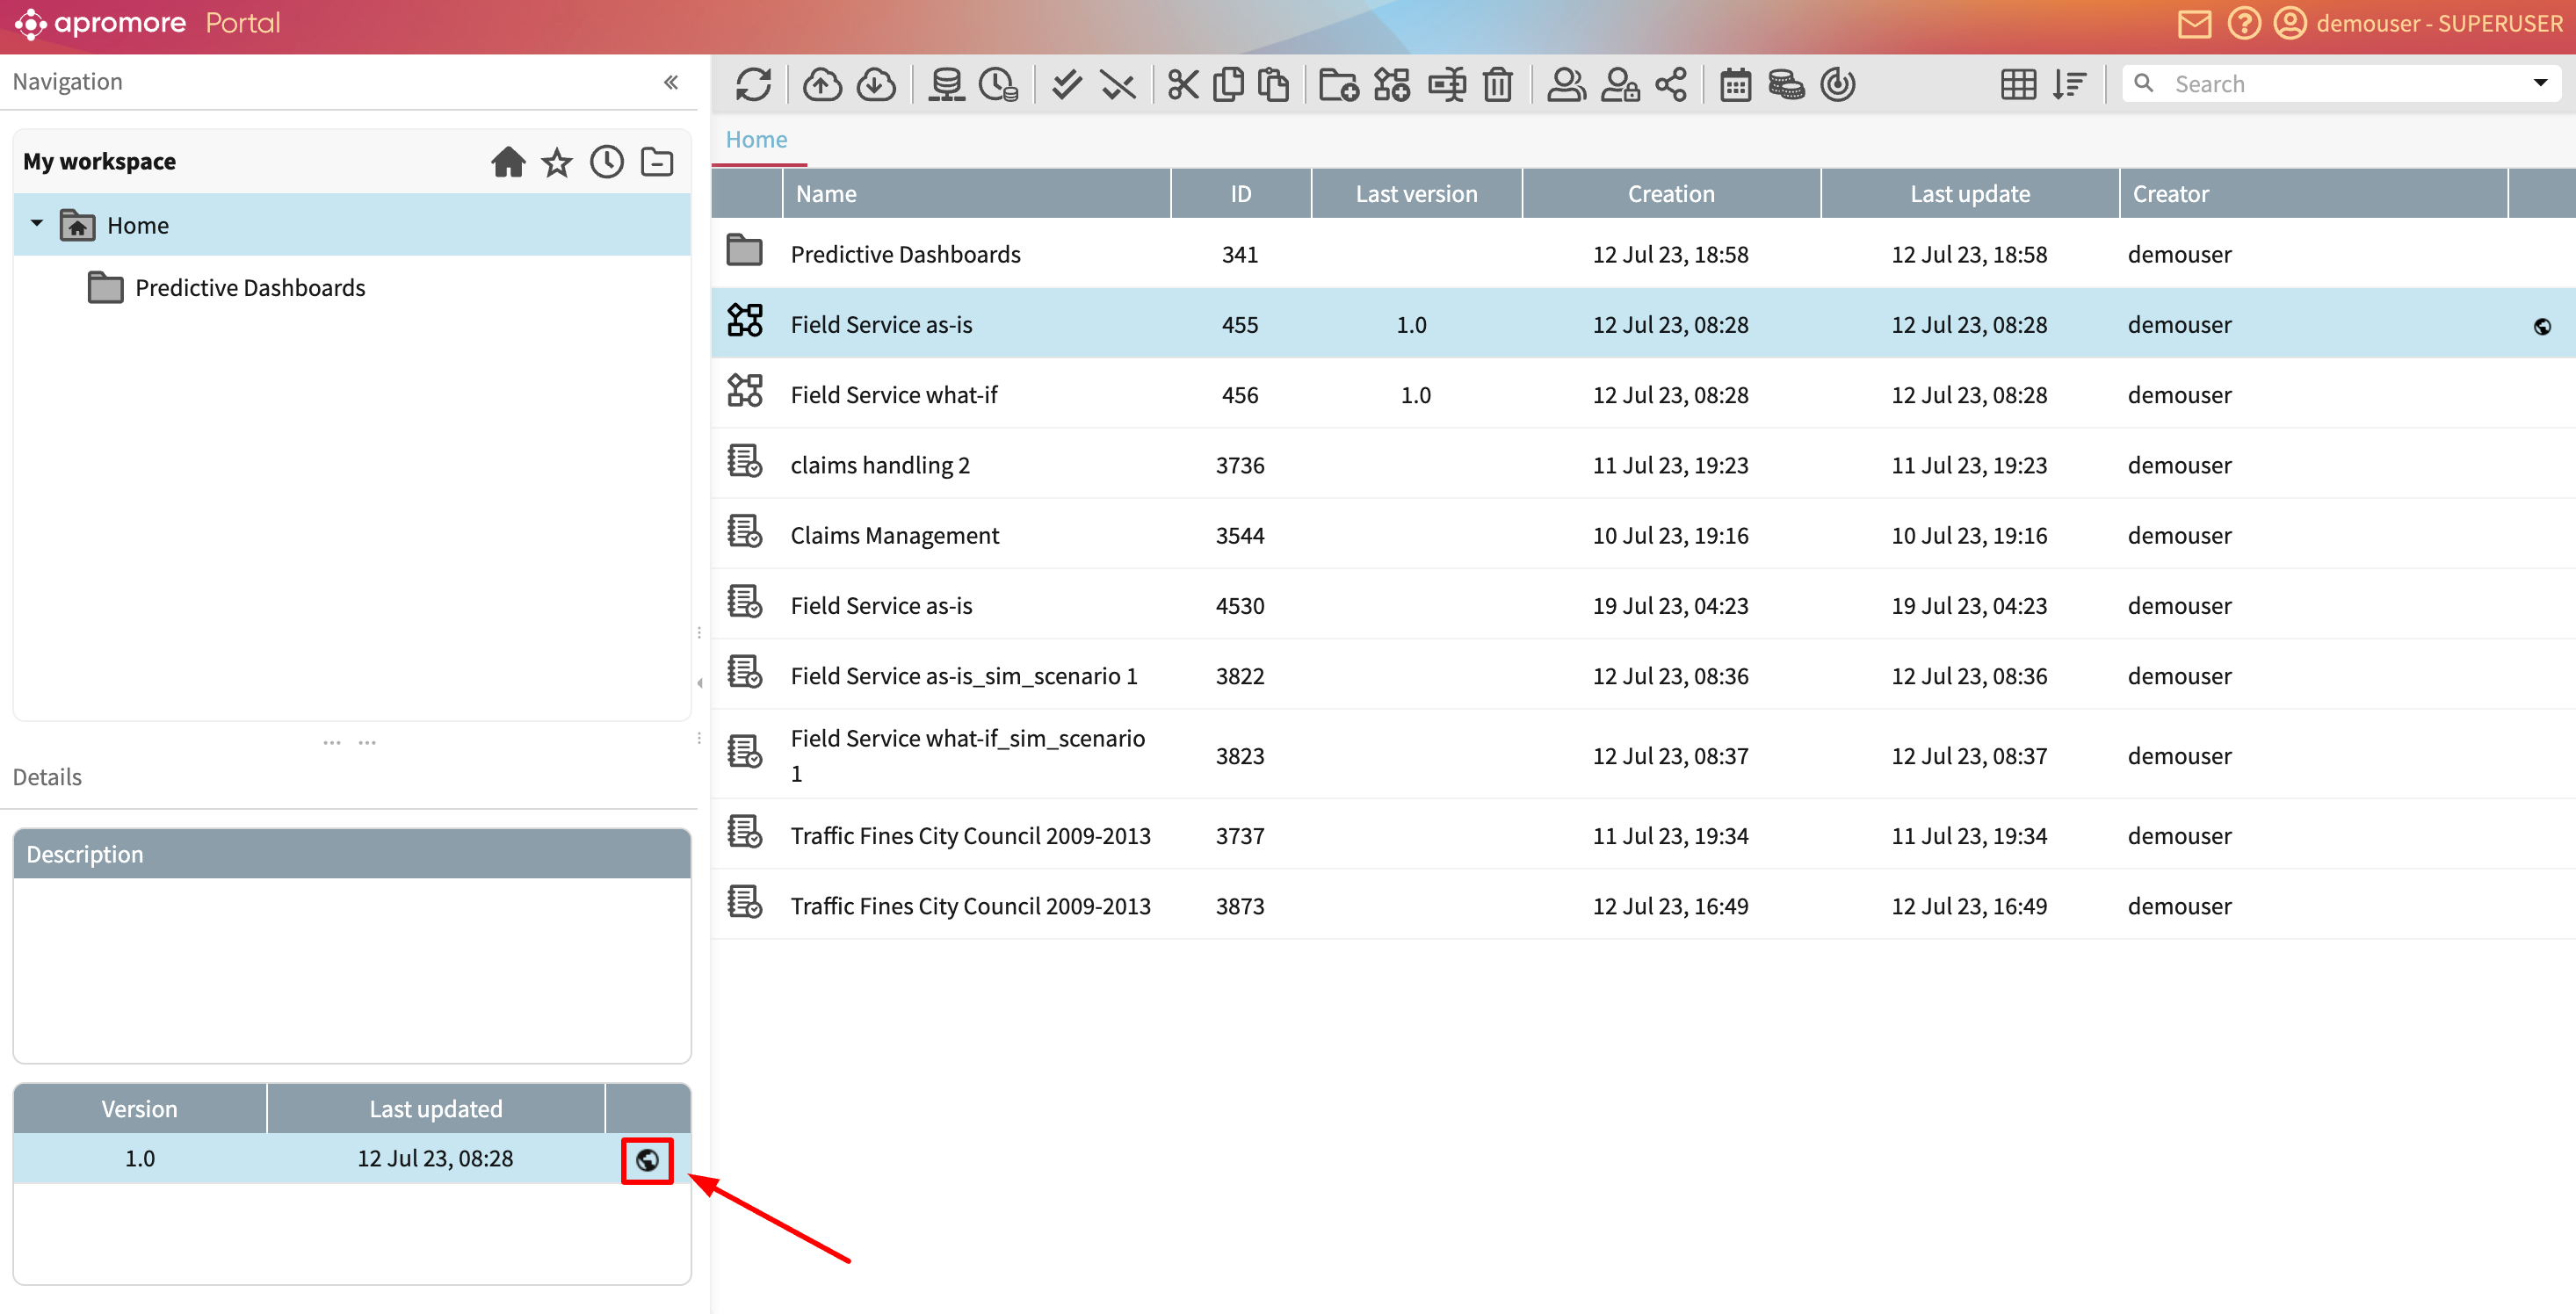
Published state
When the last approver approves the model publication, the state of the model version is changed to Published. A globe icon is displayed next to the model in the Portal and the Details section for the corresponding version.
When clicking the globe icon in the Details section, a pop-up window containing the shareable link appears. This window includes an Unpublish button.
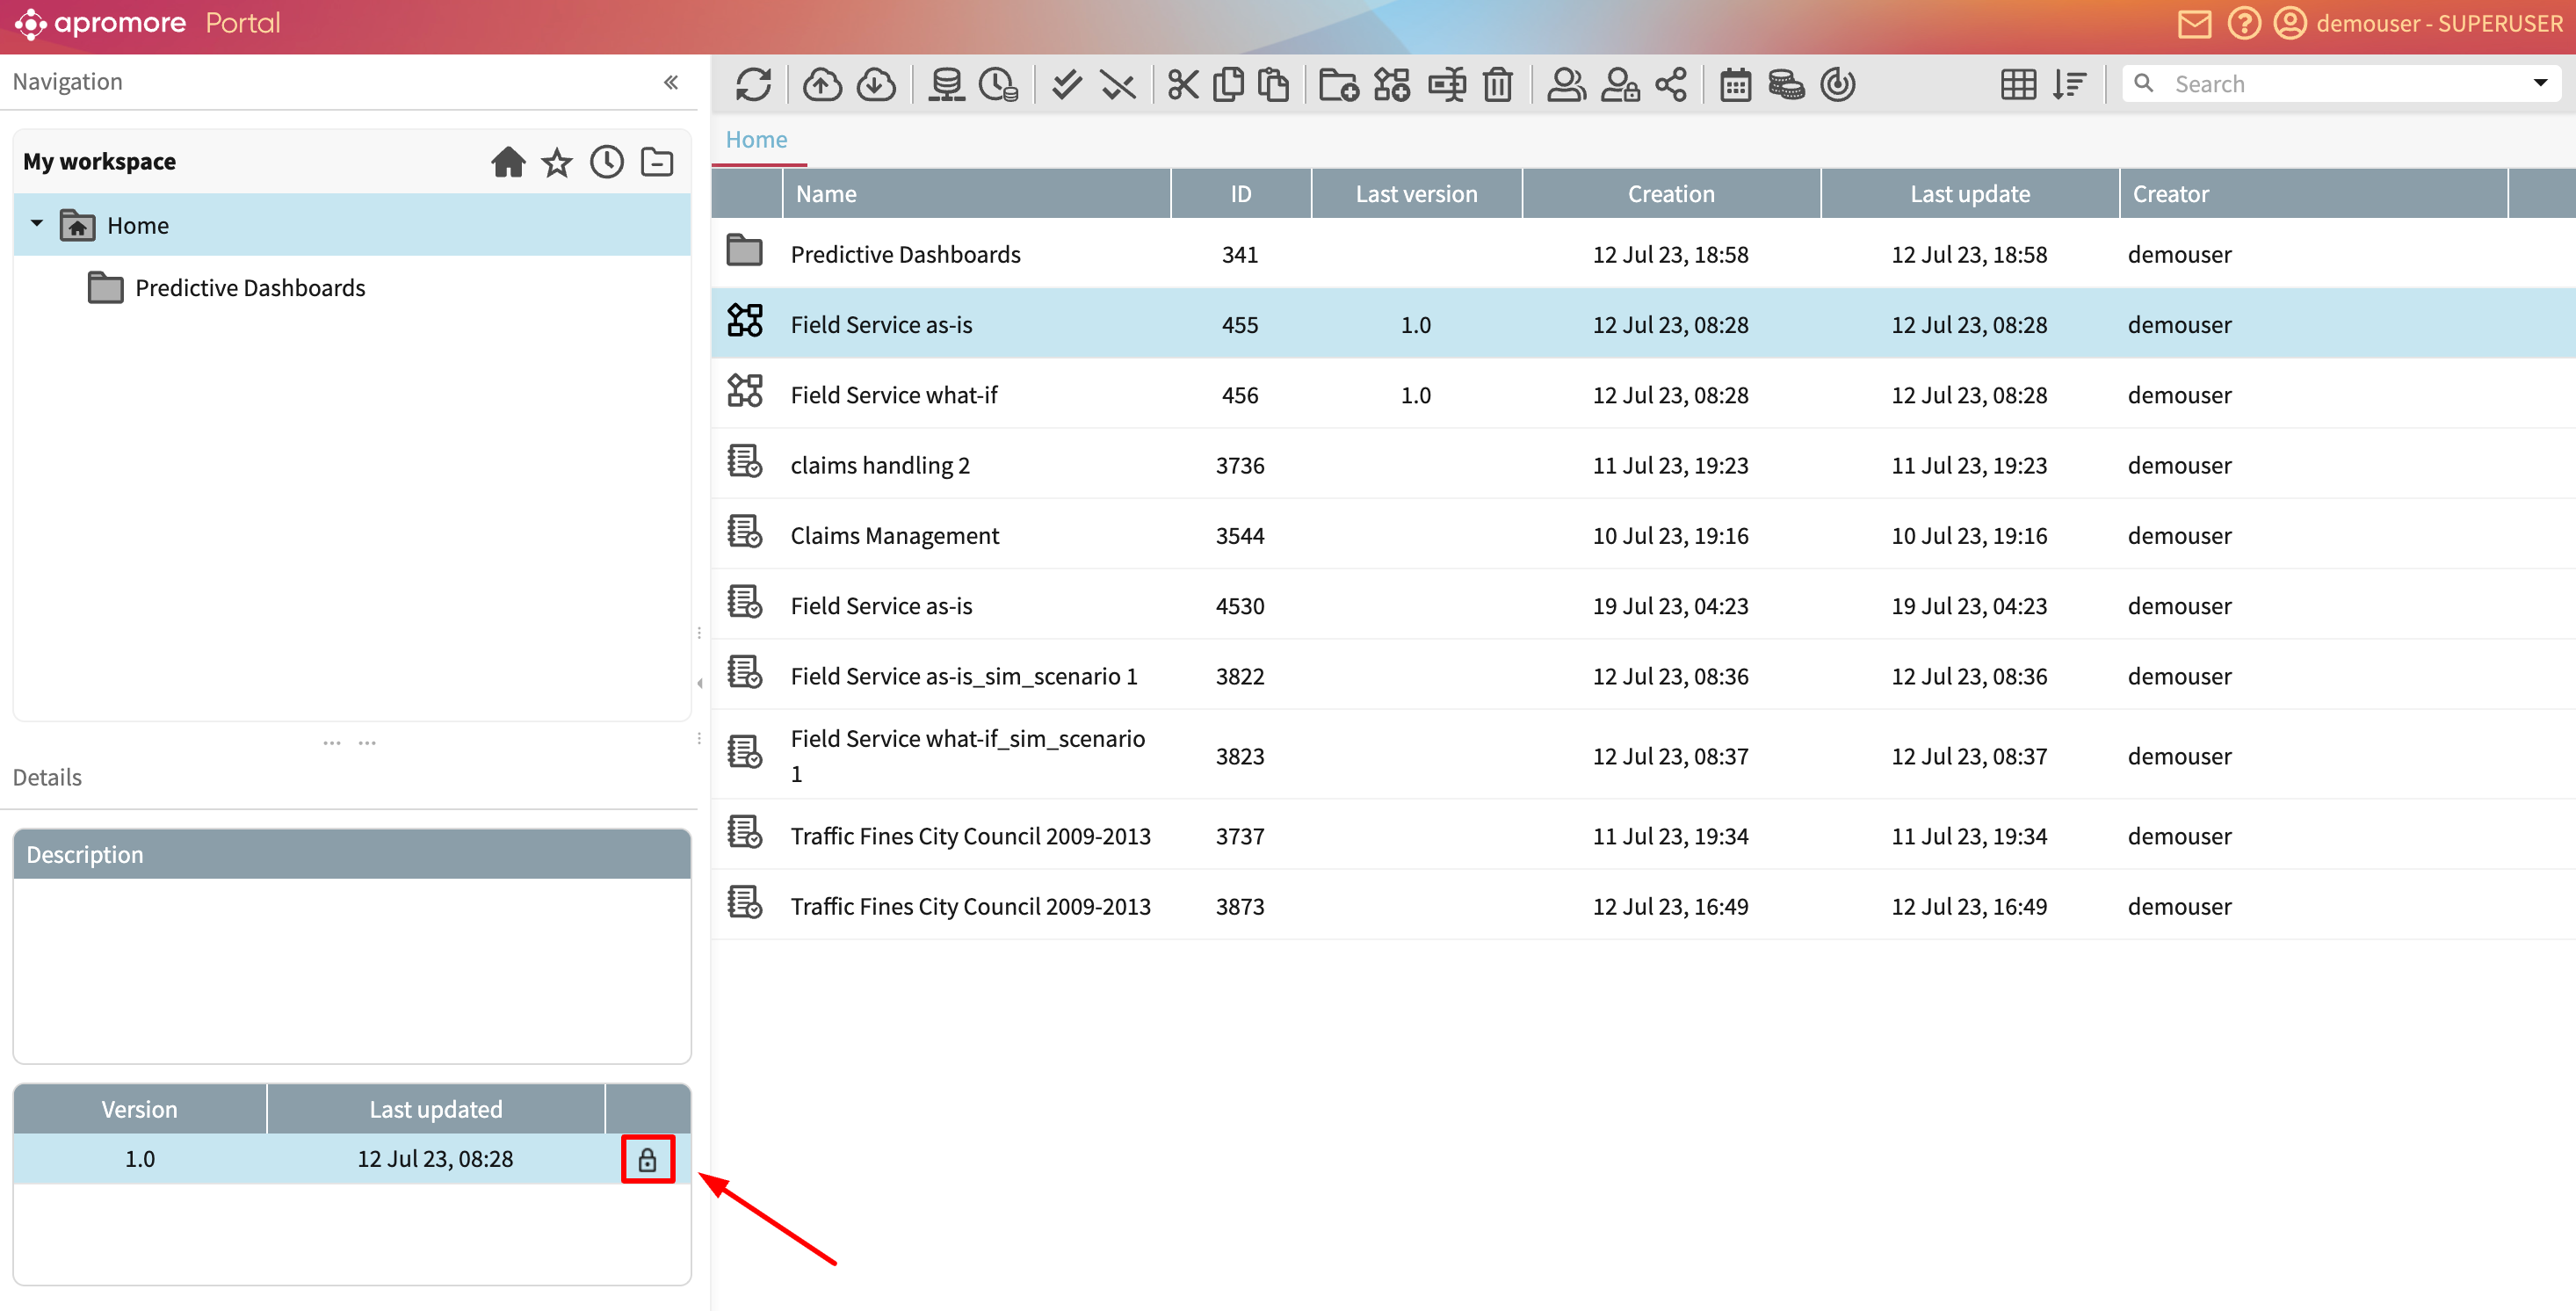
Locked state
When we unpublish a model version, its state is changed to Locked.
A lock icon is displayed in the Details section next to the corresponding model version.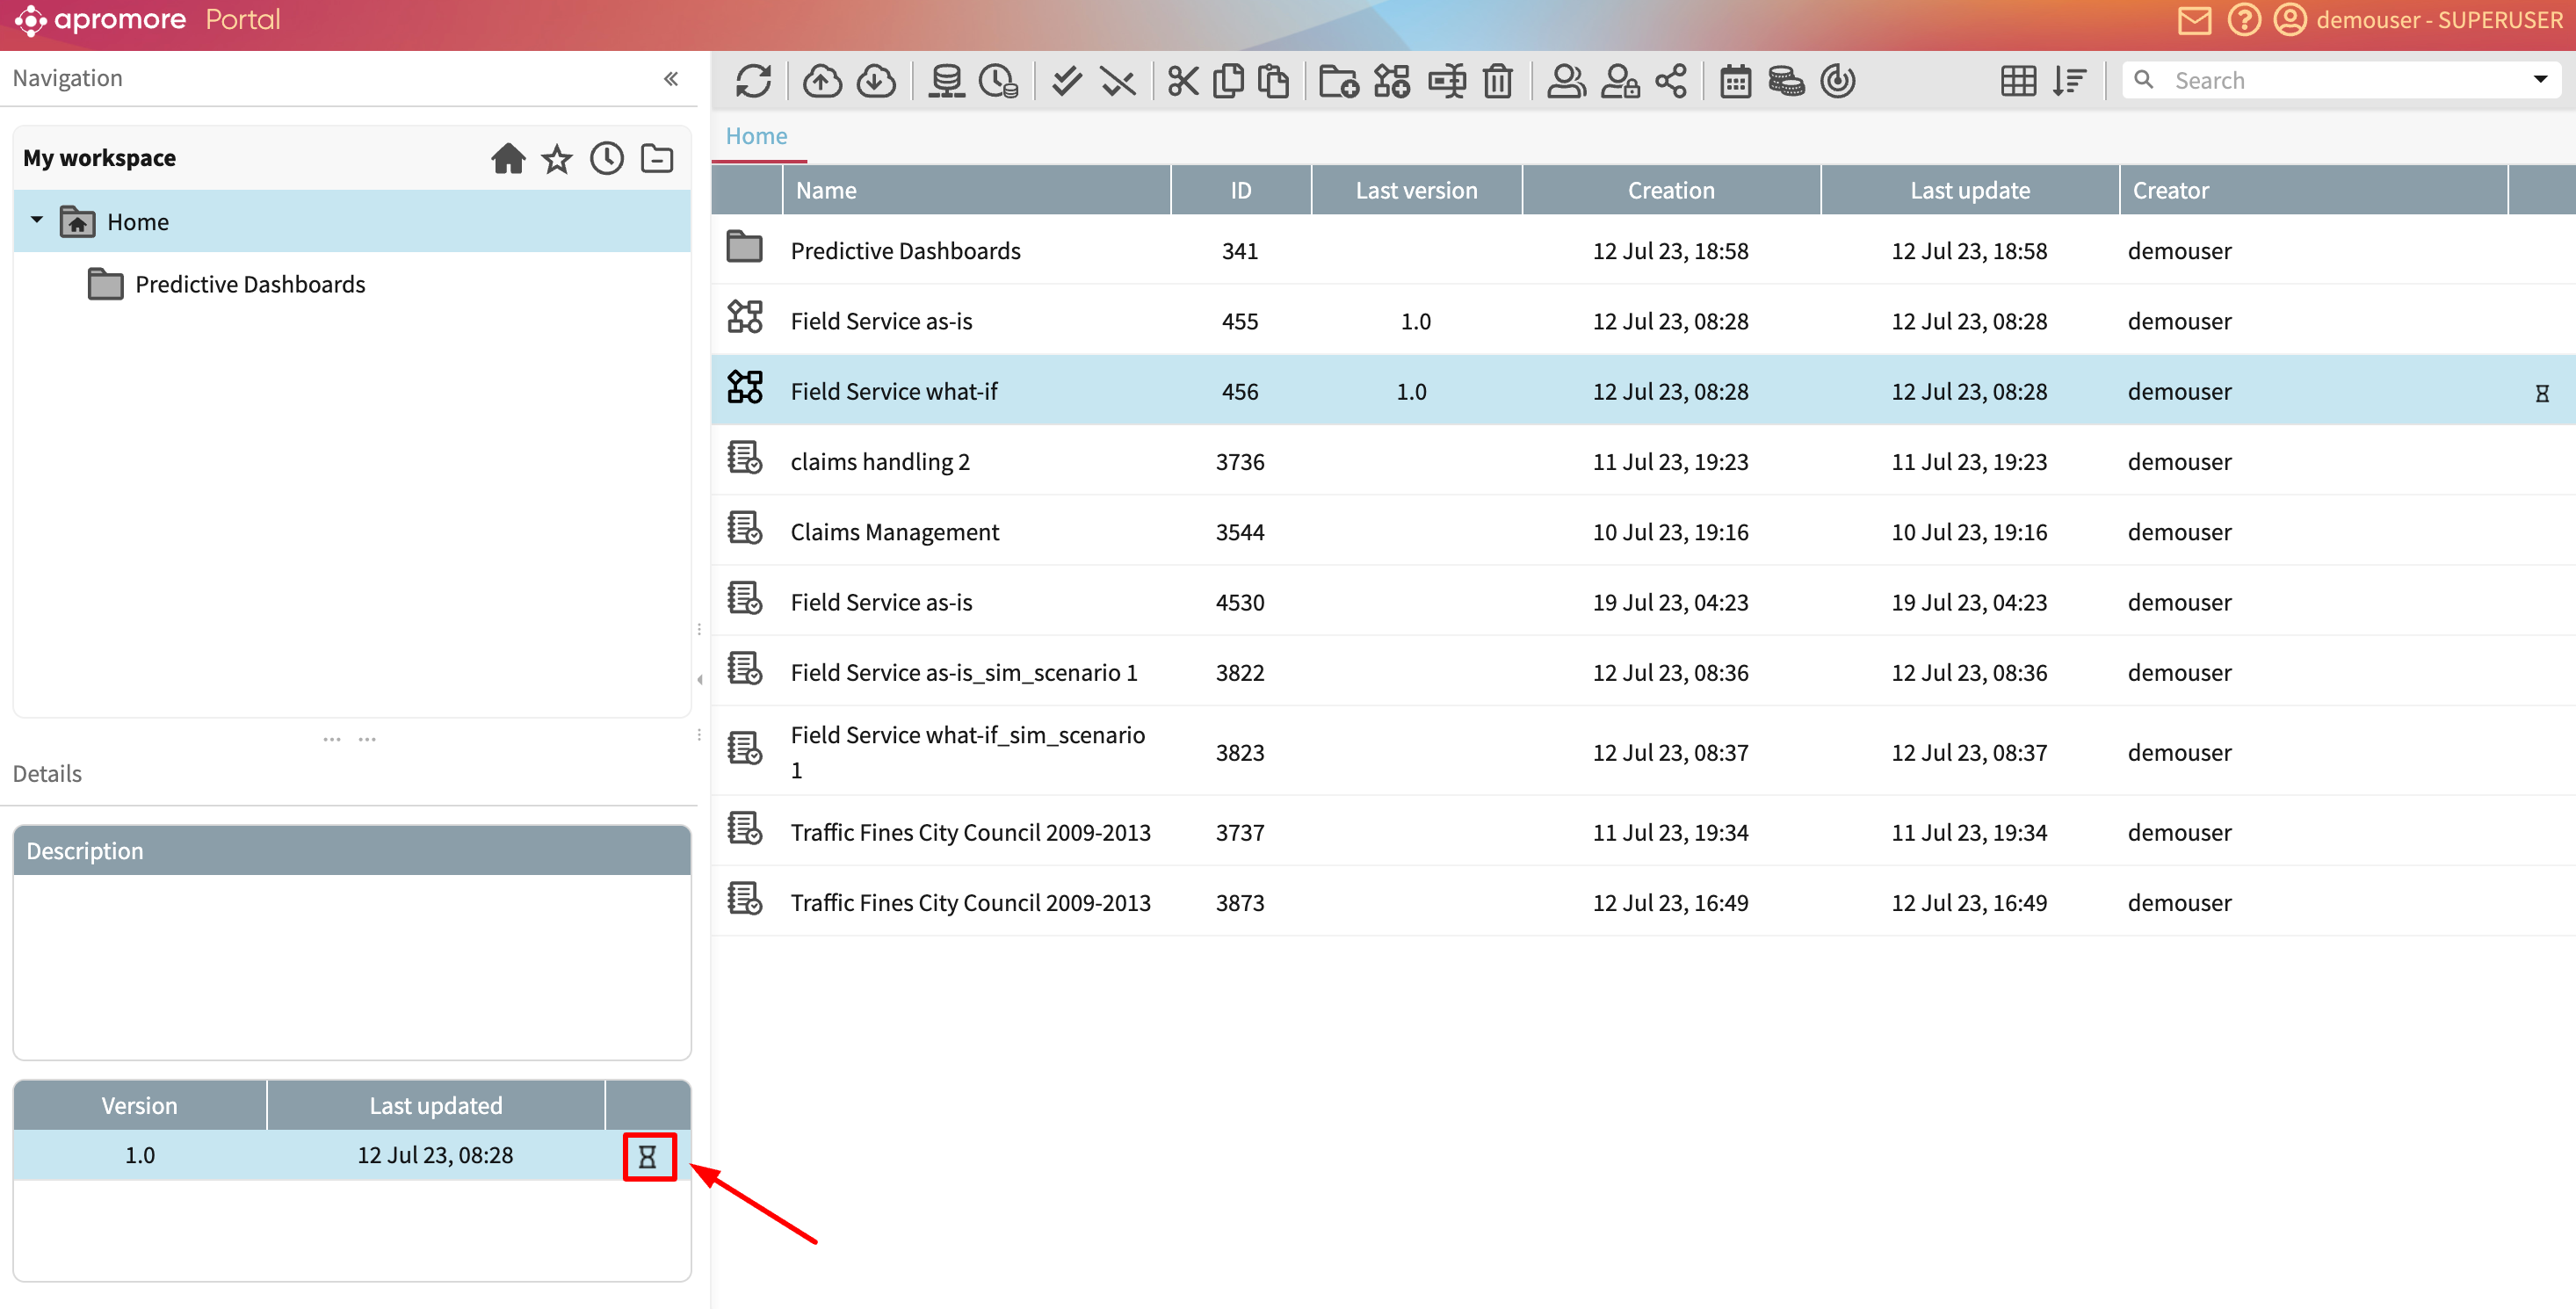
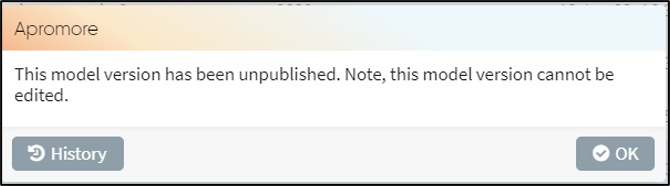
When clicking the Lock icon in the Details section, an information window appears.
Publication approval process: Publication history
We can also check the publication history of a process model by clicking the History button, either in the decision-making window (for approvers), in the notifications (for requester), or in the state window (for everyone having access to the model).
Publish different model versions
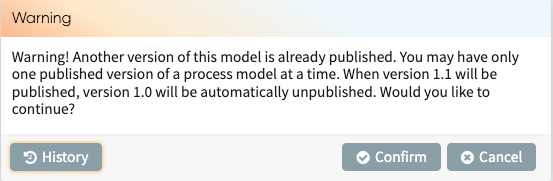
When we have different versions of a model, we can only publish one version at a time. If we want to publish another version of a published model, we receive a warning that the last version will become unpublished.
Click Confirm to publish the new version.
View model history
To enable us to keep track of changes to a published model, we can view the model history. The model history displays previous versions of the model and the time they were last updated. We also see the description (if any) of the published model.
To view the model history of a published model, open the model and click the “info” icon.
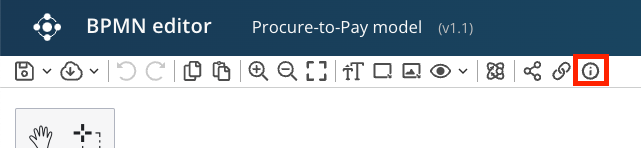
This displays the model history.
The screenshot shows that version 1.1 is the published version and version 1.0 is now unpublished.
We can view any of the previous model versions by double-clicking it.