Manage a task mining project
Managing a task mining project is typically done by a Process Analyst. They determine the data to be collected for task mining, how the data is processed, and the agents that would contribute to the project.
Create a project
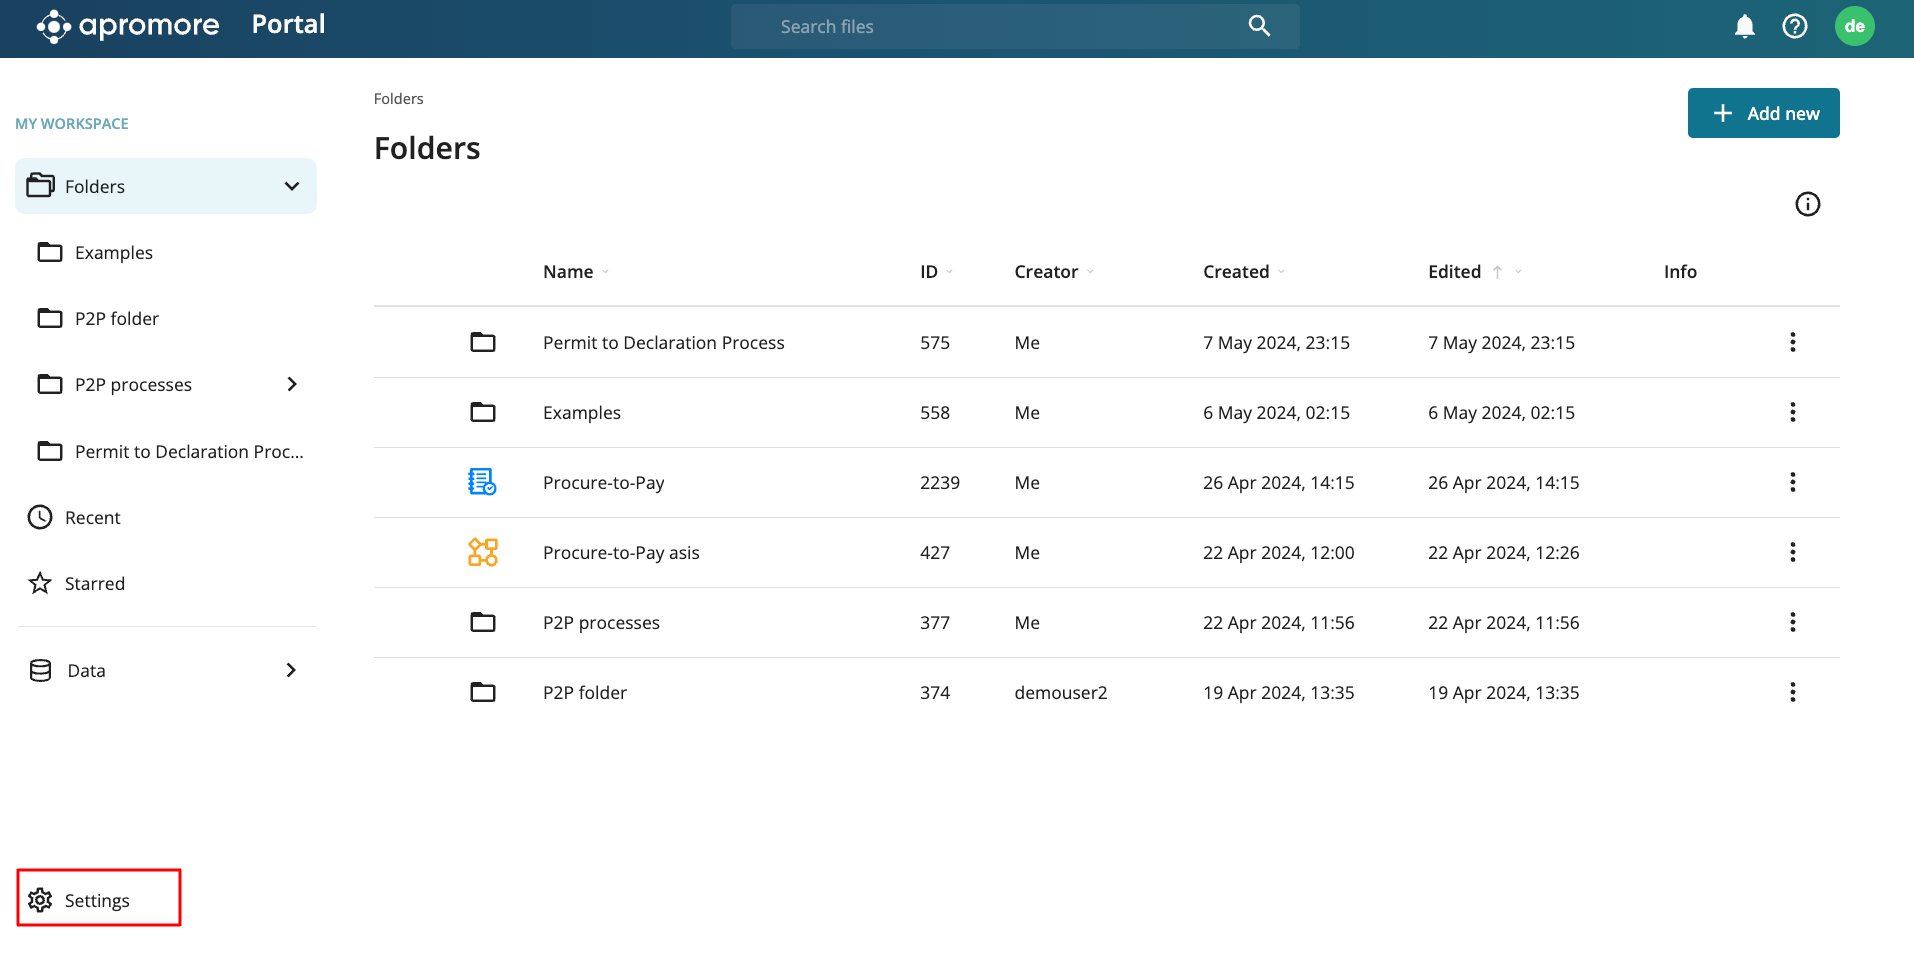
A task mining project is an assignment that involves one or more digital agents sending configured data for tasking mining. The data from these agents are eventually combined and transformed into a task mining event log. From Portal, go to Projects.
This opens the Projects tab of the Task mining page. To create a new project, click Add project.
Note
To add a task mining project, the user must have the “Manage task mining projects” permissions.
Specify the project name and project description. Click Add to confirm the project.
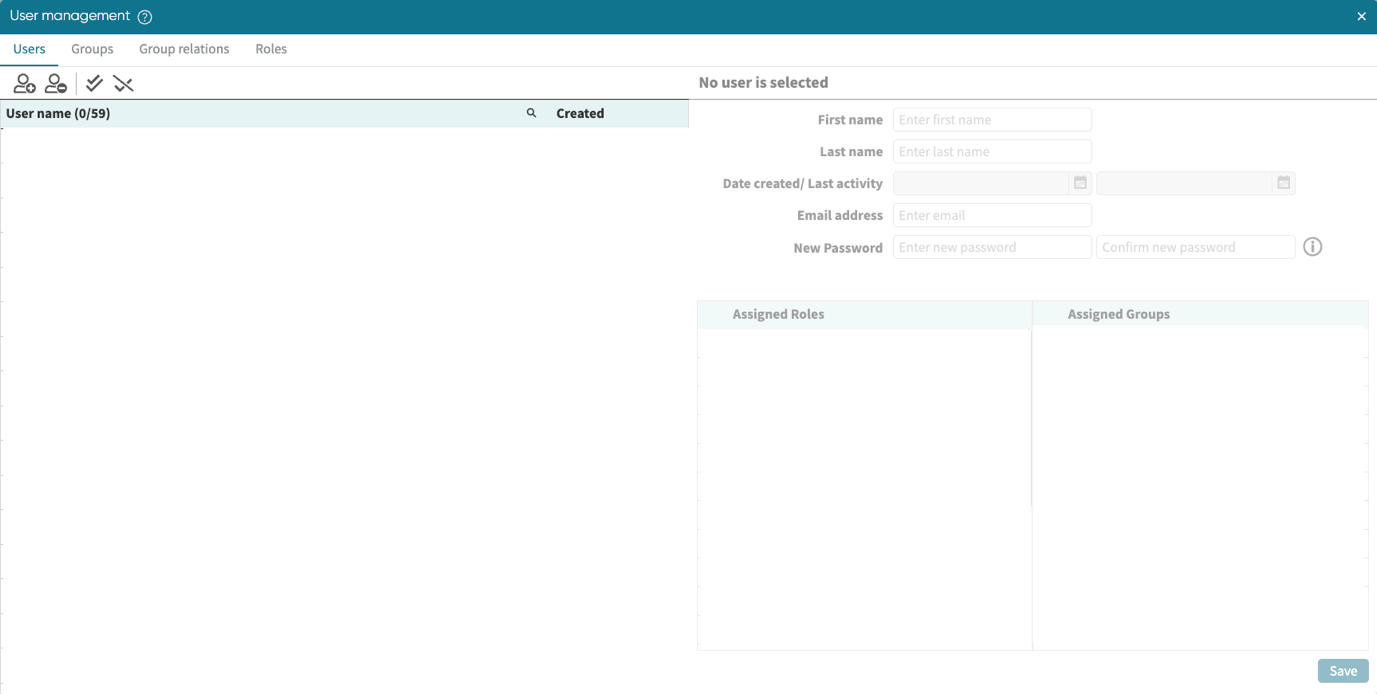
We see the new project environment and its information.
Start a project
After creating a project, the project appears in Draft mode. In other words, the project has been created but not started. To start a project, we need to:
Add agents.
Upload a data collection configuration file.
Add agents to a project
We need to specify what agents would contribute to this project. Agents are PCs that have installed Apromore’s digital agent. They send information about user interactions with the PC for task mining. To learn more about installing agents, see Set up the digital agent. To confirm an Apromore digital agent has been successfully installed, the PC information should appear in Agents.
To confirm, click Agents.
A list of agents appears. To add agents to a project, click Add agents.
Select the agents to add and click Add.
The user details appear with a pending status until the project starts.
Bulk add agents to a project
When managing task mining projects with many agents, adding them one at a time using the search dialog is tedious. We support bulk-adding agents to a project using a list of emails.
To add agents, click Add agents. We can add agent using:
Search and select: Opens the existing agent search dialog
Bulk add (paste emails): Opens a new modal for adding multiple agents at once
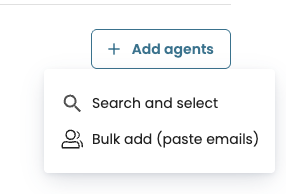
Click Bulk add (paste emails) to add multiple agents to the project. In the text area, paste the agent emails. Emails can be separated by:
New lines (one per line)
Commas
Semicolons
Spaces
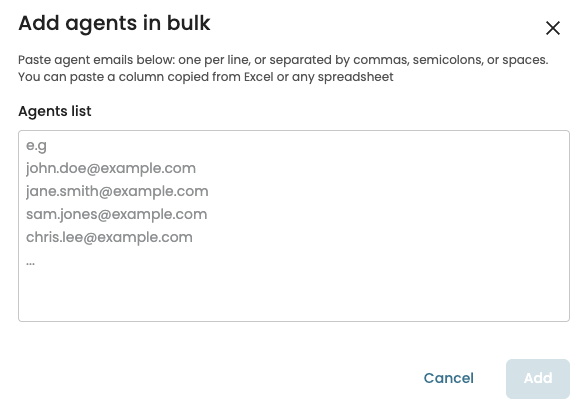
We can also paste a column copied directly from Excel or any spreadsheet. Click Add to confirm the addition.
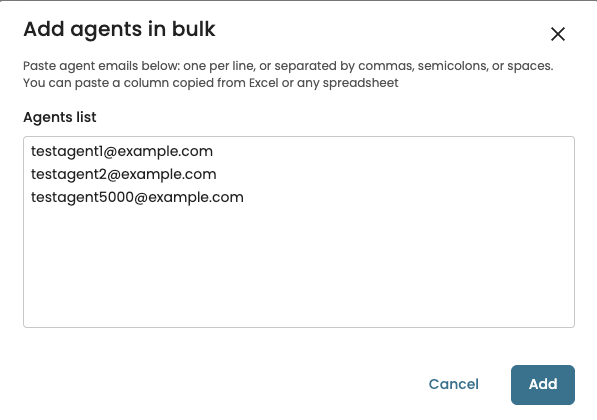
The system checks each email against agents registered in the environment. If all agents exist and are not yet in the project, they are added immediately. If some emails cannot be added, either because they do not exist on the platform or are already in the project, a summary step appears showing:
How many emails could not be added and why
Which emails do not exist
Which emails are already added to the project
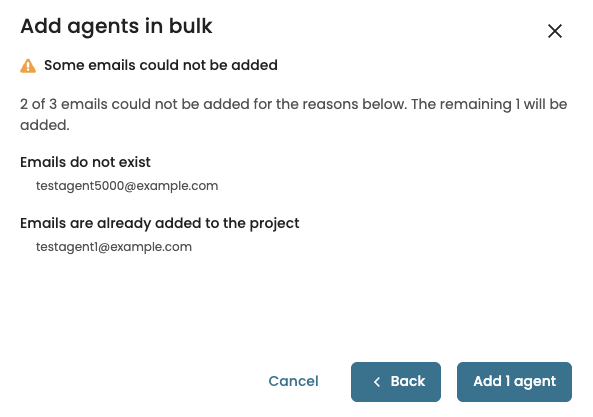
We can then proceed to add the remaining valid agents, or go back to correct the list.
Upload the data collection configuration file
The digital agent determines what data to collect, and process based on specific rules. These rules are specified in the data collection configuration file. Prepare the configuration file — a JSON file. To add the file to the project, click Upload .JSON file.
Select the config file in JSON and wait for the upload to be complete.
Note
A data collection configuration file is expected to be developed for a given task mining project. If you haven’t created one yet, please contact your account executive for the documentation on how to develop it.
Once the agents are added and the data collection configuration file is uploaded, we can start the project. To start the project, click Start project.
A pop-up message appears stating the project has started.
Update the details of a project
We can update the details of a project that is in progress or draft mode. To update a project detail, click Projects on the task mining page and select the project of interest.
The following project details can be updated:
The configuration file.
Added agents.
Name and description of the project.
To update the configuration file, first delete the existing file. Click the delete icon.
Click Confirm to delete the JSON file.
The project reverts to Draft mode if it is in Progress. When we upload a new configuration file, we will need to start the project again.
We can also delete added agents to the project or add new agents. To delete an existing agent, click the X button for the agent.
To add new agents, click Add agents.
We can also update the project name and description. Simply enter the updated texts in the respective fields.
Complete a project
When a project is completed, the agents stop sending information for collection. To complete a project, select the project and click Complete project to end data collection.
Delete a project
If we wish, we can delete a project when it is no longer needed. To delete a project, hover over the project and click the delete icon that appears.