Create/edit process model
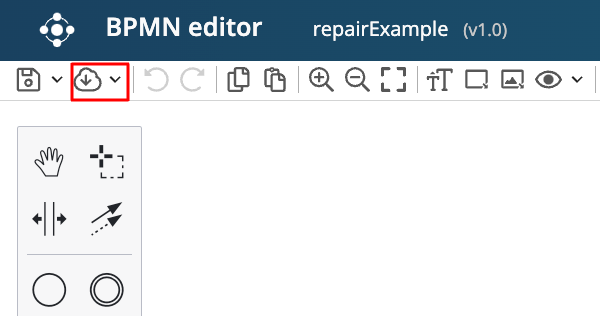
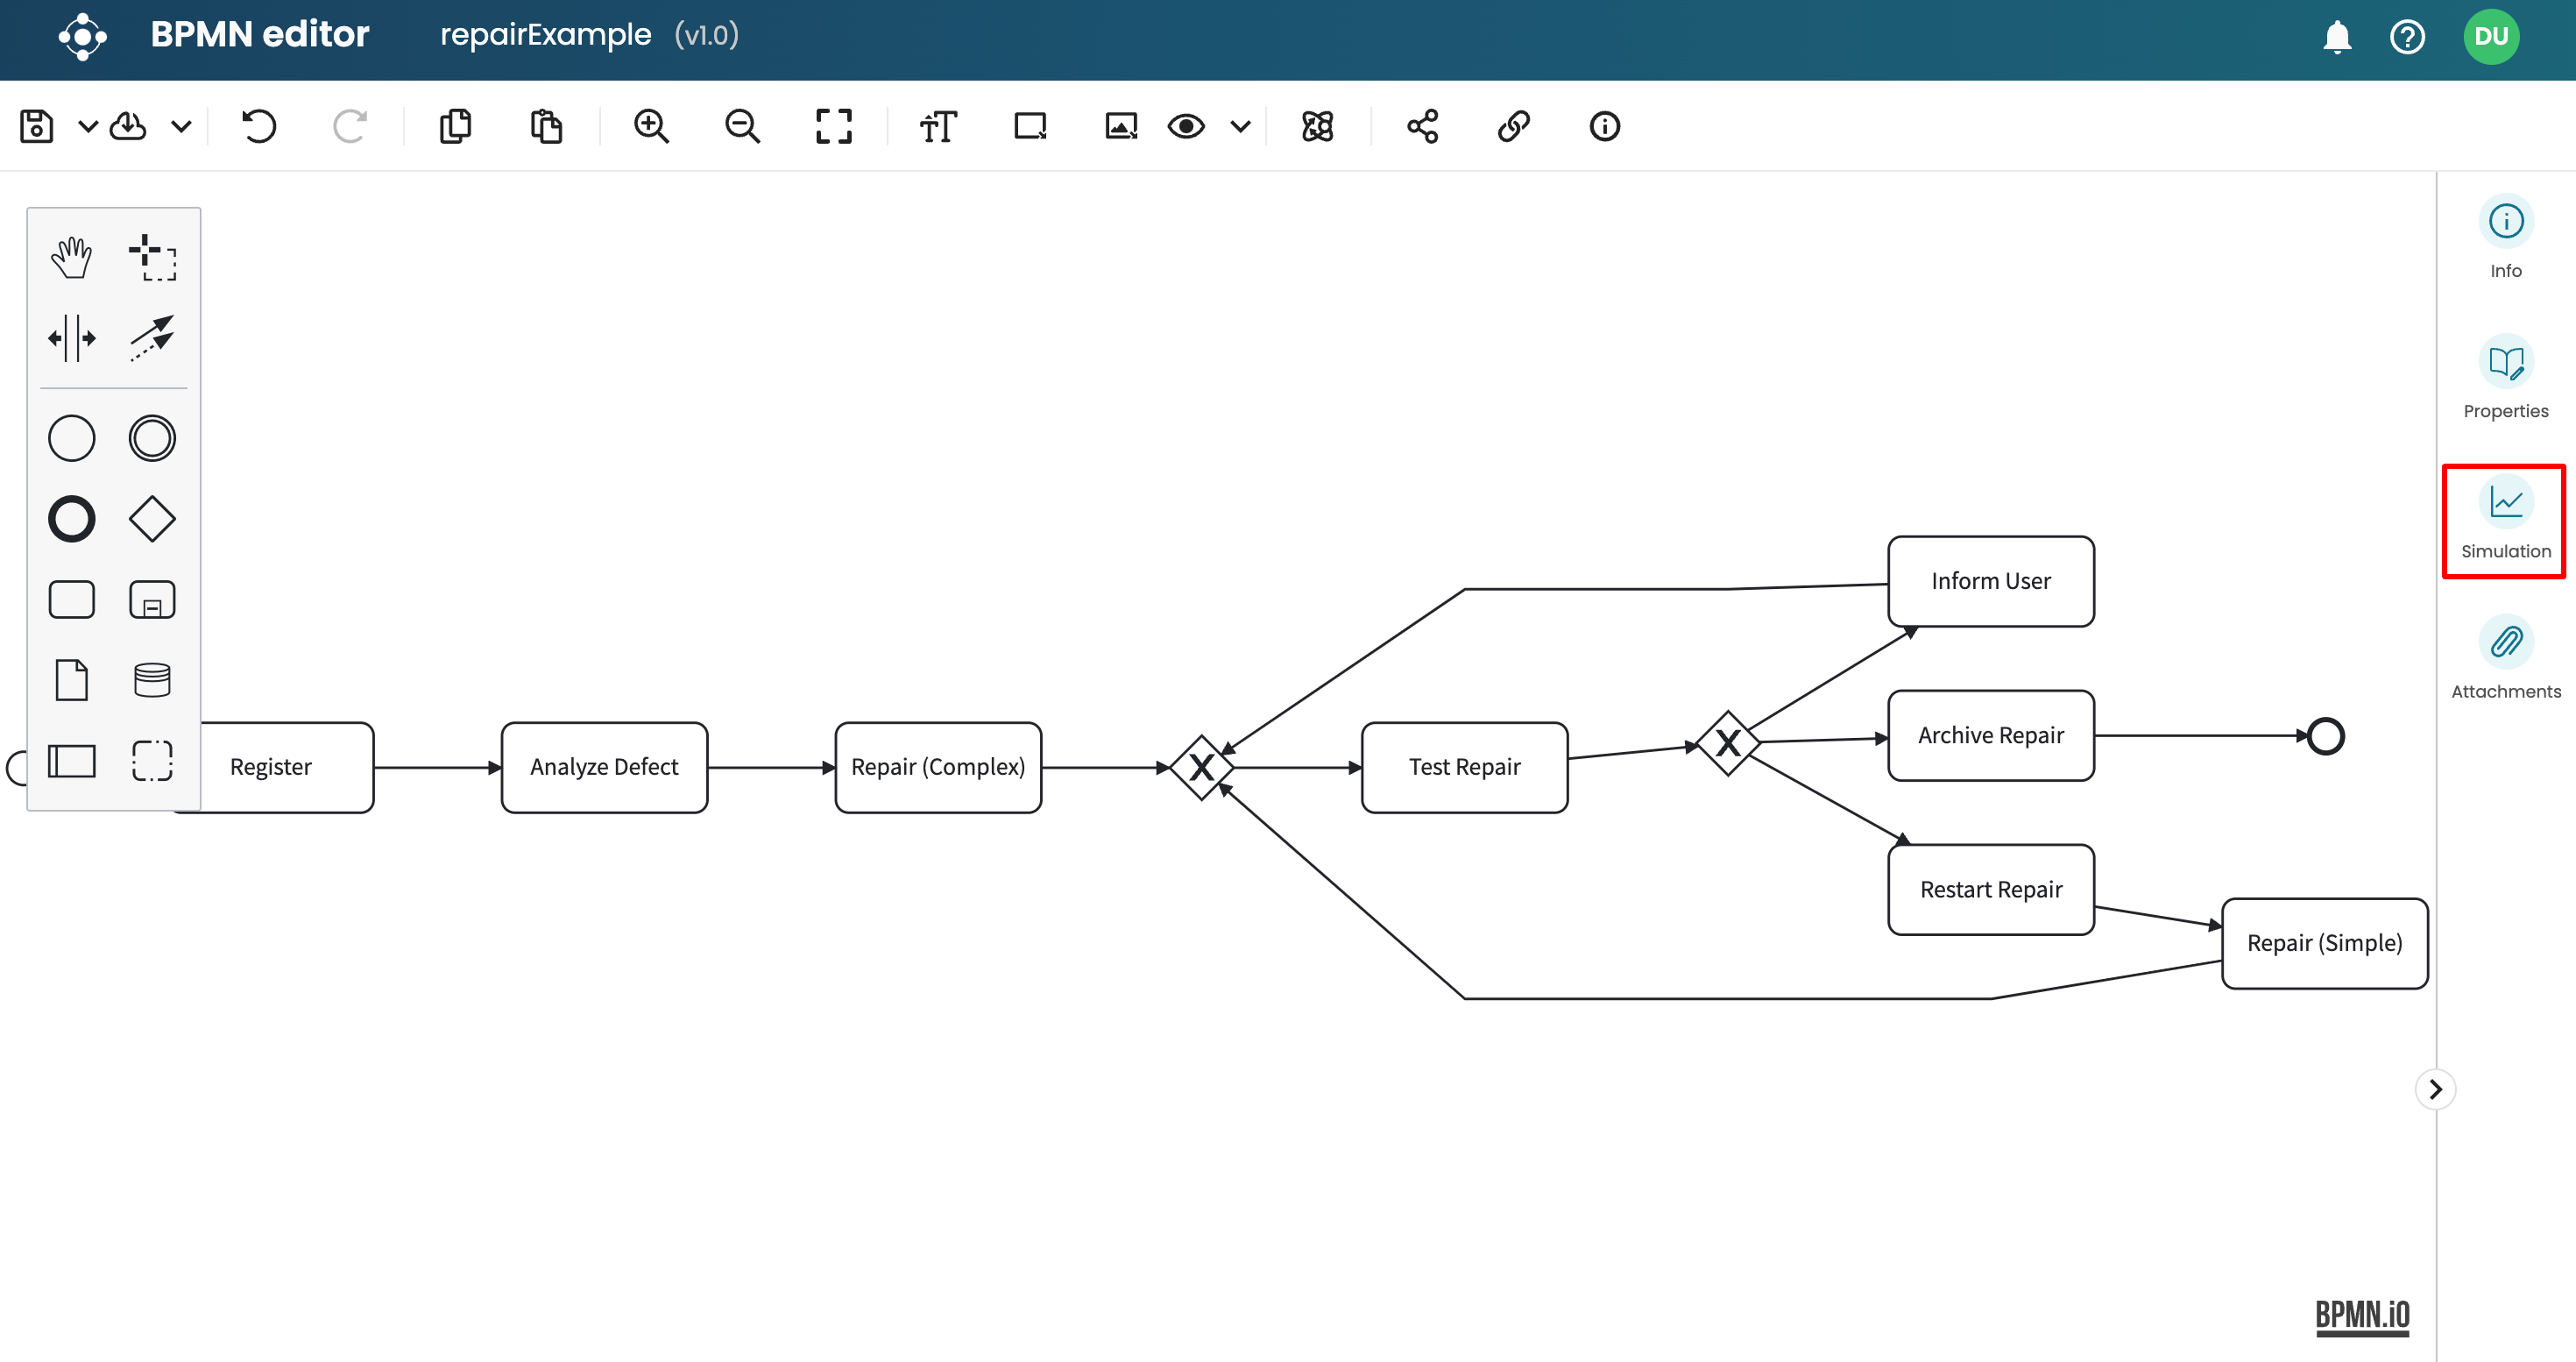
The BPMN Editor allows us to edit, save, and export (BPMN) process models. To access the editor, open the process model from the Apromore Workspace by double-clicking on the model. The image below shows a snapshot of the BPMN editor environment.
On the left, the palette contains the BPMN elements to create or edit BPMN models. To add any of these elements to the process model, drag and drop it into the desired location.
Save model
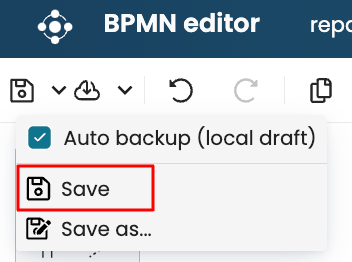
To save a mode, click the save icon  on the menu bar.
Click Save.
on the menu bar.
Click Save.
We are prompted to enter the model name, description, version number, and folder to save the model. Click OK.
Each process version is kept in the memory, and it is possible to retrieve any of it at any time. To learn more about how to access the older versions of a process model, see Access an older version of a process model.
Note
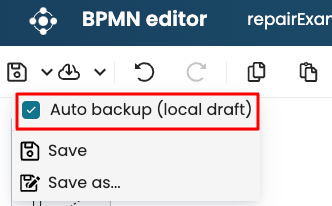
When Auto Backup (Local Draft) is enabled, the BPMN editor automatically saves a local draft as we work. Even if the model is shared with other users, our progress is saved as a draft. To learn how to access drafts, see Access a draft model.
Save a copy of a model
To save a copy of the process model, click the save icon on the menu bar. Click Save as…
Enter the details of the process model and click OK.
Save as… allows us to create a duplicate of the process model and make edits to the duplicate.
Note
When we save copy of a model or create a new version, any compliance items associated with the original model are copied to the new model.
Download model
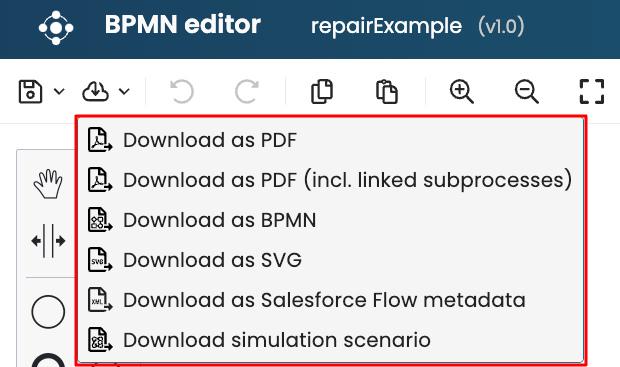
We can download a process model in PDF, BPMN, or SVG formats.
If the process model has a defined simulation scenario, we can also download the simulation in XLSX format.
To download a model, click the download icon  .
.
Select the format of the model we wish to download.
Note
Remember to allow pop-up windows before exporting the process. Otherwise, the export may fail.
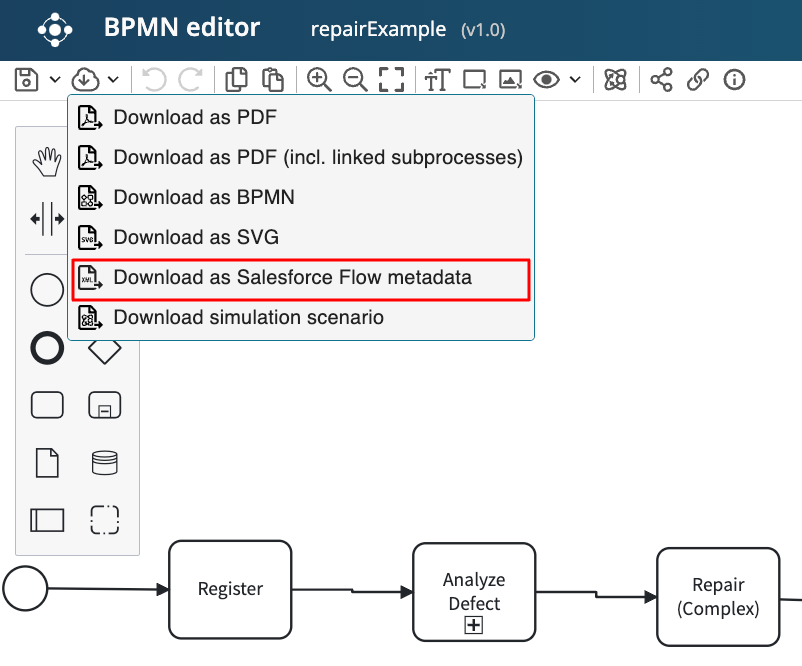
To enable us define Salesforce Flows from BPMN models, we can also download a BPMN model as a Salesforce Flow metadata. This downloads an XML file that stores the necessary information about the process to define a Salesforce Flow.
To download a model as a Salesforce Flow metadata, click Download as Salesforce Flow metadata.
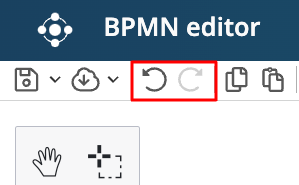
Undo/Redo
The undo  and redo
  icons allow the undo and redo changes to be applied to the process model.
Zoom-in/Zoom-out/Fit to screen
The two zoom lenses allow us to zoom in and zoom out.
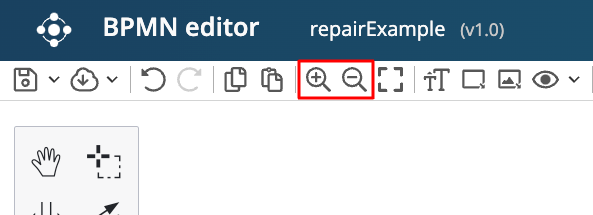
If we want to fit the model dynamically when we resize our browser screen, click on the Fit to screen icon  .
.
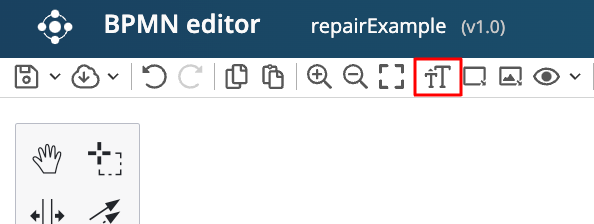
Change the font size
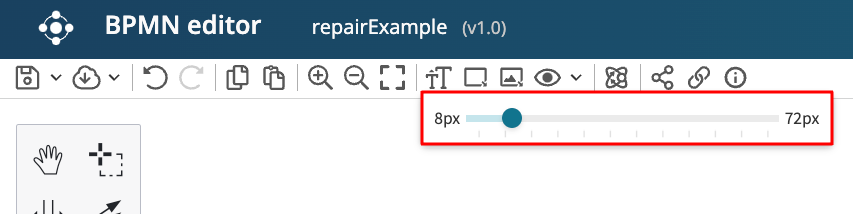
We can change the font size used for the tasks’ names by clicking the Change font size icon.
The Change font size slider appears. Adjust the font size using the slider.
Resize tasks
For better visibility, we can increase or decrease the size of a task in the BPMN Editor. To do so, first select the task we wish to resize.
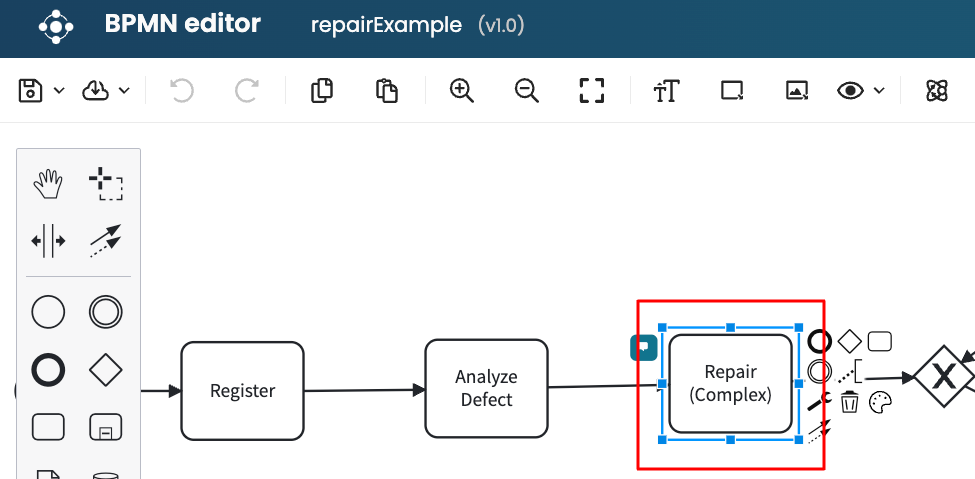
Click the resize task icon.
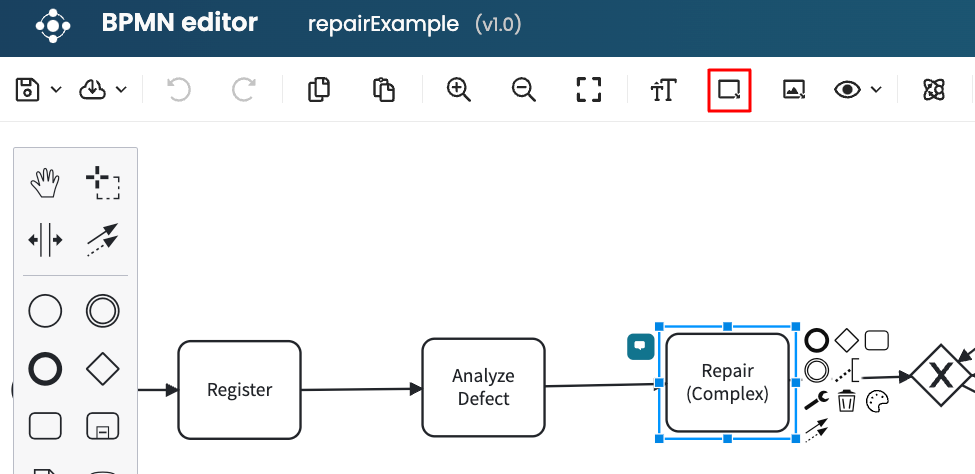
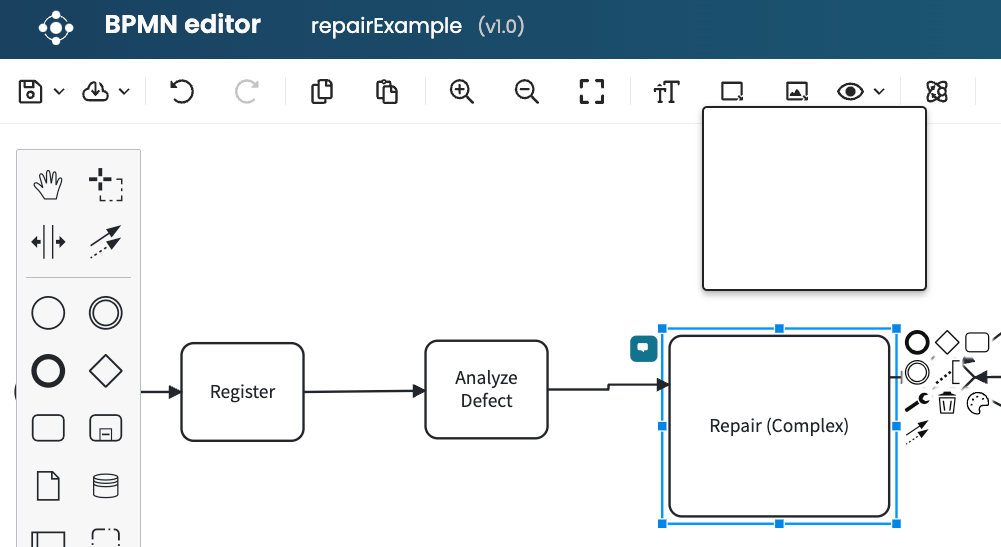
A white box appears.
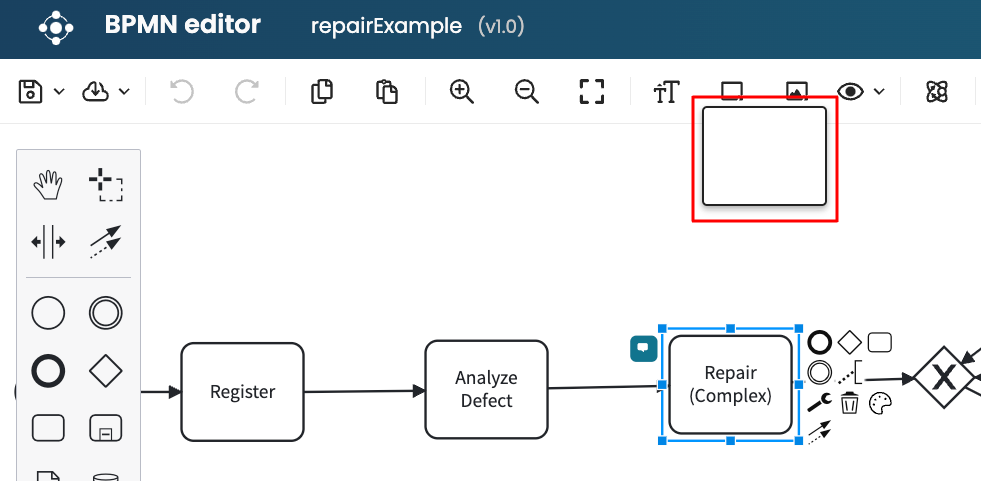
Adjust the size of the white box to change the size of the selected task.
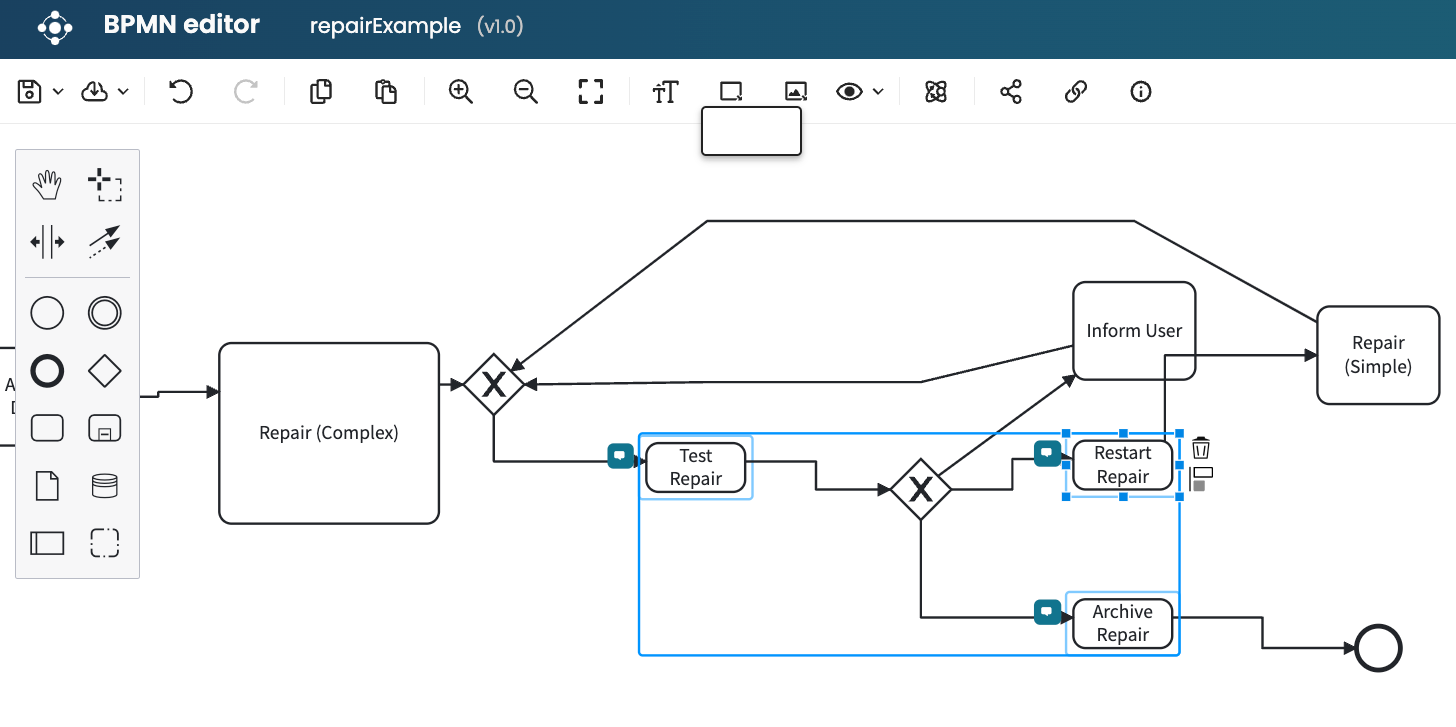
Note
We can select multiple tasks and resize them at once. To select multiple tasks, hold the Shift key on your keyboard while clicking each desired task.
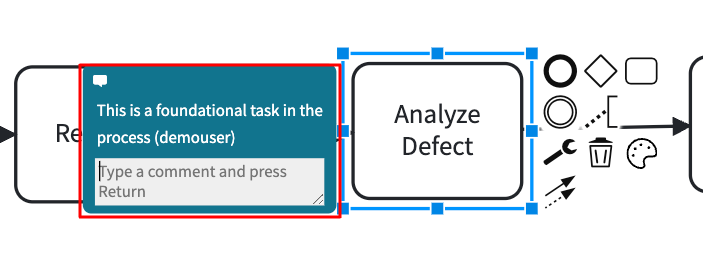
Create and delete comments
To specify some details about the process activities, we can create comments.
To leave a comment, click on the task and the  button next to it.
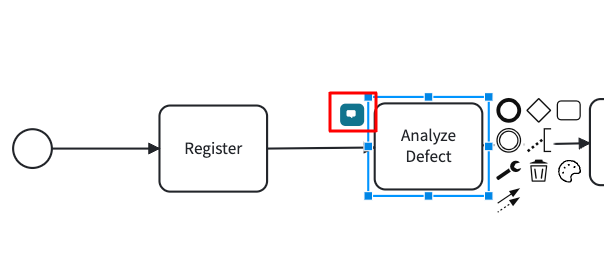
A comment window appears. Type the comment. Press Enter.
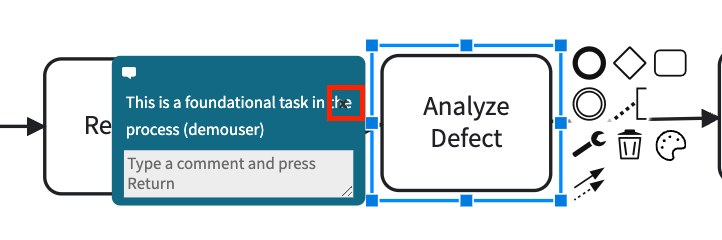
To delete a comment, click on the textual part of the comment and click x.
Create custom attributes for BPMN elements
Adding custom attributes such as “cost”, “priority”, or “risk” is currently unavailable. However, we can add properties to the BPMN model. To learn more about adding properties, see Manage properties.
Add attachments and attachment labels
Attachments are pictures used to give extra details to the process model. Attachment labels are texts that explain what the attachment is or an external link. We can add attachments and attachment labels to a process model. To do this, click the task the attachment will be placed.
Open the Attachments pane on the far right.
Click Add attachment to add a new attachment.
For an image, click Image.

We can upload, enter the label name and alternatively add an embedded link.
Once done, click Add.
We see the attachment on top of the task.
We can add other attachment labels as Icon Lists. These are texts that will appear by the task. We can add URLs to these icons. To add a label, click the task. Click Add attachment > Label.
The Add label window appears.
We can add icons by clicking  .
.

Select the preferred icon from the range that appears.
If we want the label to have a name, tick Name and enter the name of the label.
We can also add an embedded link. Once done, click Add.
The label will now appear on top of the task.
We can also add an attachment group. This is a group of multiple attachments. To add an attachment group, click Add attachment > Attachments group. This opens the attachment group window where we can add multiple attachments. To add an attachment to the group, click Add attachment.
We may also rename the attachment group.
To delete an attachment, click the delete icon.
Click Delete all to delete all attachments.
Show or hide comments
To hide comments, click the eye icon in the BPMN Editor.
This displays a dropdown with a list of options.
Uncheck Show comments and any comments will now appear hidden.
To show the comments again, check Show comments.
Resize attachments associated with tasks
When an attachment is added to a task, we can resize the attachment in the BPMN Editor. To resize an attachment, click the resize attachment icon.
A white box appears. Select and drag the corner of the white box to resize the attachment.
Show or hide attachments and attachment labels
We can show or hide attachments and attachment labels in the BPMN Editor using the eye icon on the menu bar.
Show or hide attachments
To hide attachments, click the eye icon in the BPMN Editor. Uncheck Show attachments.

The attachment now appears hidden.
To show the attachments again, check Show attachments.
Show or hide attachment labels
To hide attachment labels, click the eye icon in the BPMN Editor. Uncheck Show attachments labels.
The attachment label becomes hidden.
To show the attachments again, check Show attachments labels.
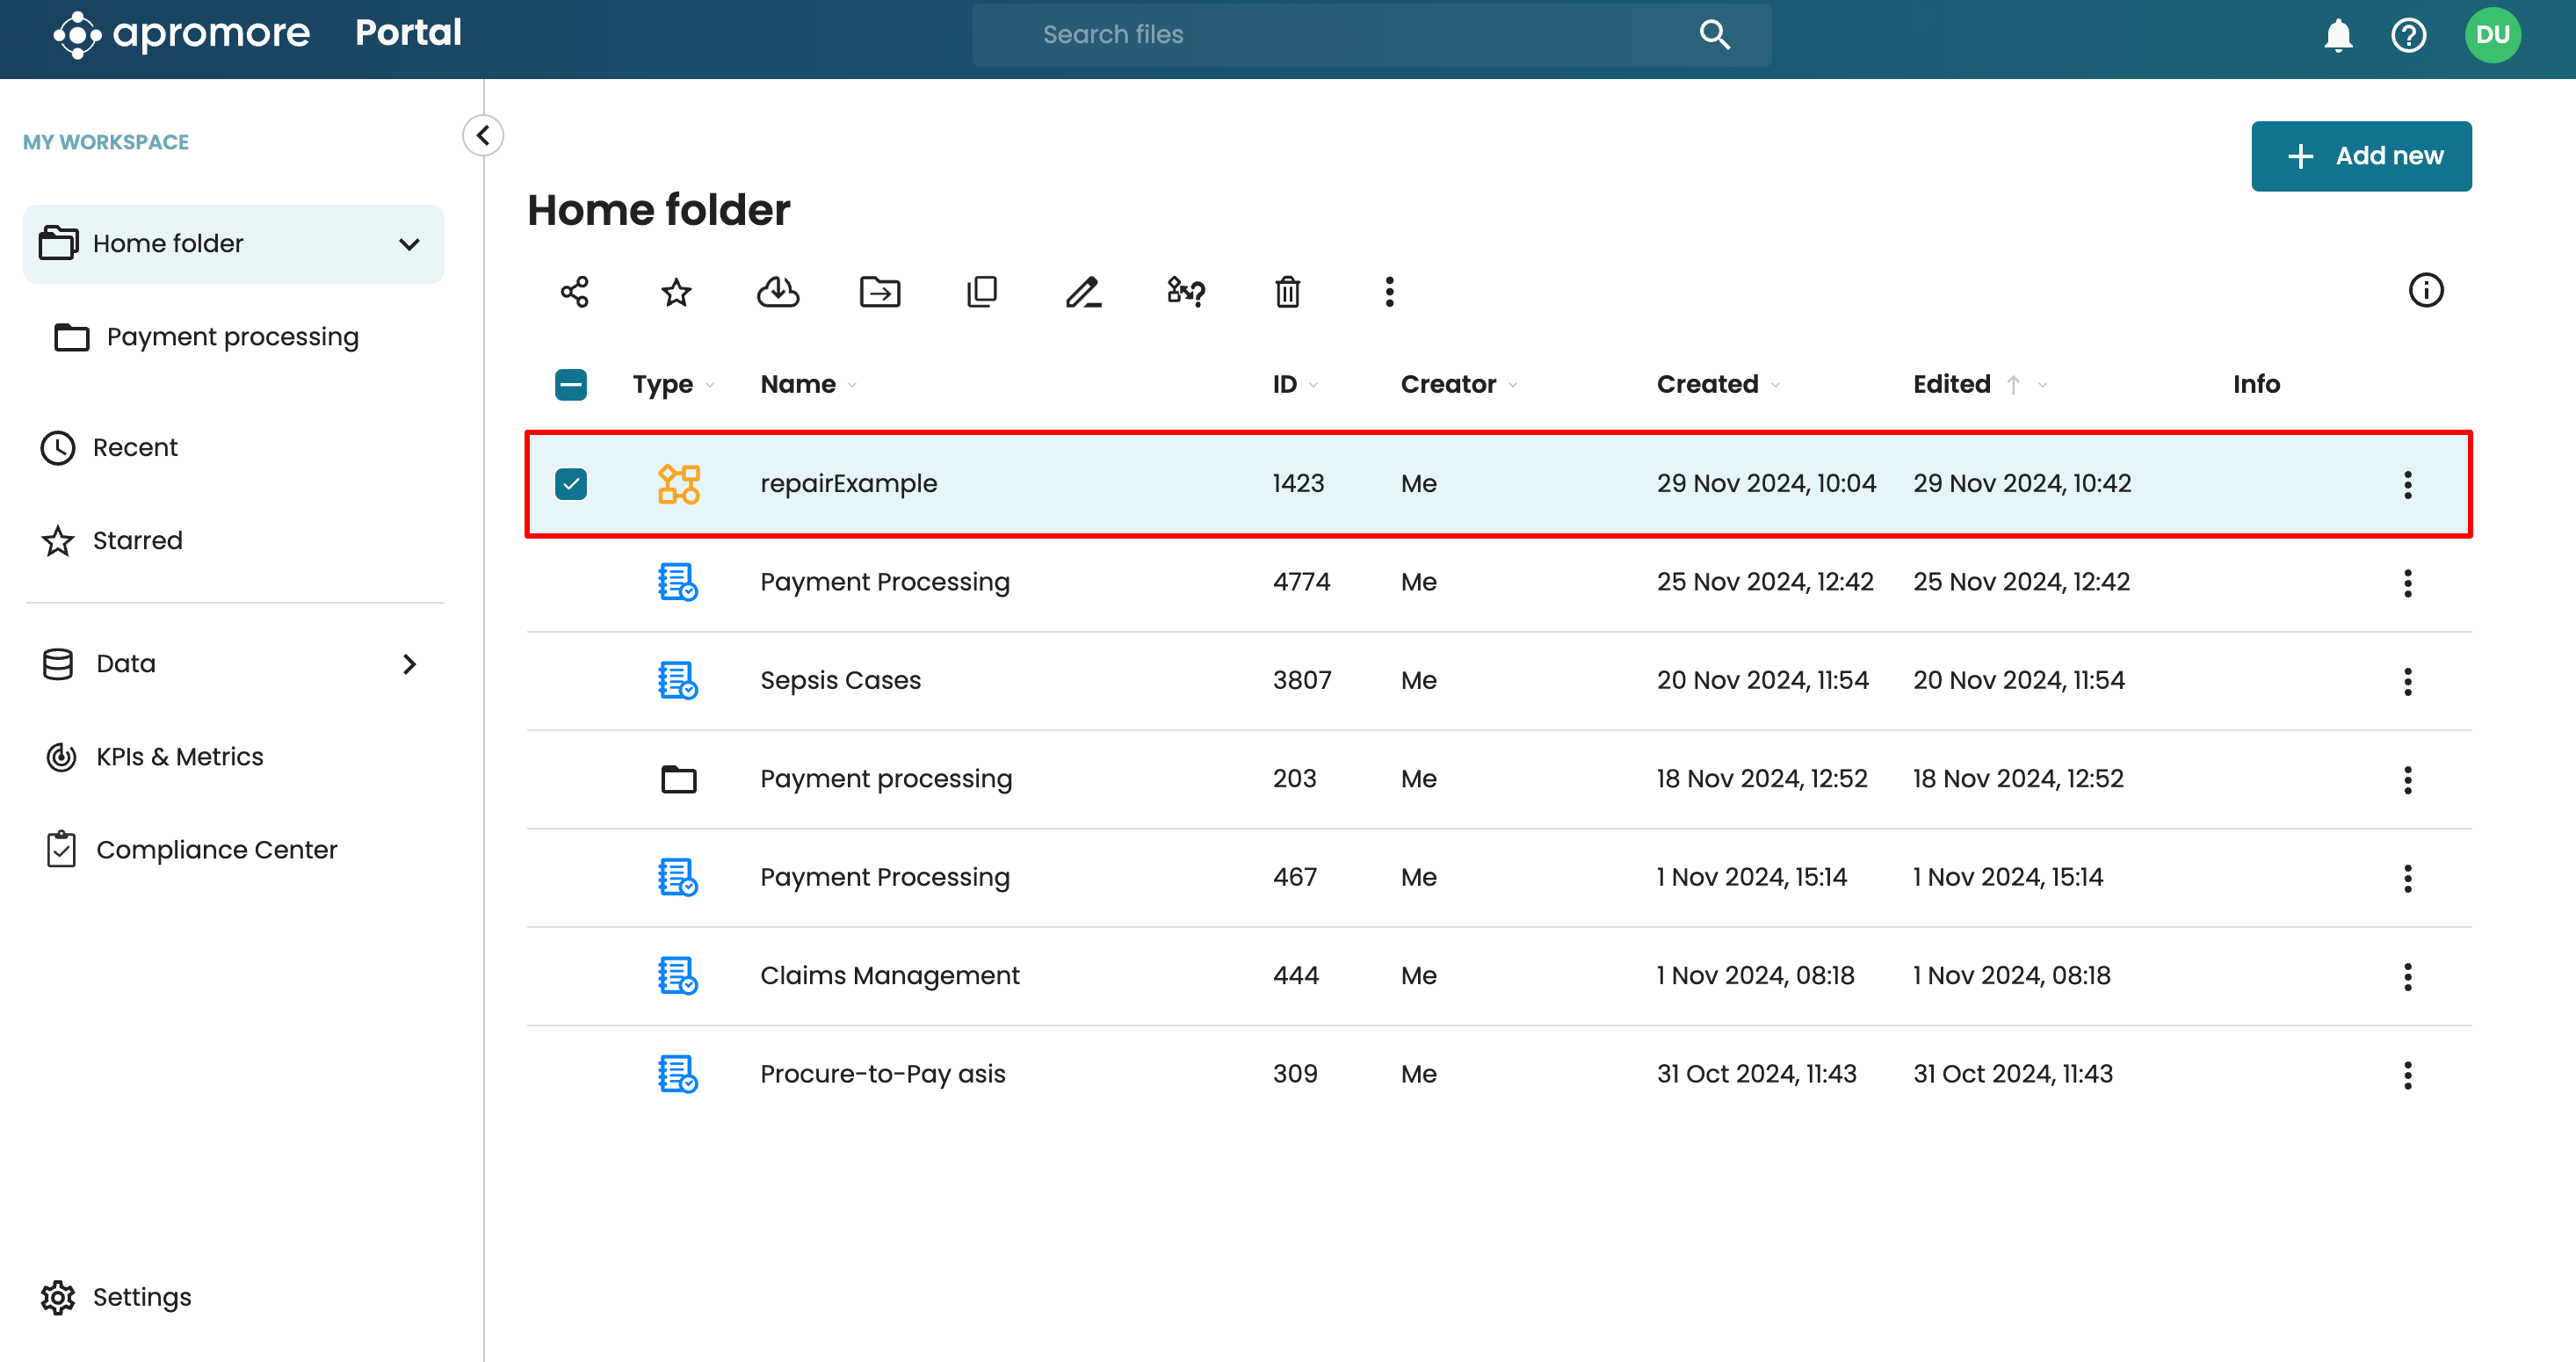
Access an older version of a process model
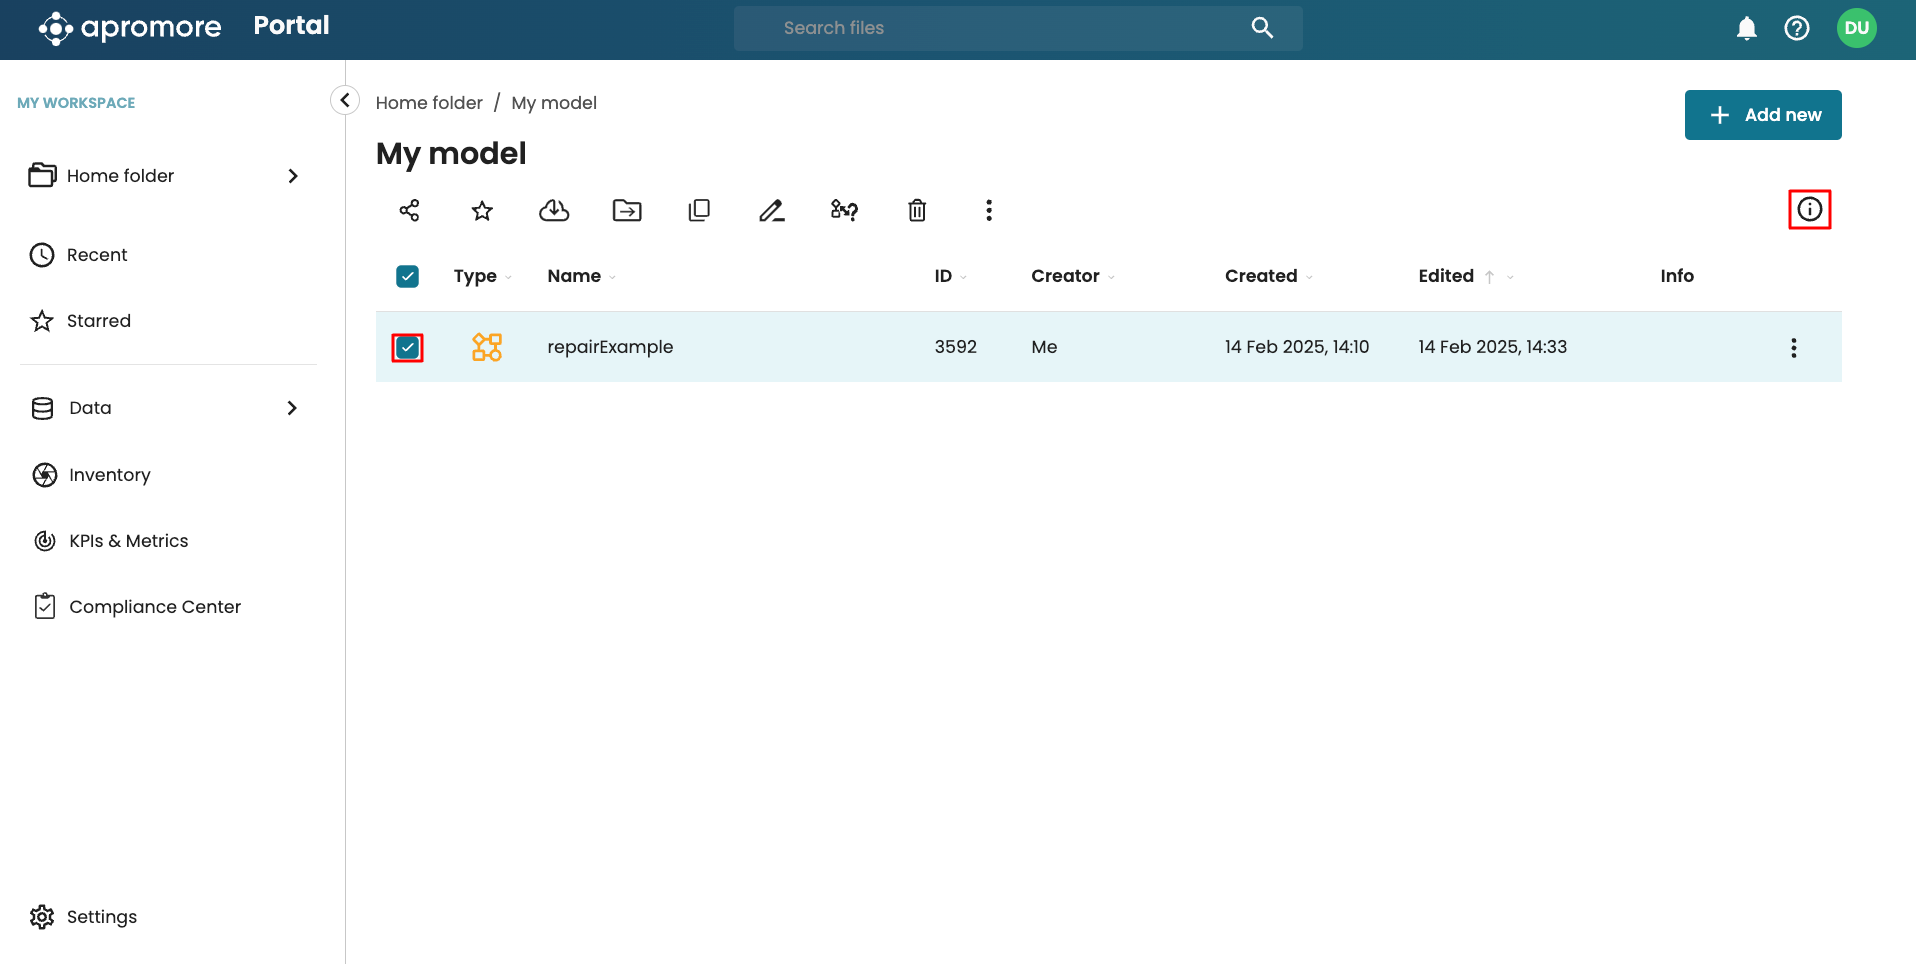
To access older versions of a process model, select the process model in Portal. Click the info icon to open the versions and details panel. The list of model versions appears on the Versions tab. Select the version we want to edit from the tab.
Double-click on it or right-click on the file and select the edit icon.
Access a draft model
When Auto backup (local draft) is enabled, Apromore automatically saves a work-in-progress version of our model, called drafts. For models shared across multiple users with edit permissions, each user’s draft is saved separately until a version is explicitly saved, updating the main model version. This enables us to make individual edits, view others’ drafts, and together collaborate on a draft to save.
To create a draft, first ensure Auto backup (local draft) is enabled.
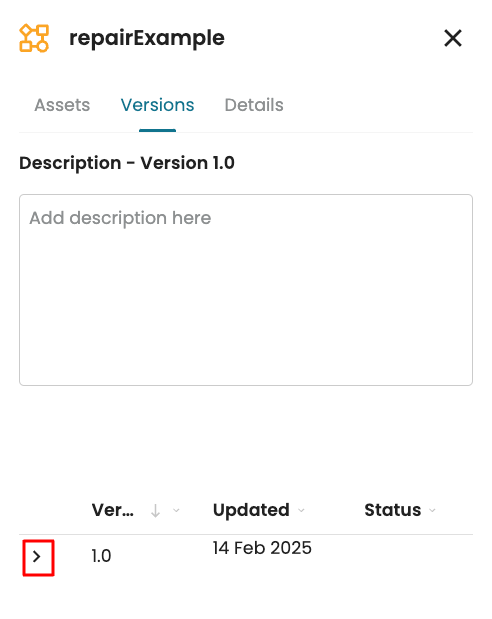
After about two minutes of inactivity, Apromore automatically saves the current state of the model as a draft. To view draft models, select the model in Portal and open the side panel by clicking the info icon.
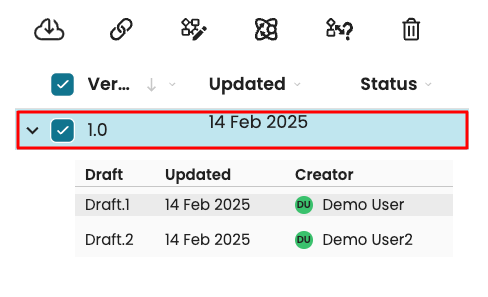
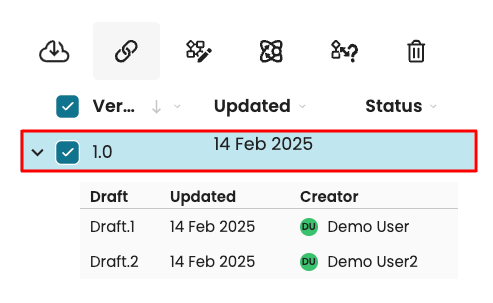
In the versions tab, click a version’s dropdown to view the drafts.
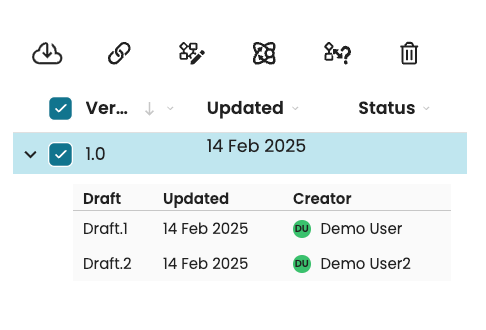
This displays the main version and a list of drafts.
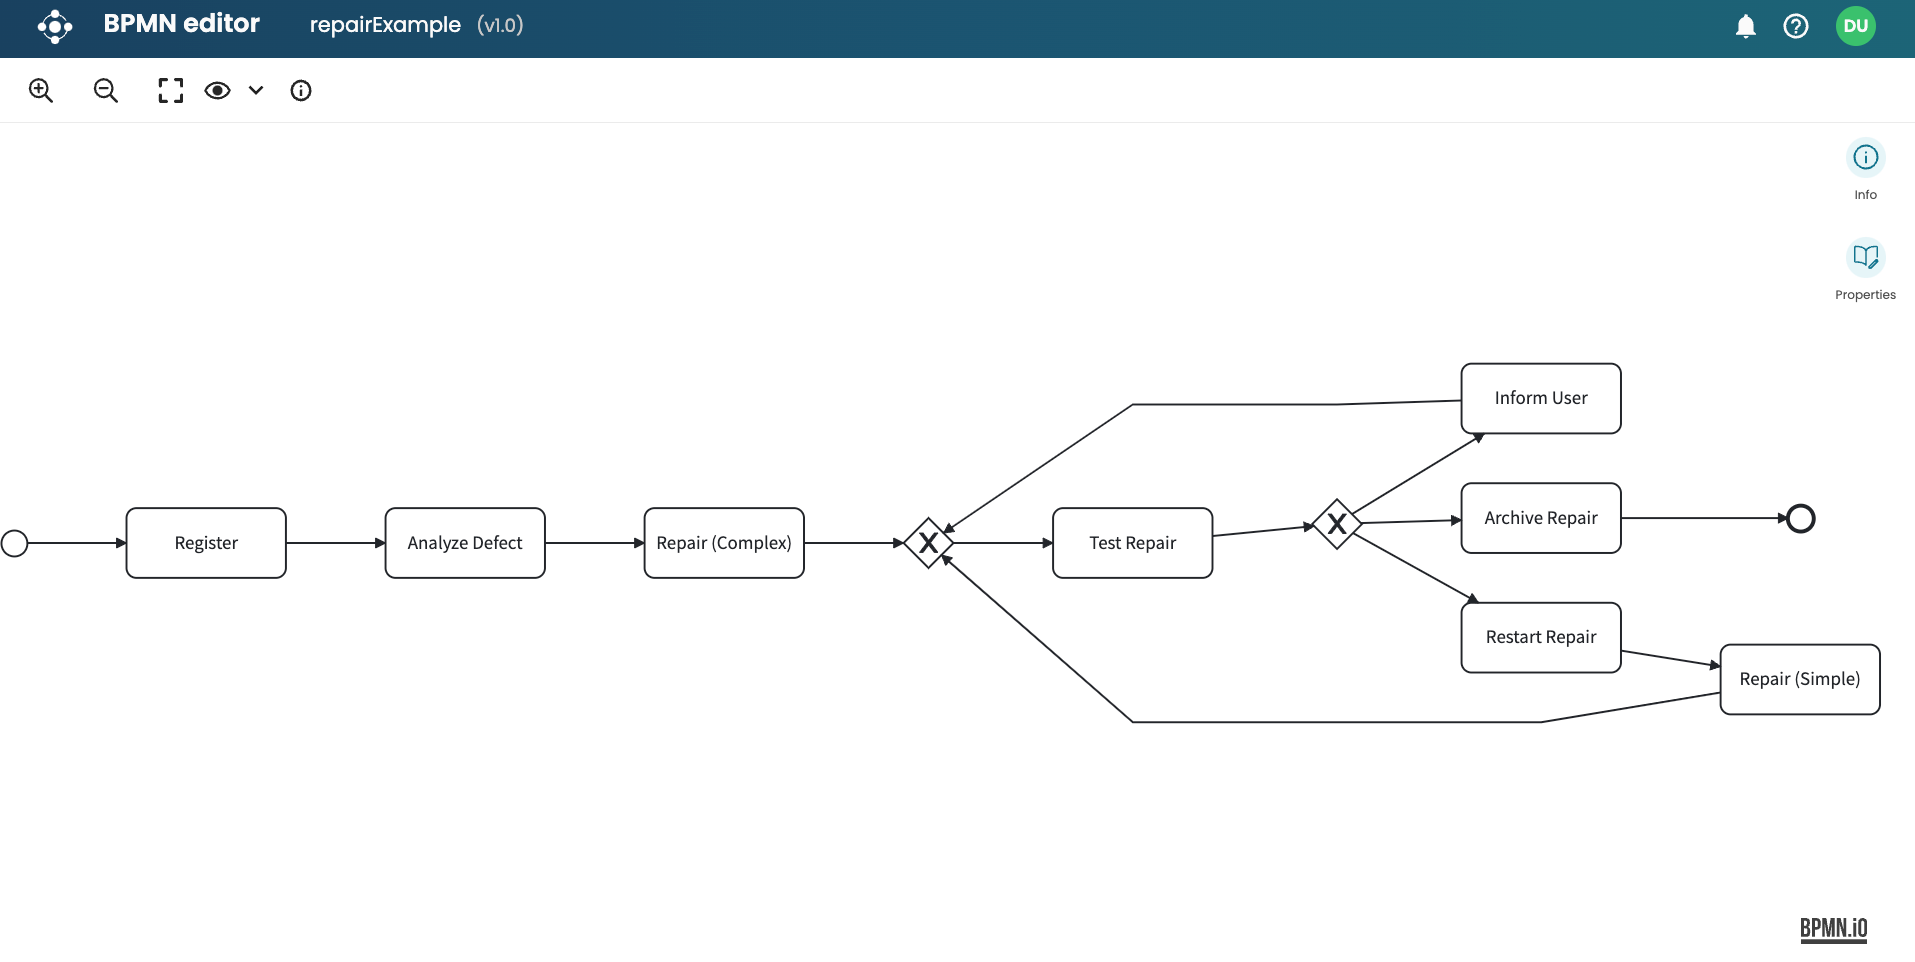
To open the main version, double-click it.
This opens the main version in the View-only mode.
To edit the main version, select the version number and click the Edit version icon.

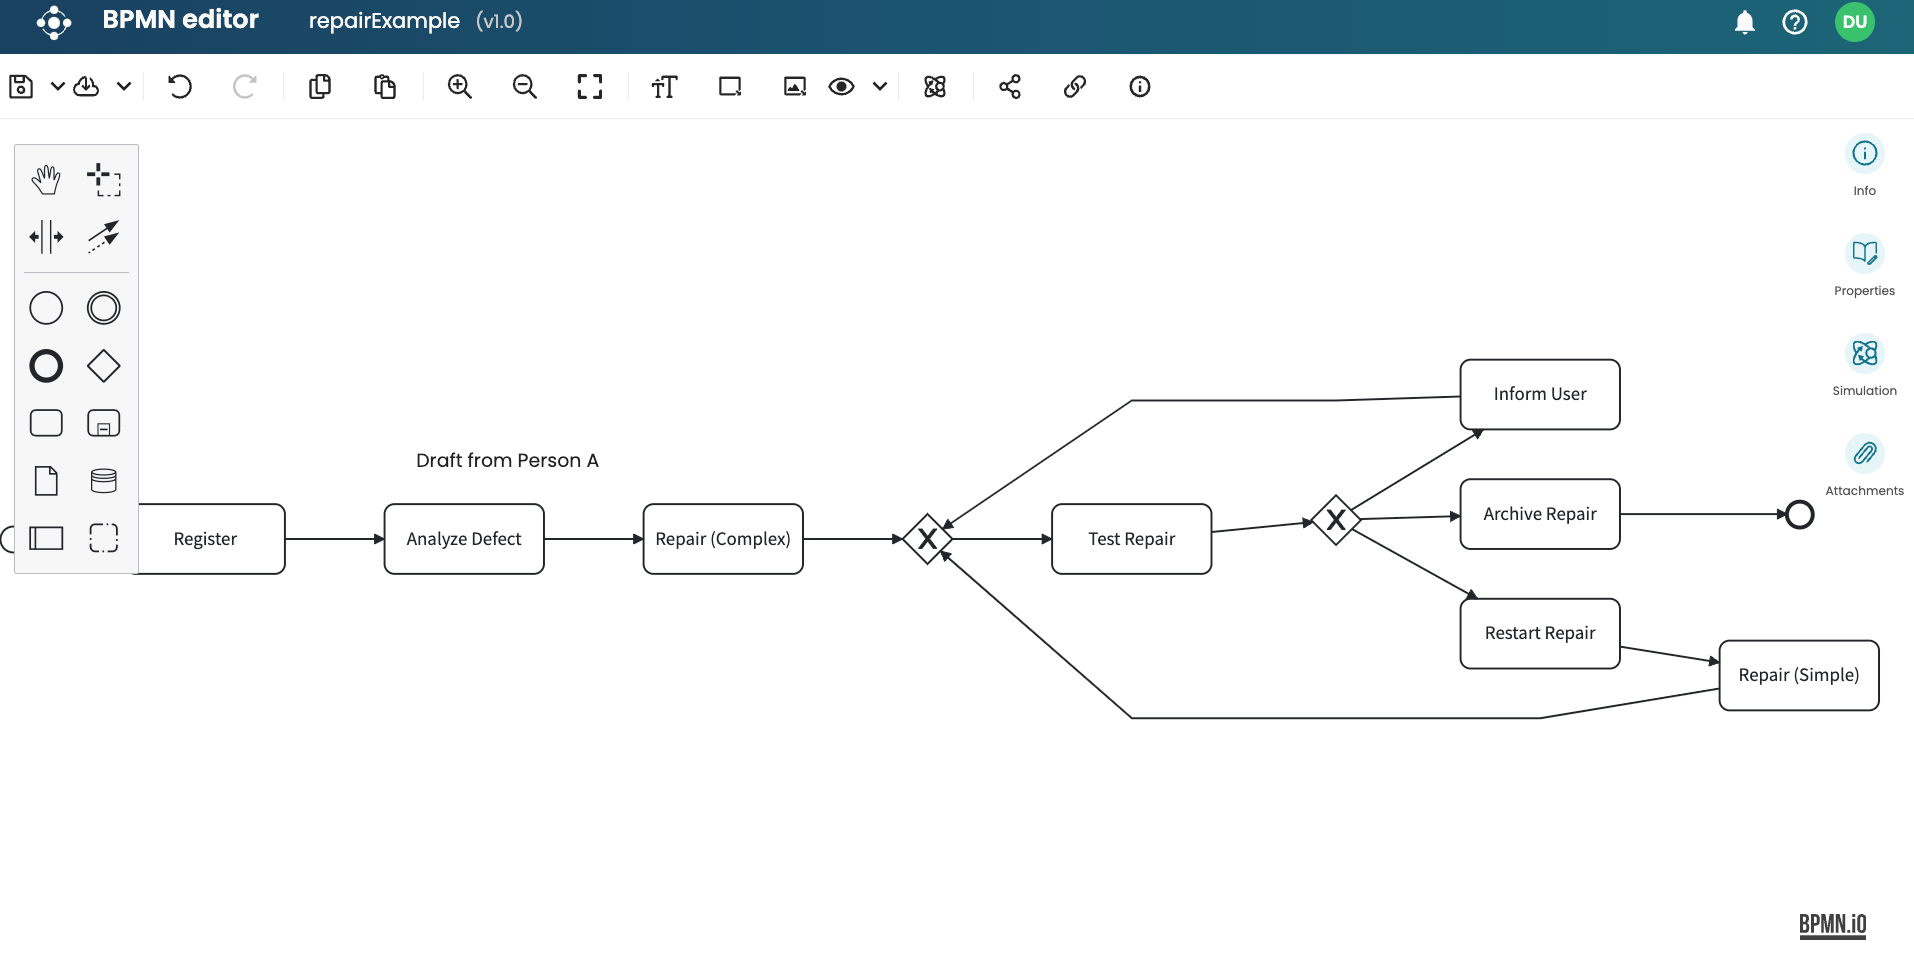
Currently, there are two drafts of this model from two users. To open a draft, double-click it.

This opens the model in the BPMN Editor.
Note
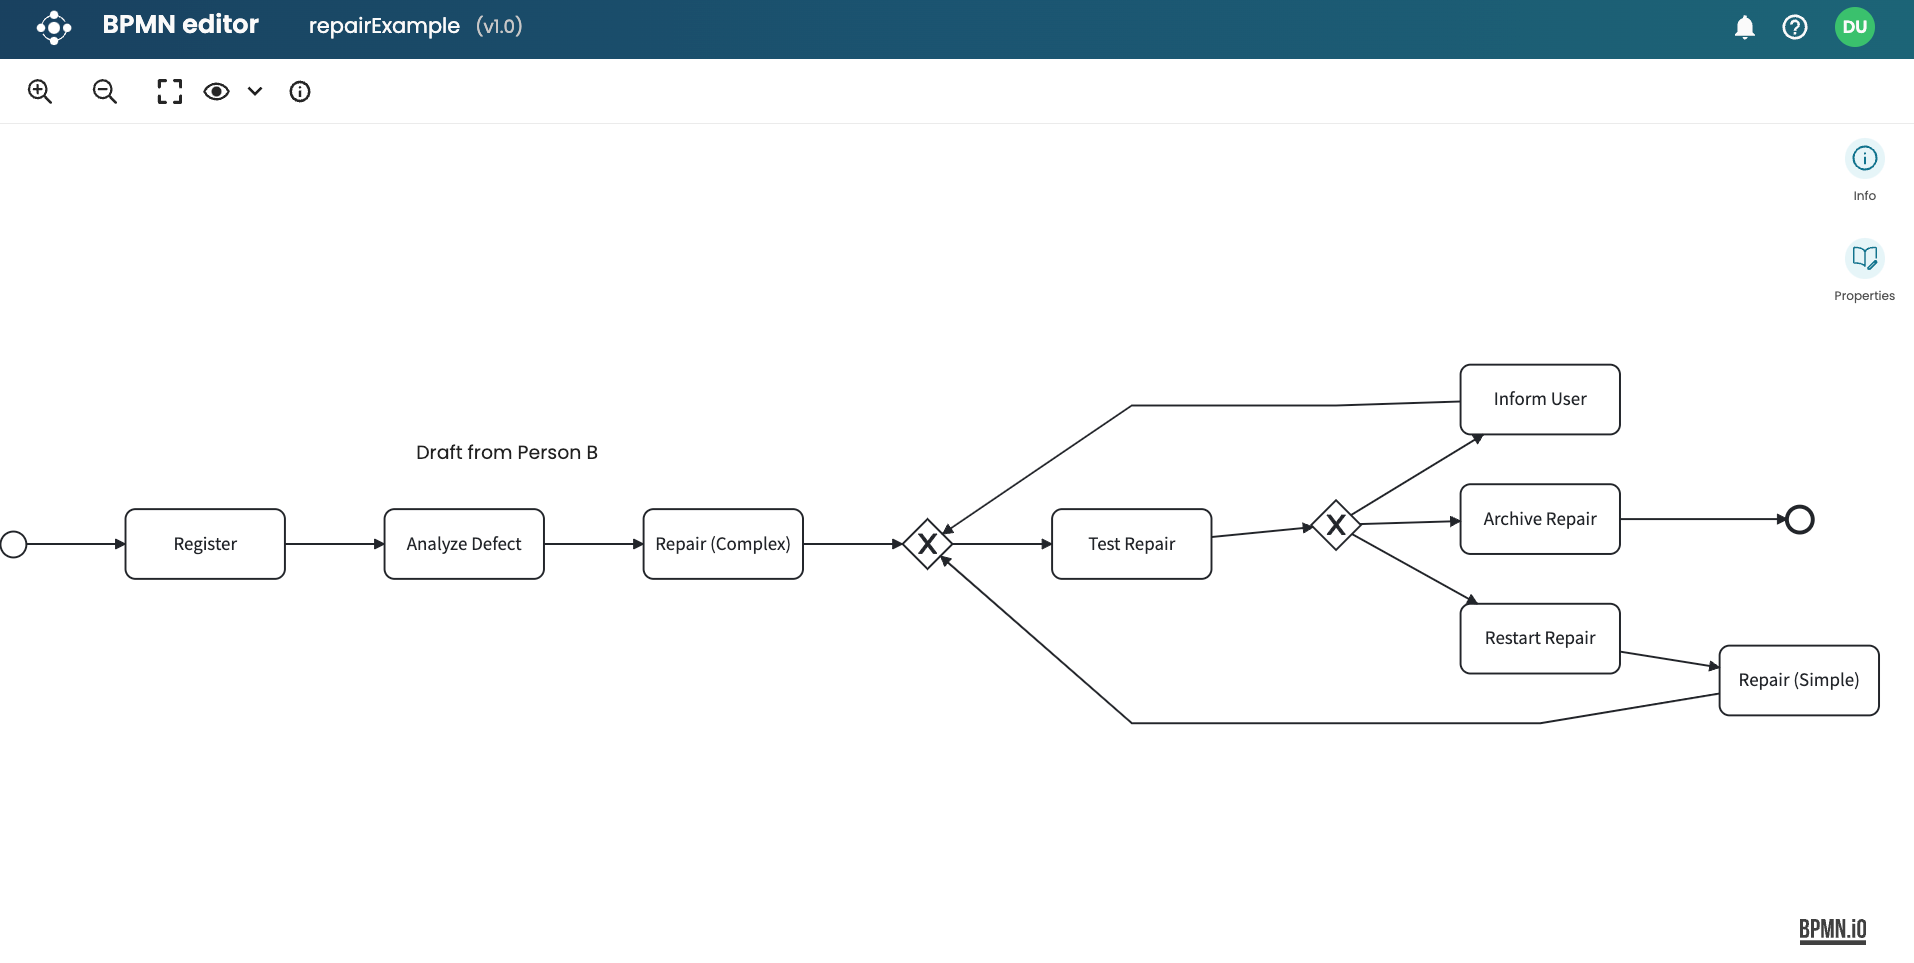
We cannot edit a draft created by another user. When we double-click another user’s draft, Apromore opens the model in View-only mode.
To save a draft as the main model, explicitly click Save in the BPMN Editor and specify the version.
The draft becomes the main model. Opening the main model displays the saved state of the draft.