Access process views inventory
A process view defines a process map that can be visualized in Process Discoverer, with customized settings such as:
A log filter, e.g. retain all cases with a case duration of 12 days or more
An overlay, e.g. show the average duration overlay
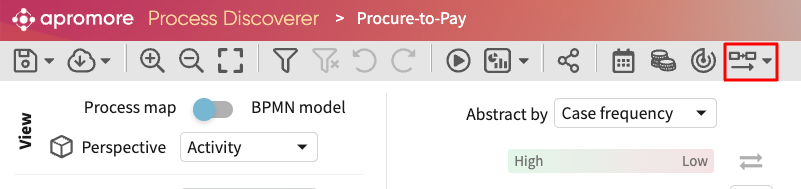
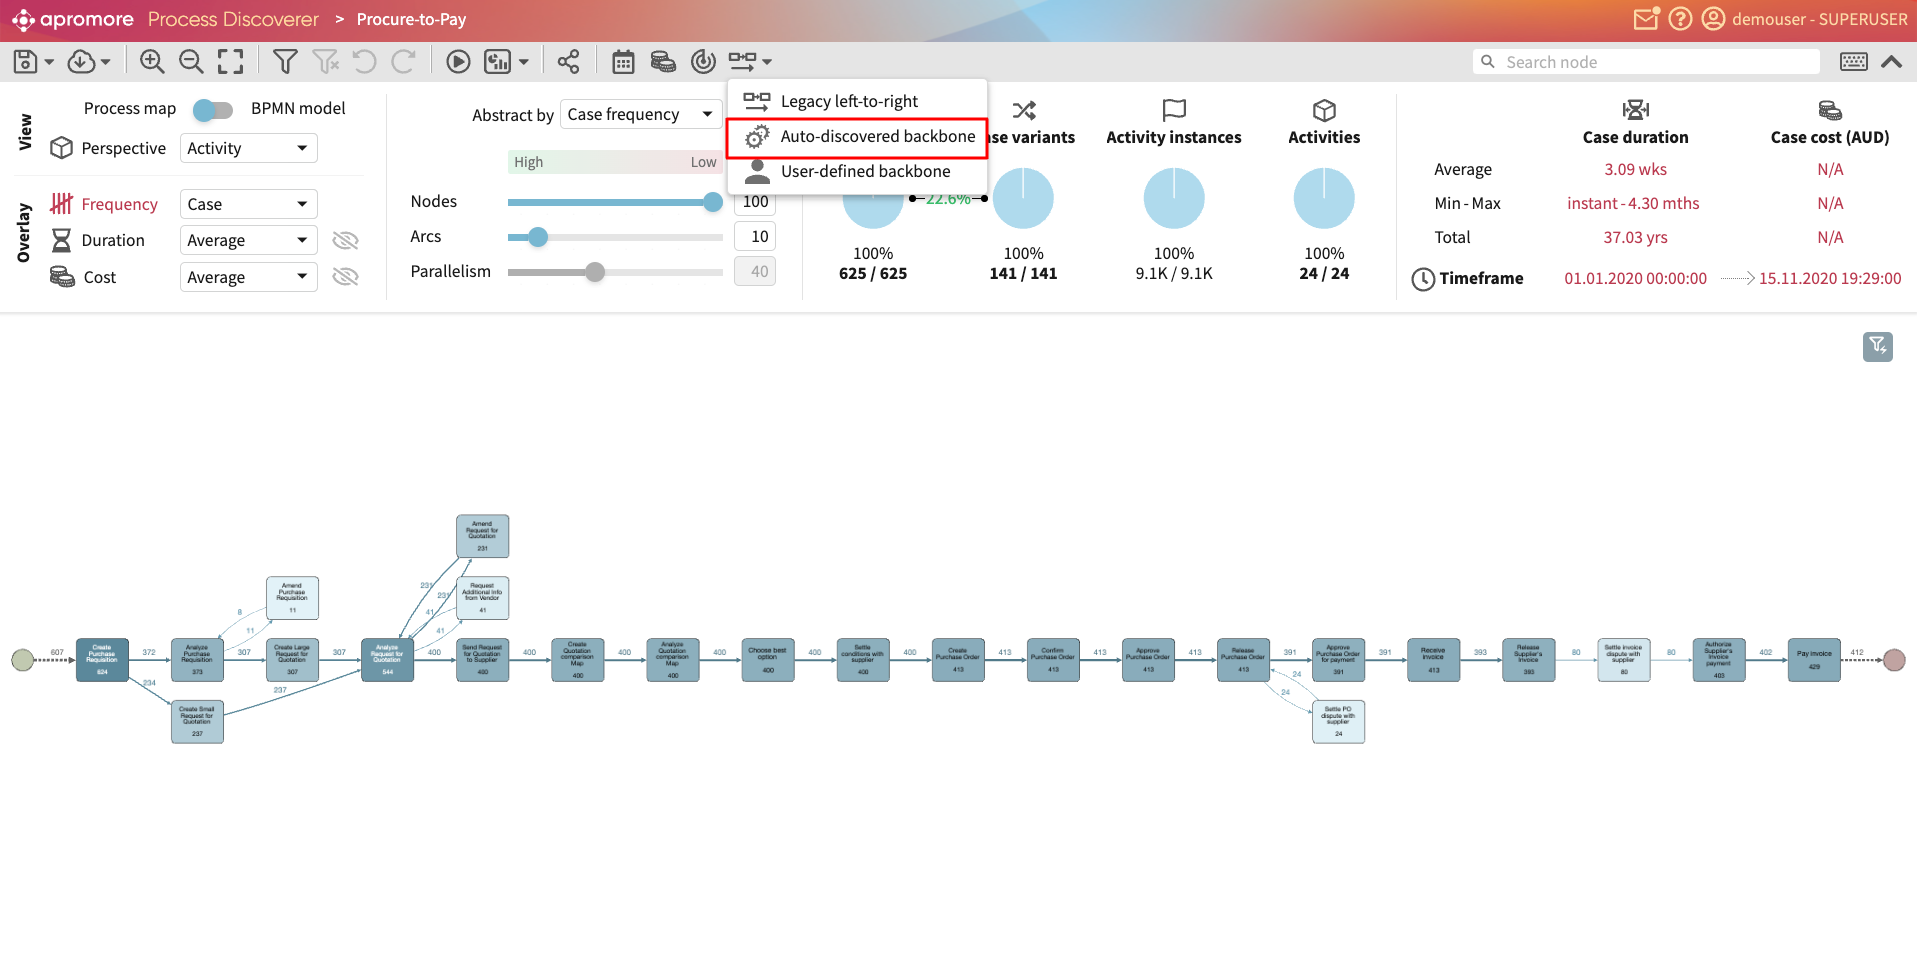
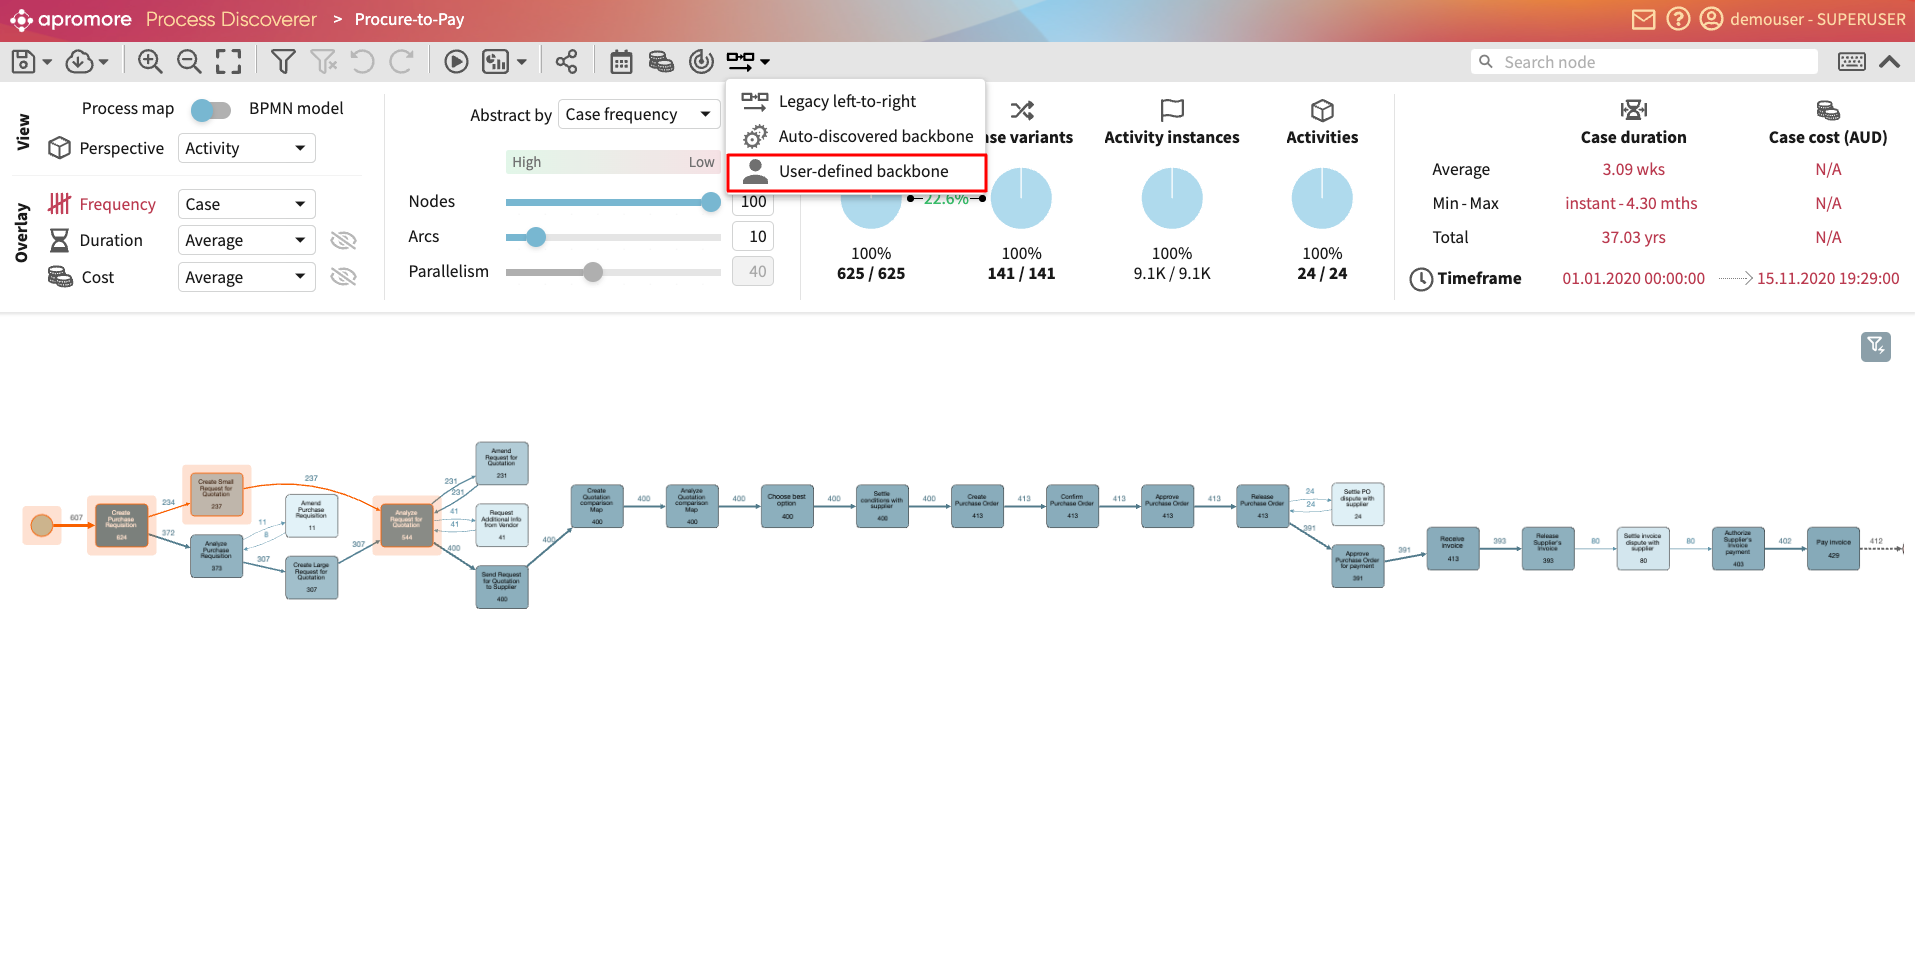
A layout option, e.g. show the process map in backbone visualization
We can easily view all available process view in our workspace through a dedicated page called the Process Views Inventory. This page provides a list of all process views available to the user. The list can be filtered based on the name of the view, the event log from which the view is derived, and any keywords in the description of the view. To learn how to save views, see Save process views.
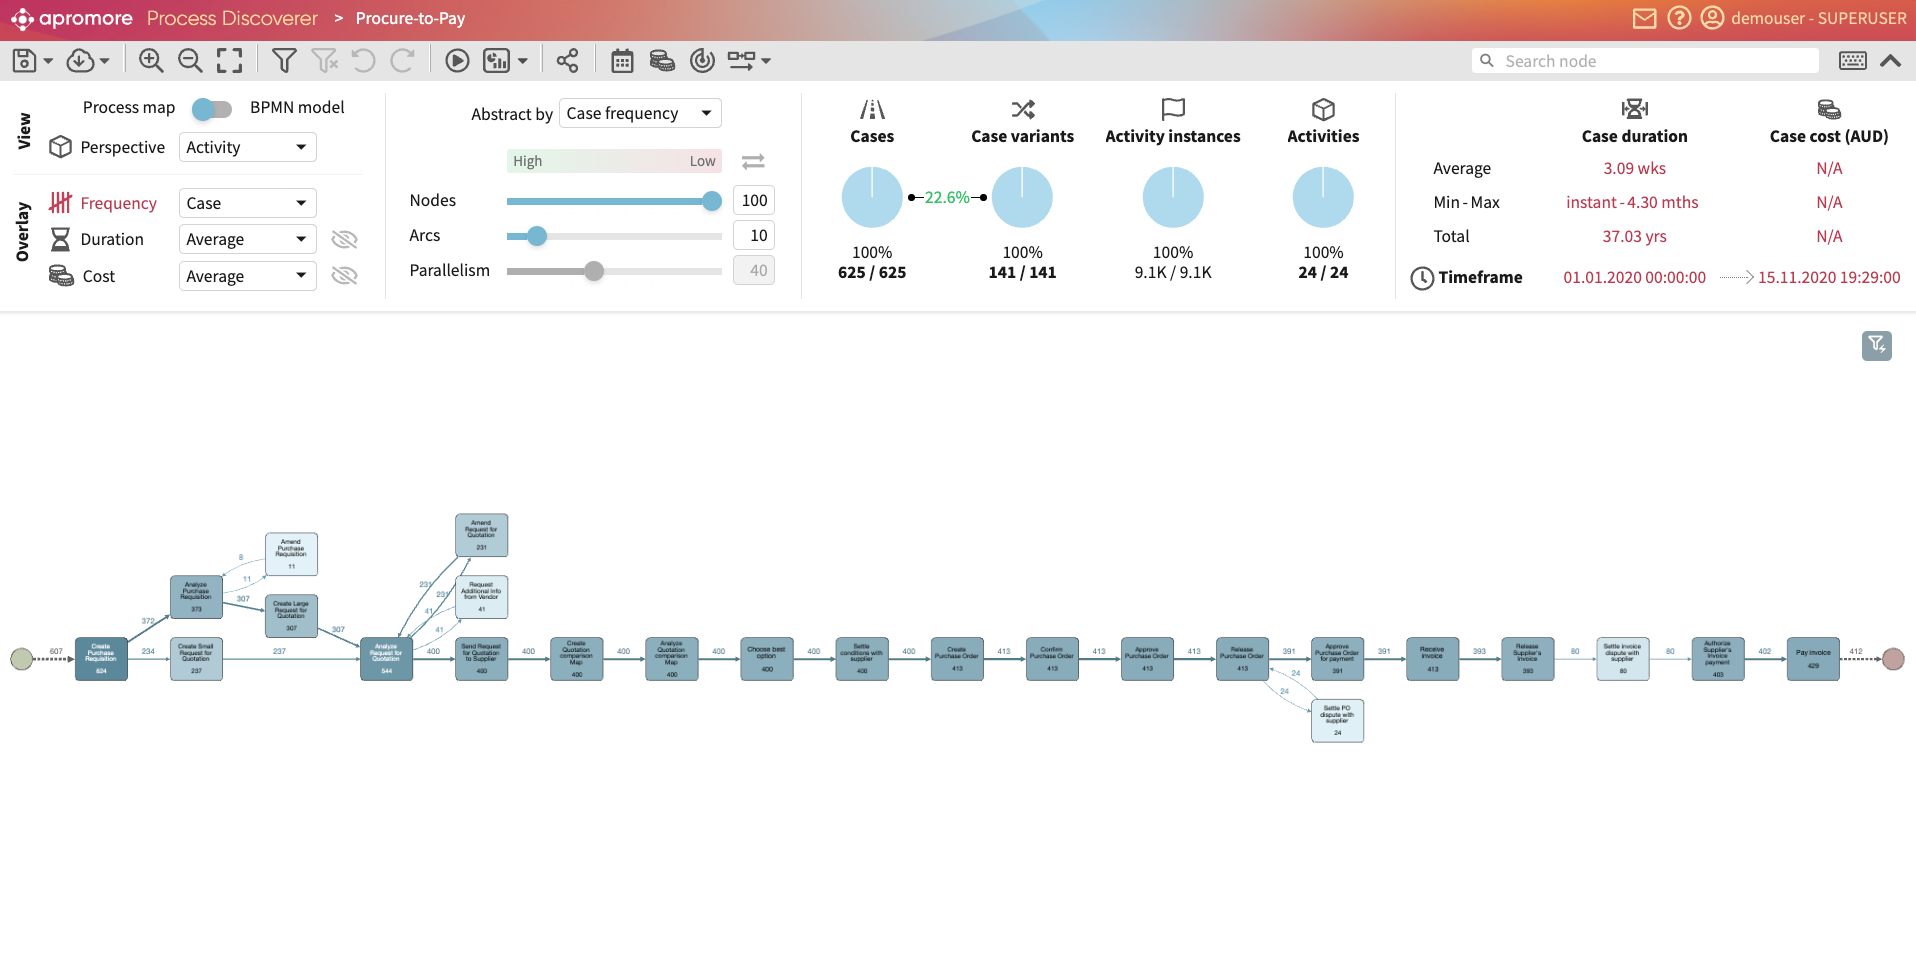
To list all available views, click Inventory in the Portal.
This displays an inventory of all the process views in our instance. The inventory contains the following columns:
Workflow: The name of the process view.
Data source: The event log from which the view was saved.
Description: The description of the saved view.

In the inventory shown above, we have 12 workflows corresponding to views. We can double-click a particular workflow to open the view in Process Discoverer.
Note
When we need to monitor or share process views across teams, we can display saved process views in a dashboard using a metadata table or tile. To learn more, see Add a metadata table and Add a metadata tile.
When we have many views, we can filter based on workflow name, data source, or description.
Click Filters to add a filter to the list of views.
This displays a window for creating a filter condition.
To define a condition, we must specify the following.
Columns: Either Workflow, Data source, or Description.
Operator: Select an operator, such as contains, equals, starts with, ends with, is empty, is not empty, or is any of.
Value: The specific value that the column condition will be compared against.
Let’s say we want to display only process views whose name contains “Sepsis”. We set the:
Columns to Workflow
Operator to contains
Value to Sepsis.

Click out of the filter window to view the result.
We can also create filters based on multiple conditions. For instance, we can create a filter that displays views where:
The Workflow contains “fast cases”.
The Description is not empty.
The Data source is either “Procure-to-Pay asis” or “Sepsis Cases”.
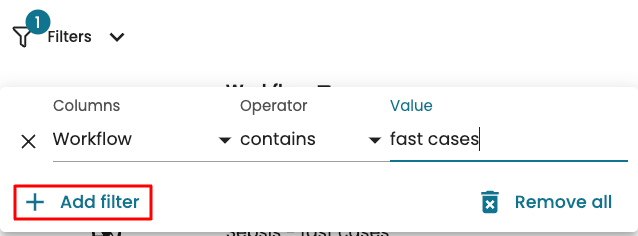
Click the Filters to create a filter. We create the first condition.
To add a new filter, click Add filter.
When defining multiple conditions, we can specify how Apromore combines the filter — either using AND or OR conditions. Specify this using the dropdown.

In the new filter row, change Columns to Description. In the Operator dropdown, select is not empty.
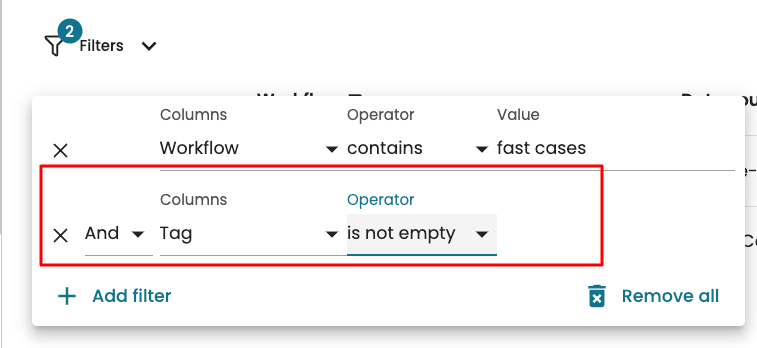
Note
When the is empty or is not empty operator is used, we do not need to specify a value.
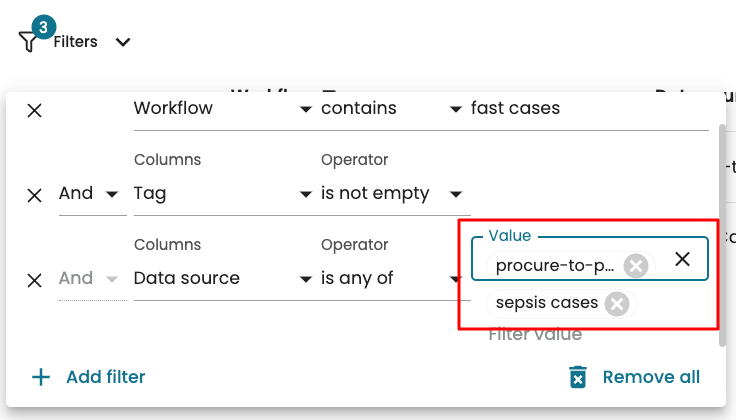
Lastly, we specify the third condition. Click Add filter. Change the Columns to Data Source. In Columns, select is any of.
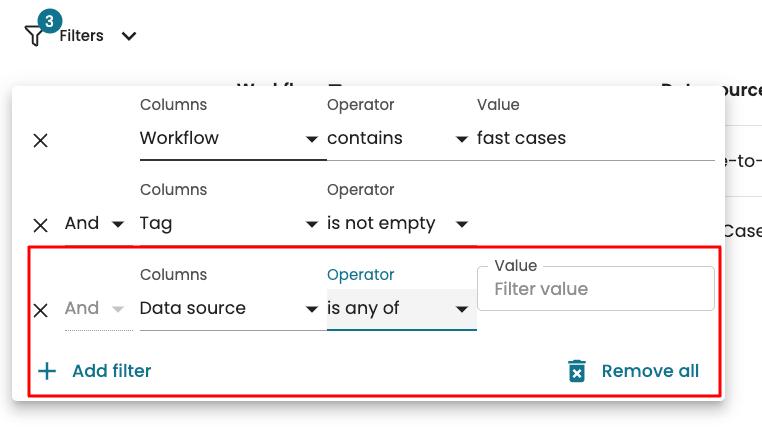
When we use the is any of operator, we can enter multiple values. Apromore checks that the condition is the same as any of the entered values. In our case, we enter “Procure-to-Pay asis” and “Sepsis Cases”. After typing each value, click it to confirm it.
Note
The conditions are not case-sensitive.
Click out of the filter window to see the view that meets the specified condition.
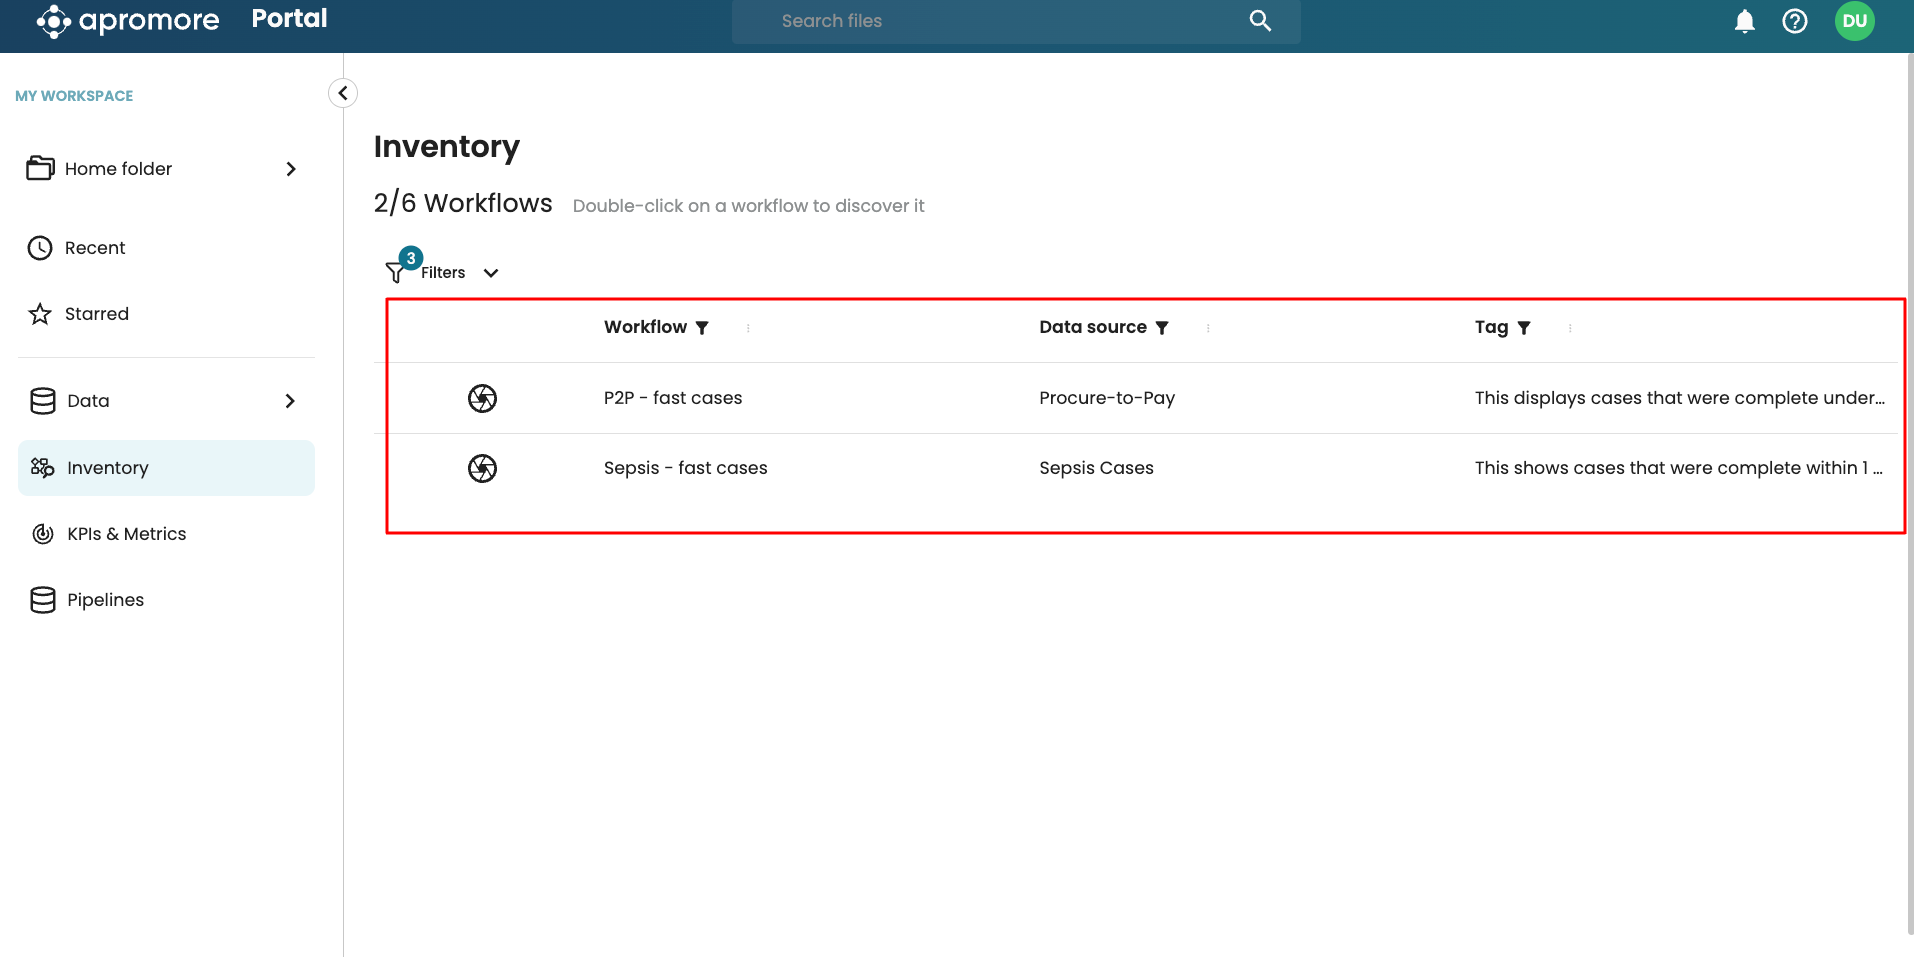
Two of the 12 views meet our filter conditions. We can double-click any of them to open the view in Process Discoverer