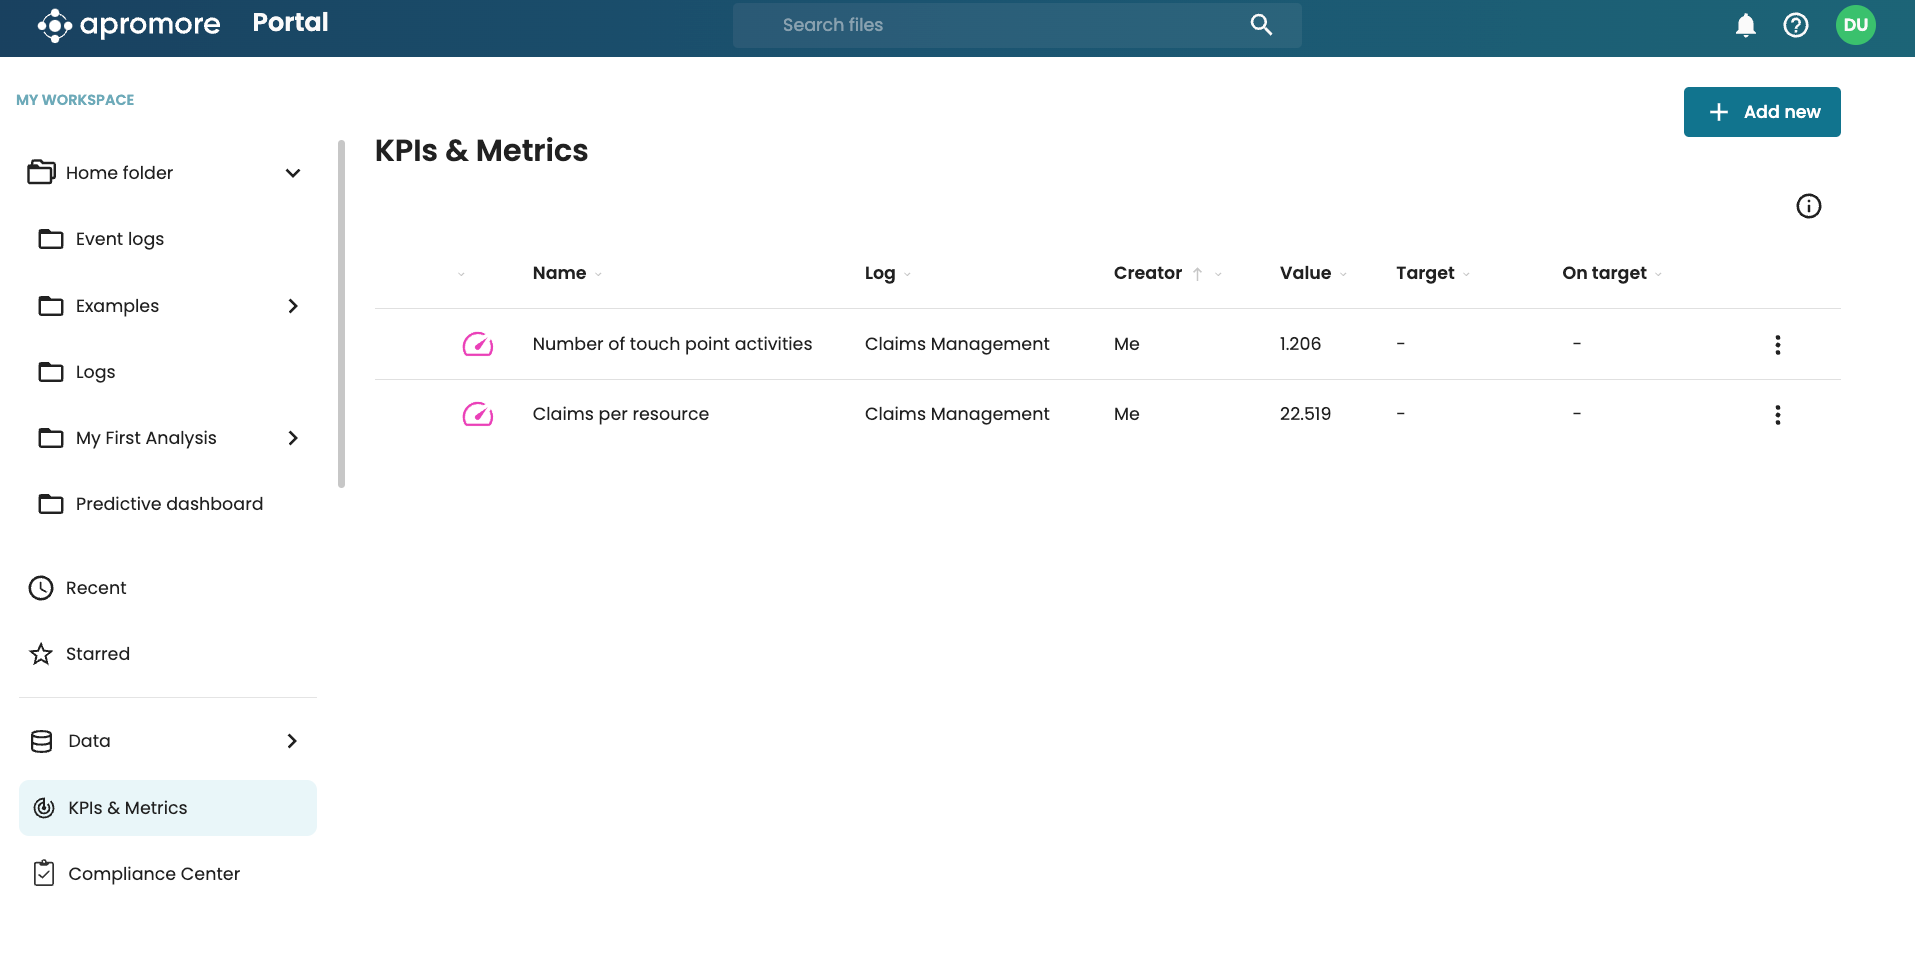
Manage cost centers
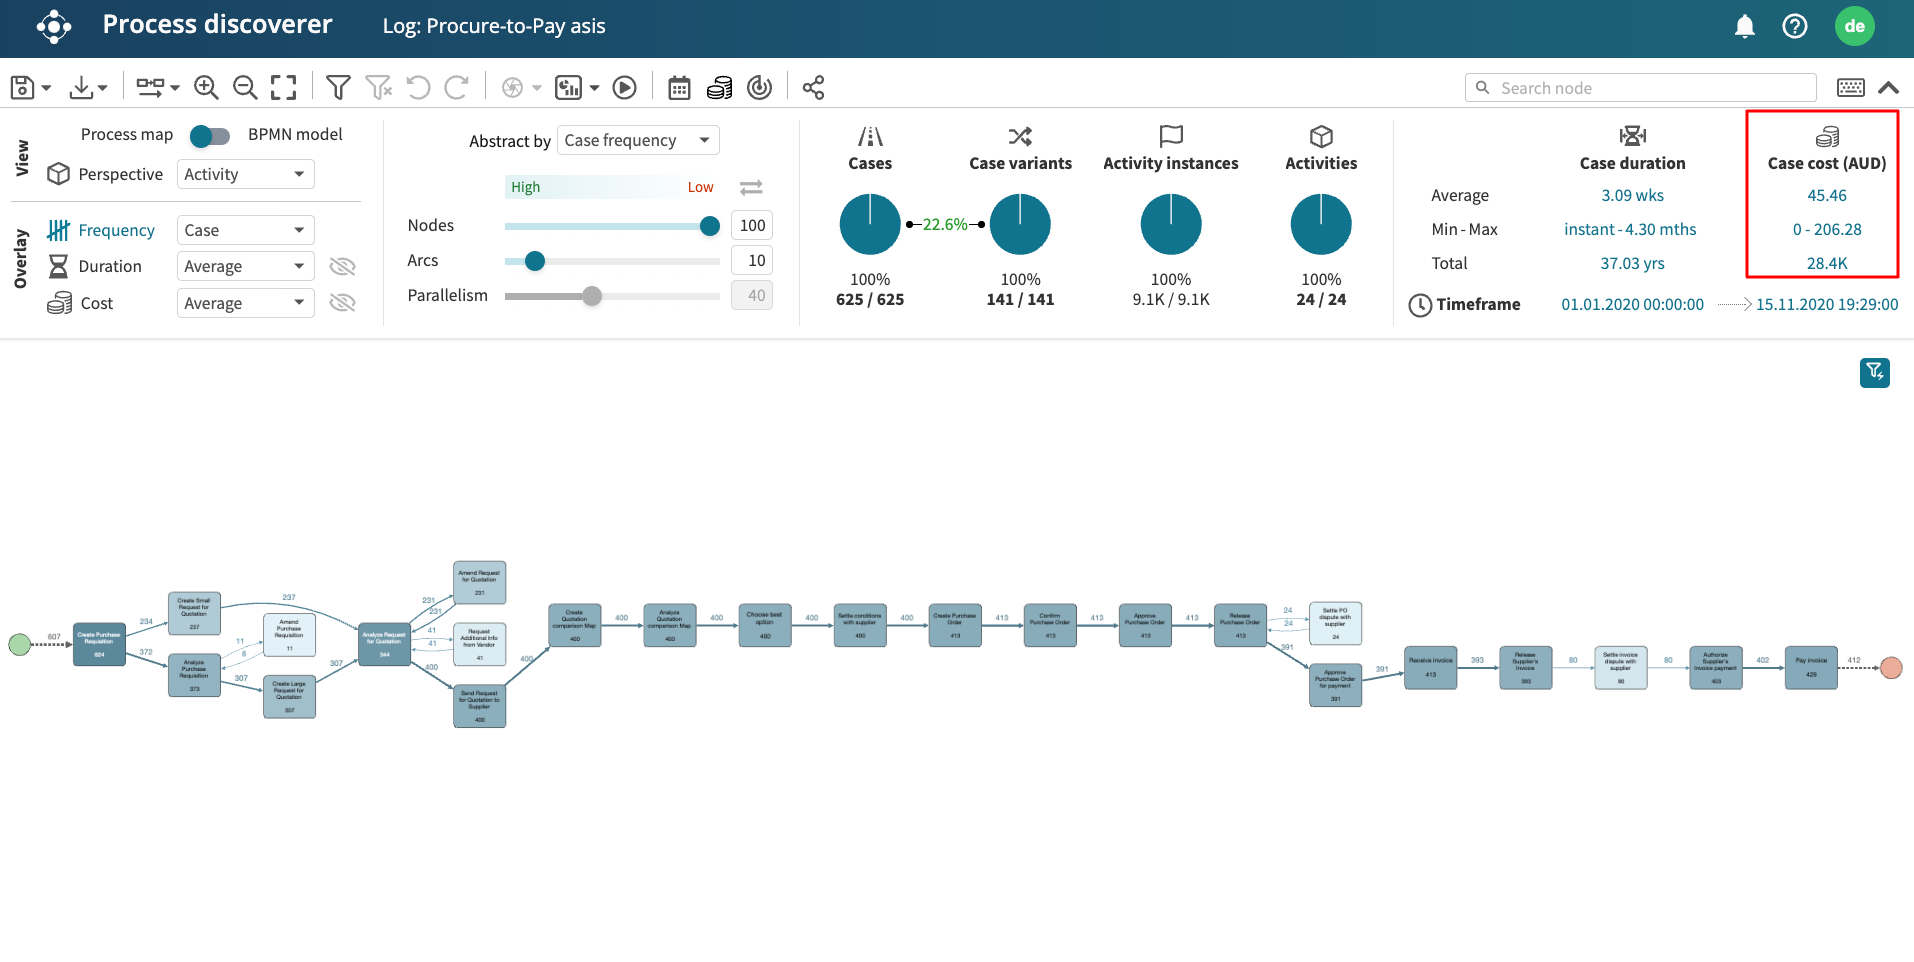
Apromore allows cost metrics to be displayed on top of a process map or a BPMN model in the Process Discoverer.
Note
The Cost overlay and Cost center functionality can be used only with the logs having the Roles column present while uploading the event log to Apromore.
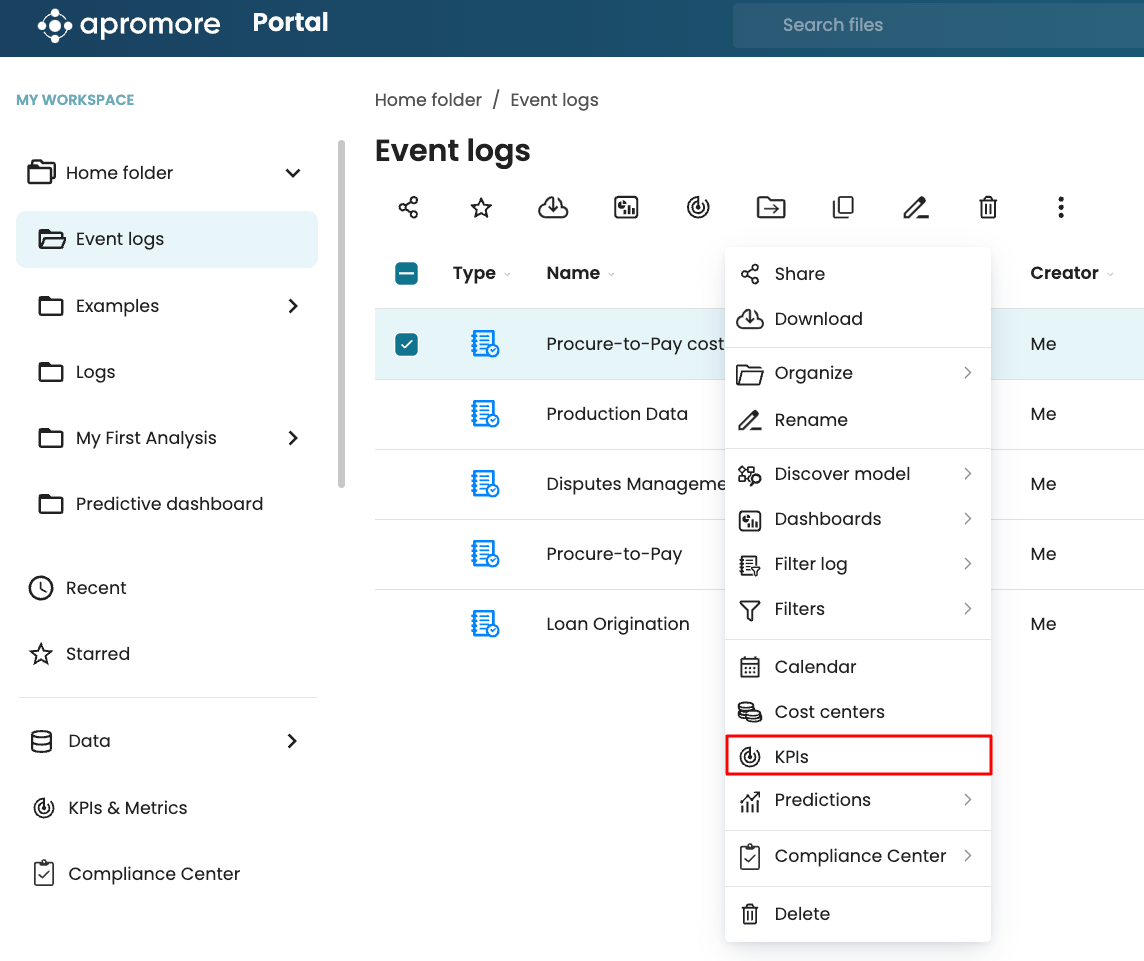
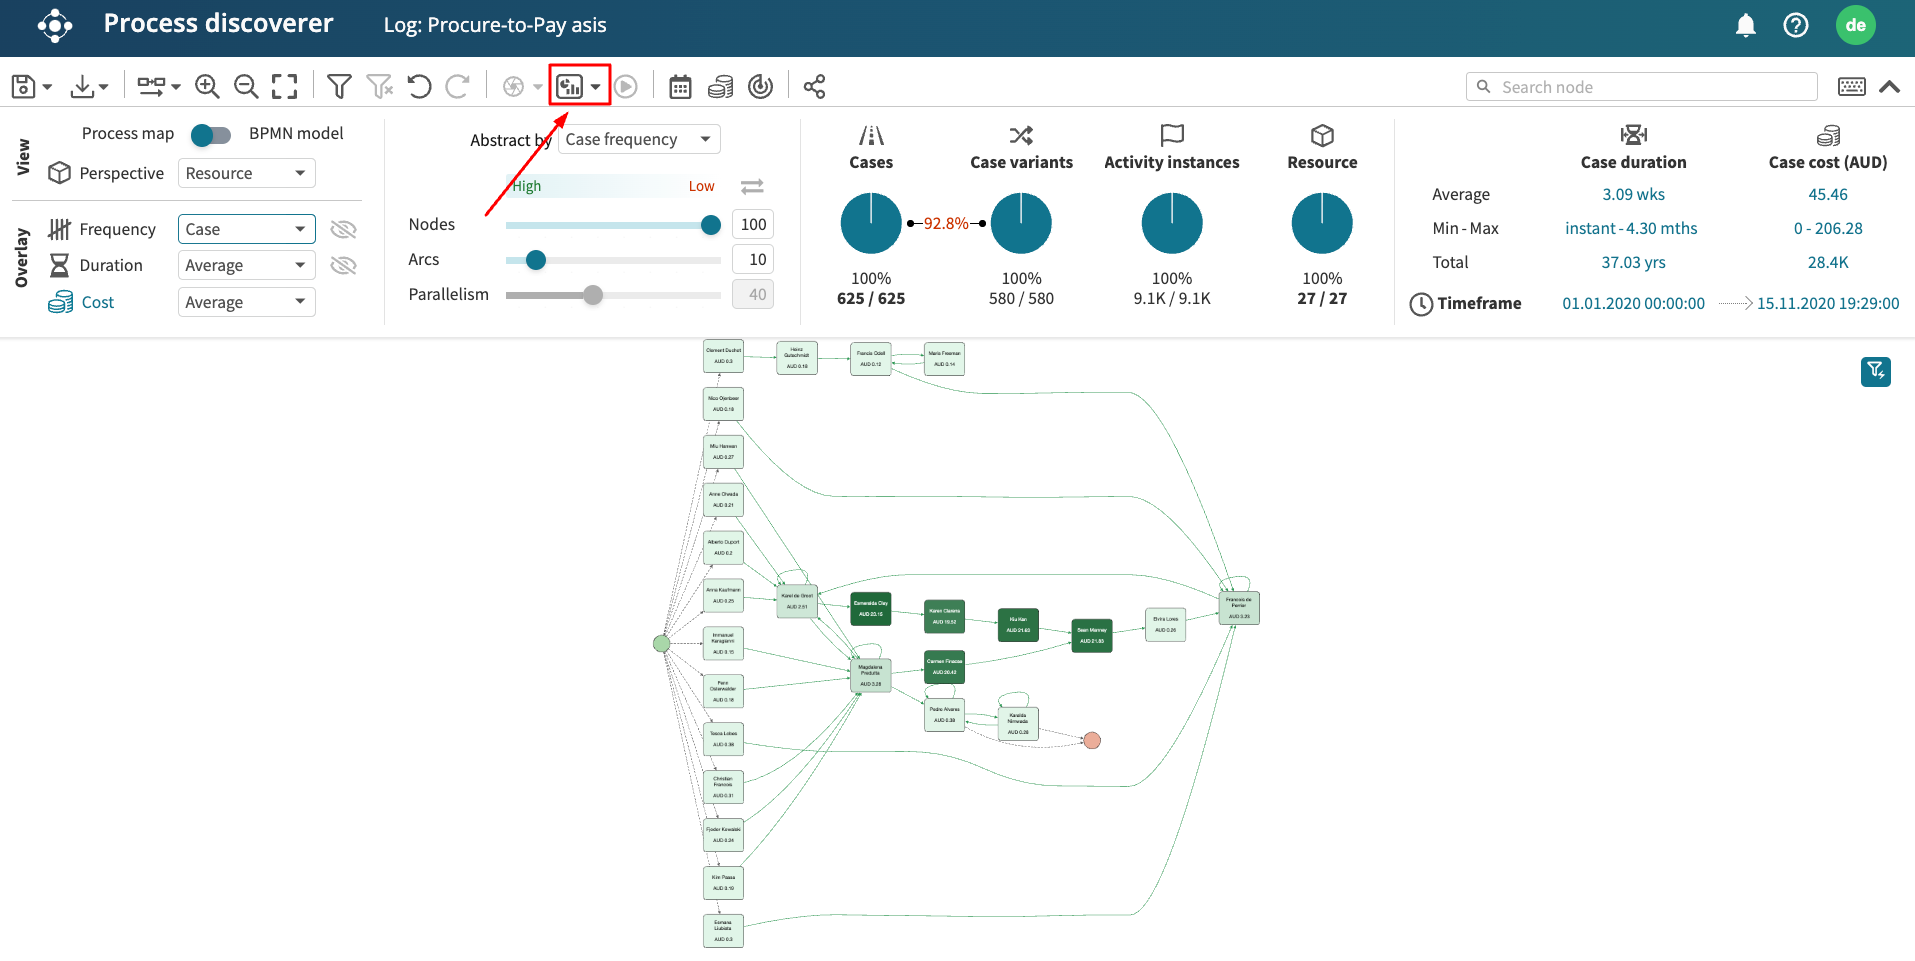
To check the cost metrics, click the Manage cost centers icon above the Abstraction Settings panel.
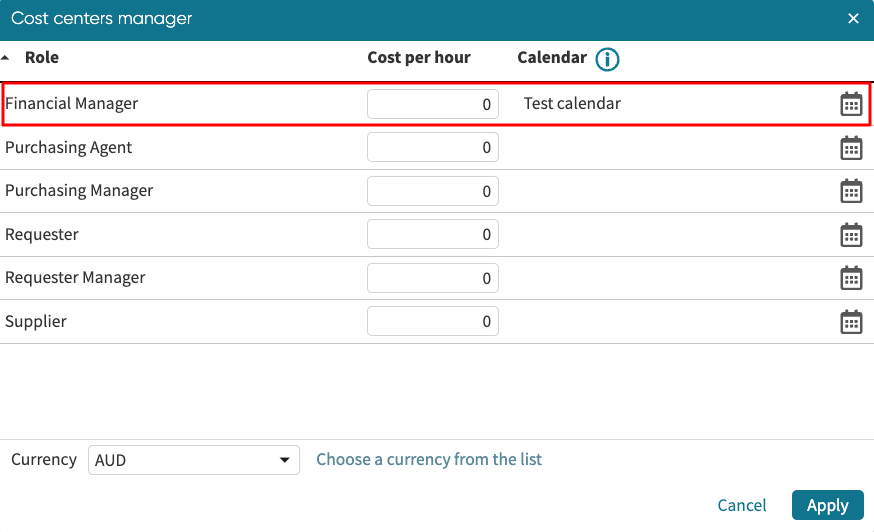
The cost center manager window appears, which consists of a list of roles, a cost-per-hour section, and a calendar.
We can also specify the currency from the Currency dropdown.
Enter the cost-per-hour values next to each role and specify the calendar on which the roles work. For instance, a role may work 9 am to 5 pm, 5 Business days, while another works 24/7. Calendars are particularly useful in computing the actual processing time of a task and, by extension, the cost of performing that task. For example, suppose an event log indicates a task begins at 4:50 pm on Thursday and ends at 9:10 am on Friday. If the role assigned to the task works 9 am to 5 pm, 5 Business days, the processing time is 20 minutes. If, on the other hand, the role works 24/7, the processing time is 16 hours, 20 minutes.
Before assigning a calendar to a role, a calendar must be created.
To create a calendar, click the calendar icon  for any of the roles.
A list of already created calendars in the workspace appears.
Click the calendar we wish to apply to the role and click Apply calendar.
We can also create a new calendar. In the Calendar manager window, click Add new Calendar.
Enter the name of the calendar. This name will subsequently be used to assign the calendar to the role.
Specify the time range on the calendar shown. We may also choose from the predefined calendar time range: 9 AM-5 PM 5 Business Days, 24hr 5 Business Days, and 24hr 7 Days. To specify a custom time range for a day, drag the mouse across the time we wish to specify.
We can edit the time range for a particular day. For instance, if the Friday time range is 9 am to 4 pm, click a time box on Friday. The Edit time range window appears.
We can edit the Start and End times to change the time range. Use the up and down arrow to edit or type the time. Click Update to specify the new time as the new time range for the day.
To delete the entire time range for the day, click Delete. The time range for that day will be removed entirely.
We can also add holidays and add them to a role. Apromore has a list of public holidays per country. To add a public holiday, click Add public holidays.
Specify the country and the state. Click Create.
This imports the public holiday for the set state.

Similarly, we can create a custom holiday for a role. Click Add holiday. Specify the date and description of the holiday. Click Create.
The holiday is added to the list of holidays.
Note
A holiday (public or custom) indicates that the role was not working within that time range. Apromore considers this when calculating critical metrics such as resource cost, processing times, cycle times, etc.
When the calendar has been satisfactorily specified, click Apply to create it.
The calendar now appears in the list of calendars.

To add this calendar to the role, click the calendar and click Apply calendar.

The calendar is now associated with the role.
Enter a cost for each role and assign them to a calendar.
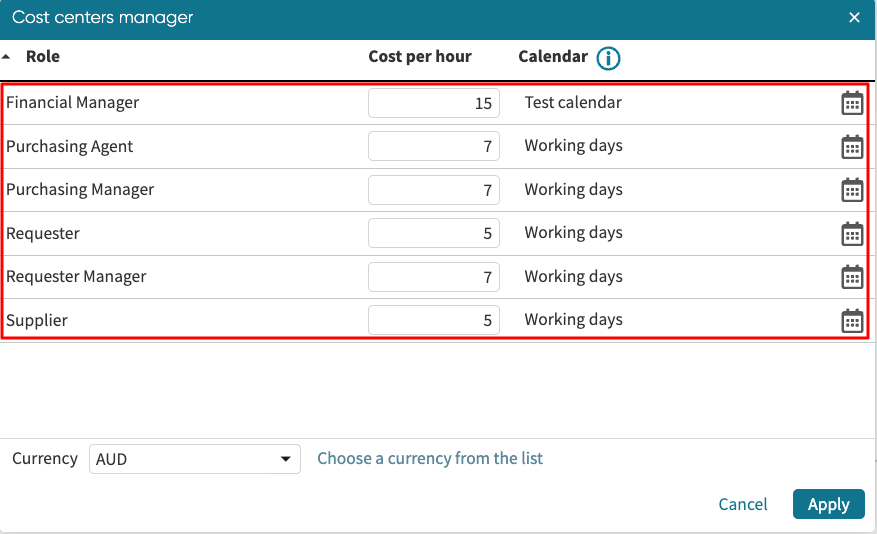
To save the cost setting, click Apply.
Note
We can delete the cost center values by entering 0 in the Cost per hour section for all the roles.
The case cost section will now be computed in Process discoverer.
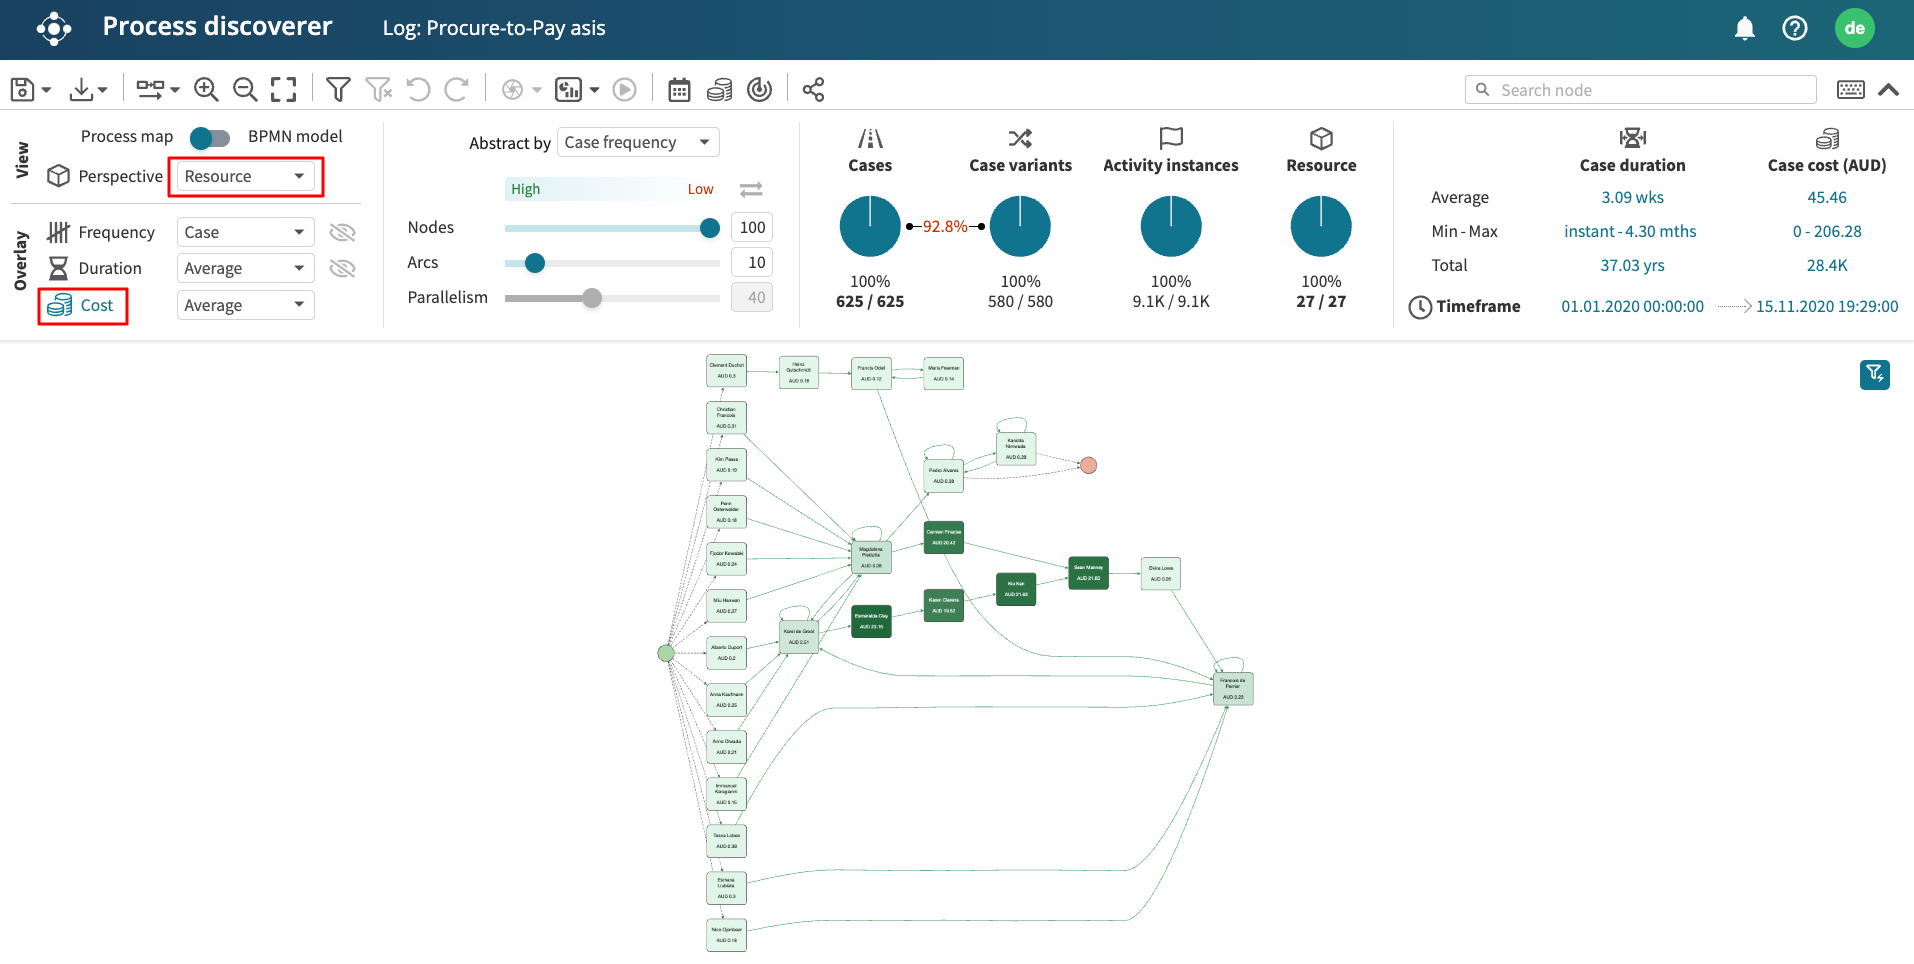
To see how the Resource costs are distributed among different process activities, select Resource from the Perspective dropdown and click the Cost overlay.
We can also filter the cases based on the distribution of their cost.
To create a Cost-based performance filter, first, indicate Cost per hour and Currency sections in the Cost center manager window mentioned in the previous subsection.
Create a Performance filter and choose Case cost from the Performance measure dropdown menu.
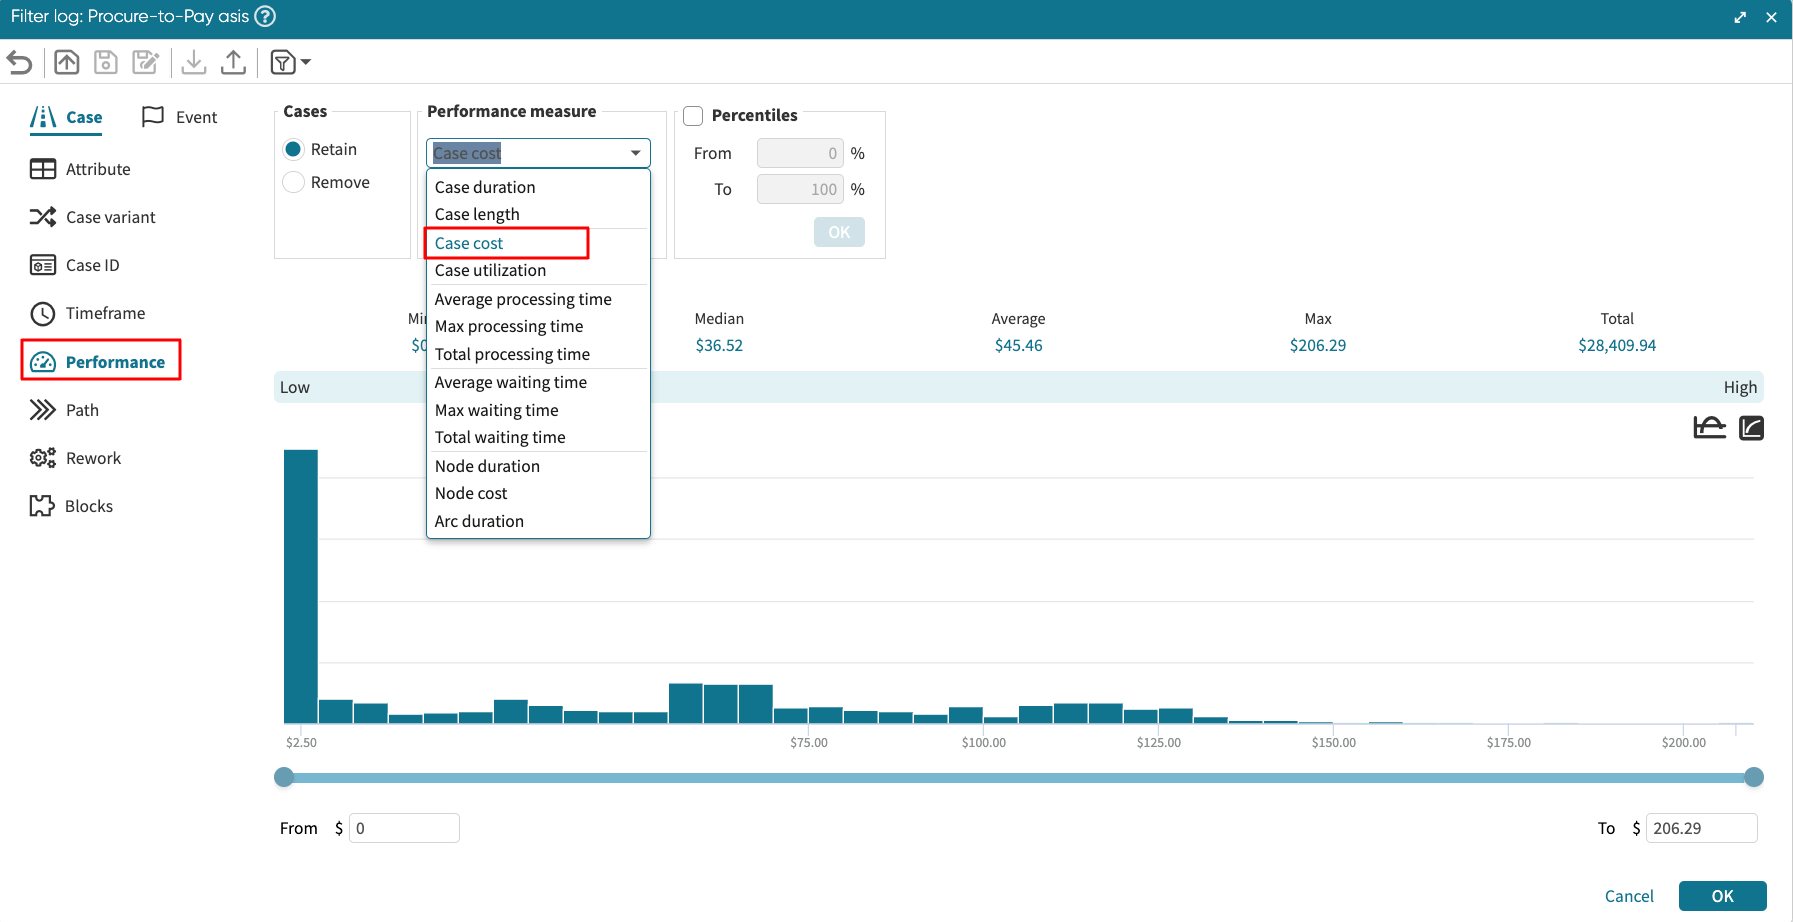
Decide whether to retain or remove the cases that fulfill the cost condition set in the filter criteria. Create a filter by clicking Apply.
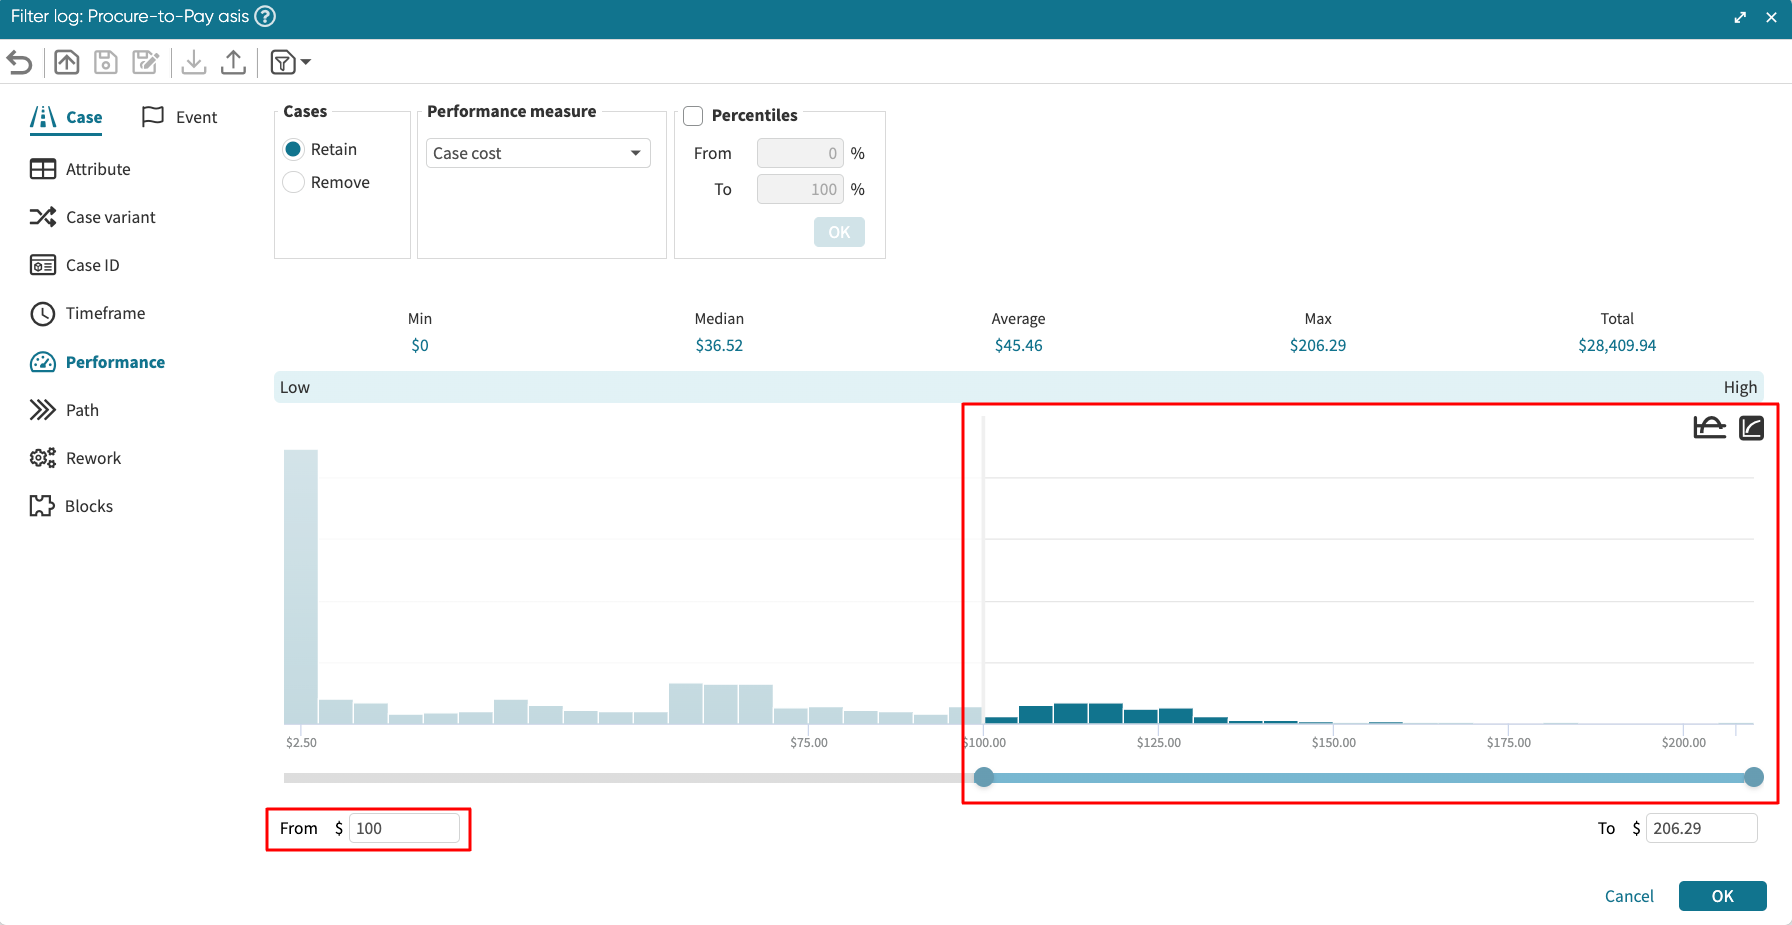
In the example below, we retain all the cases that cost more than $100 to execute. Click OK.
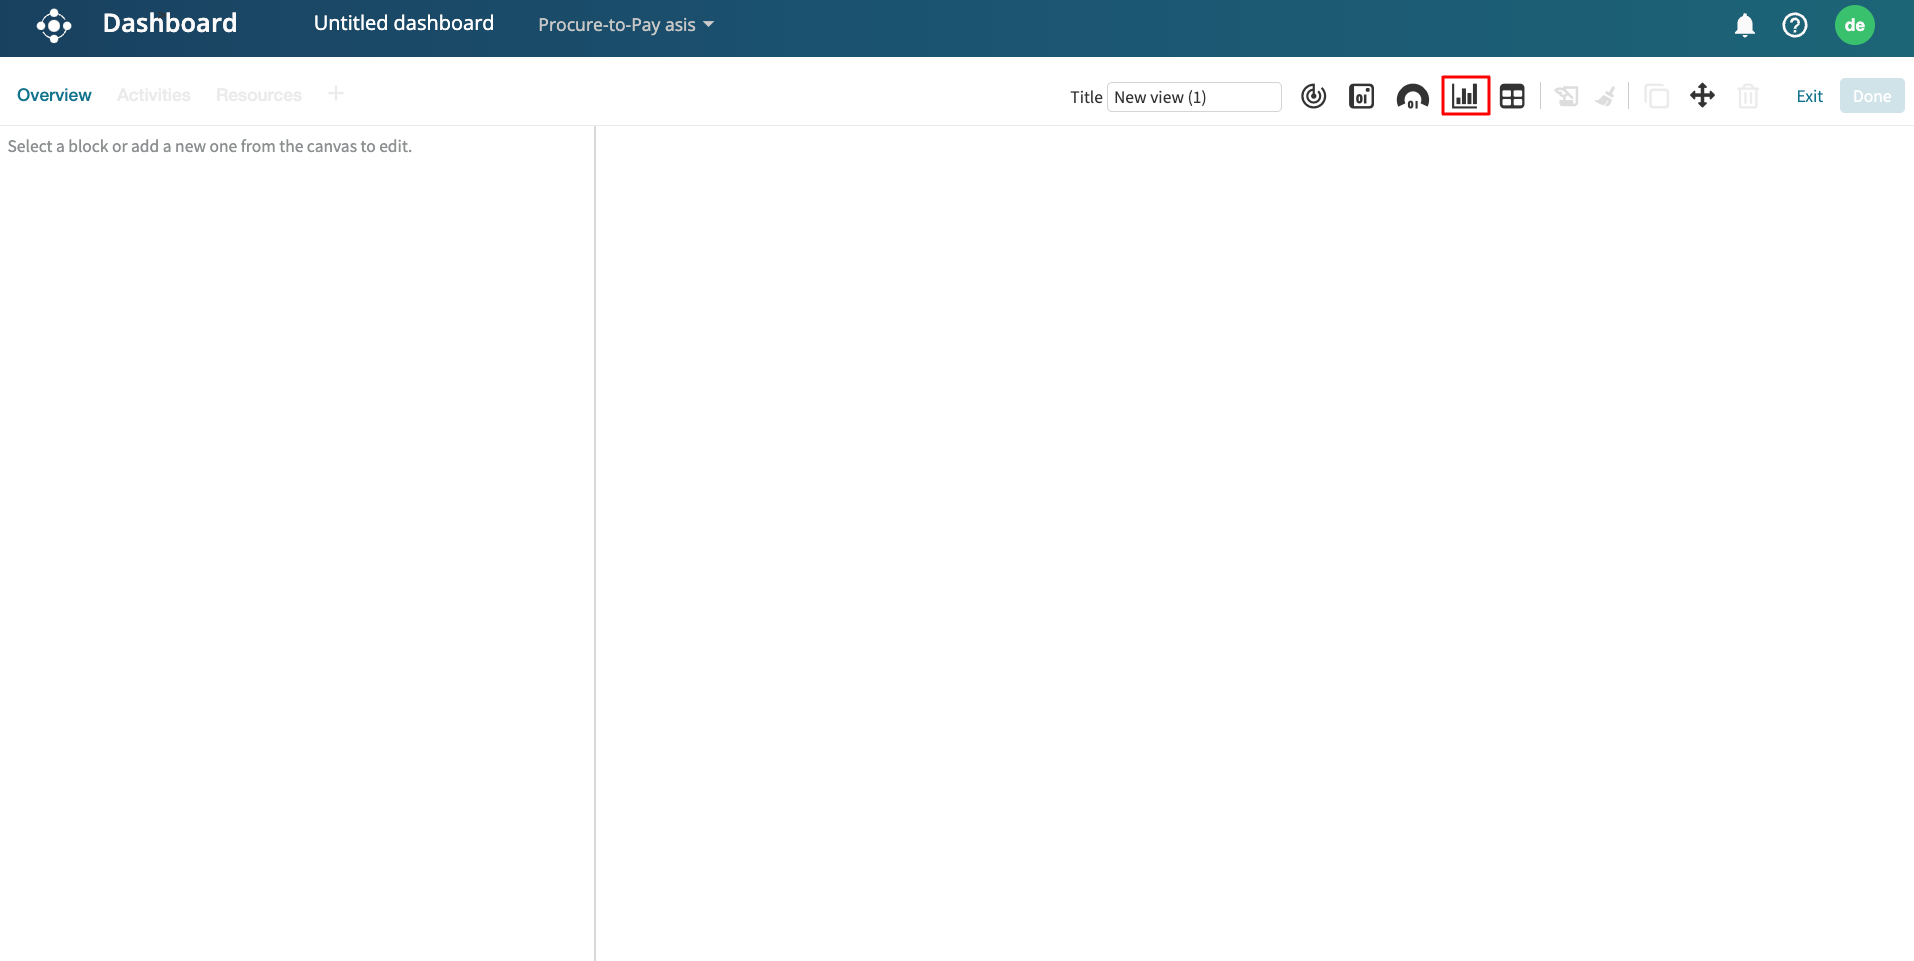
We can also display a chart that displays the case cost for any attribute. For instance, we can display the total cost for each channel in the process. To create this chart in a dashboard, click the Launch dashboard icon.
Select a saved dashboard or click Create new dashboard. This opens the dashboard. In a dashboard view, click the Add new chart icon to add a new chart.
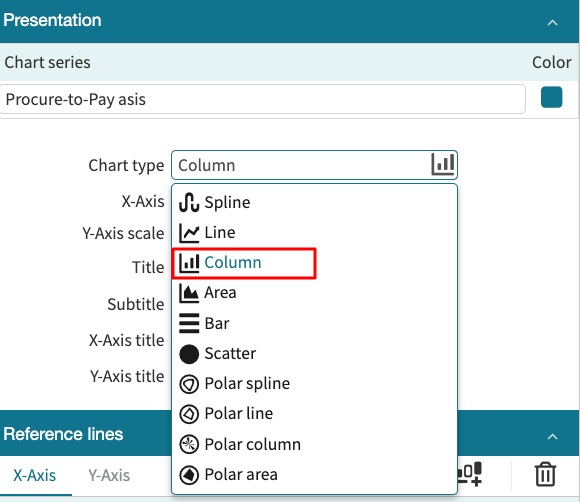
Select a chart and choose the type of chart. In our case, we select the column chart.
On the X-Axis dropdown, we select Case attribute and choose Channel as the X-Axis attribute.
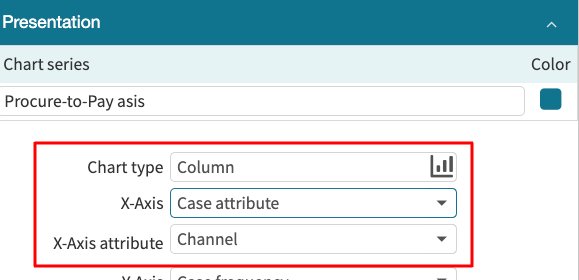
In the Y-Axis dropdown, select Case cost.
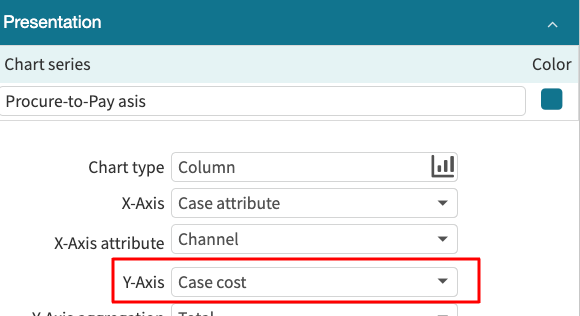
We can specify the Y-Axis aggregation metric. The screenshot below displays the total cost for each channel in the process.
