Navigating the Apromore Portal
The Apromore Portal is the first and primary interface that our users will access. It gives us access to the Apromore Workspace where we can manage files and folders. This introduction covers the basics of the Apromore Portal.
Please refer to the various entries in the user guide for specific plugins information and capability.
To view the Apromore Portal, log in using valid credentials.
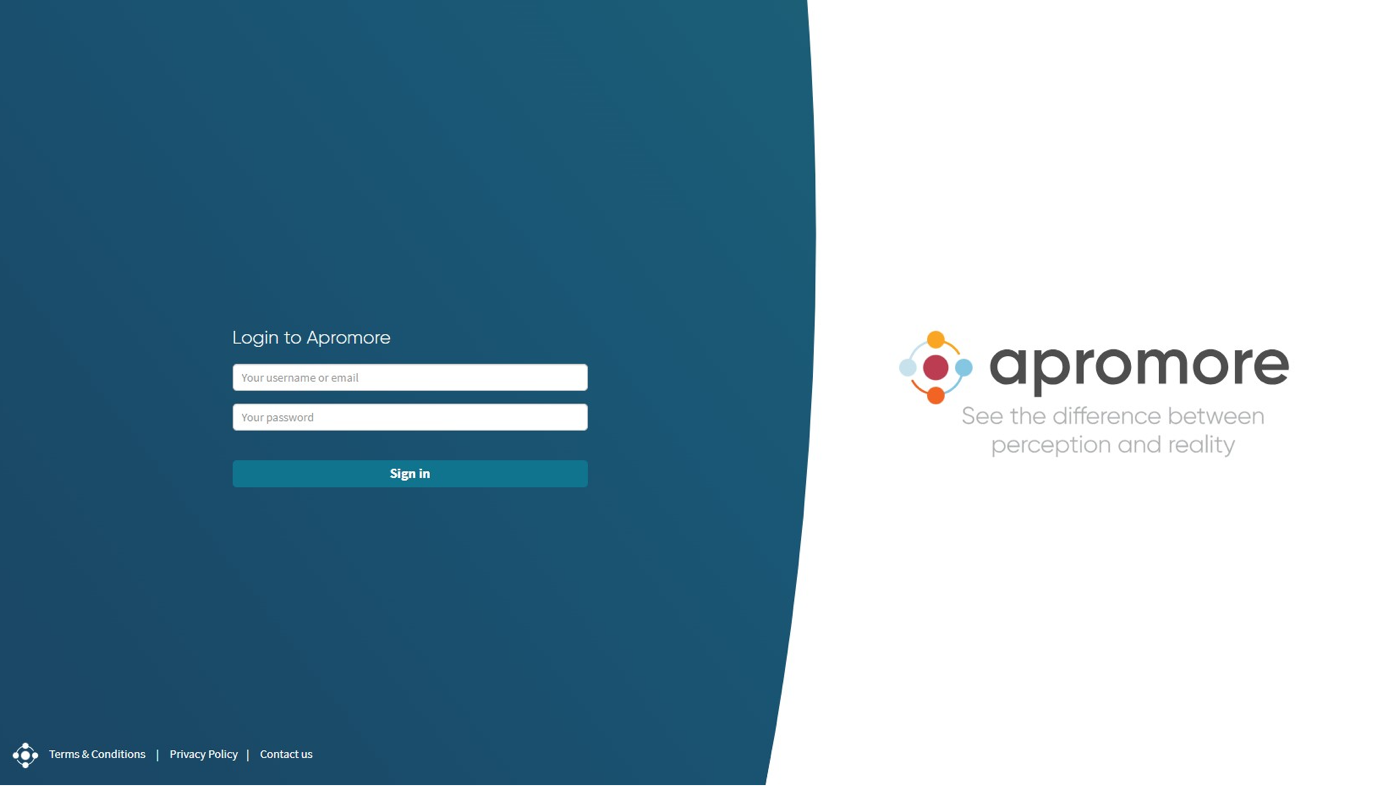
The Apromore Portal appears after successfully logging in.
When logged in, the session automatically expires after 30 minutes of inactivity, consequently logging us out. Five minutes before this timeout, a pop-up window displays the remaining time before the session expires. We can click on the pop-up window to keep the session alive or log out.
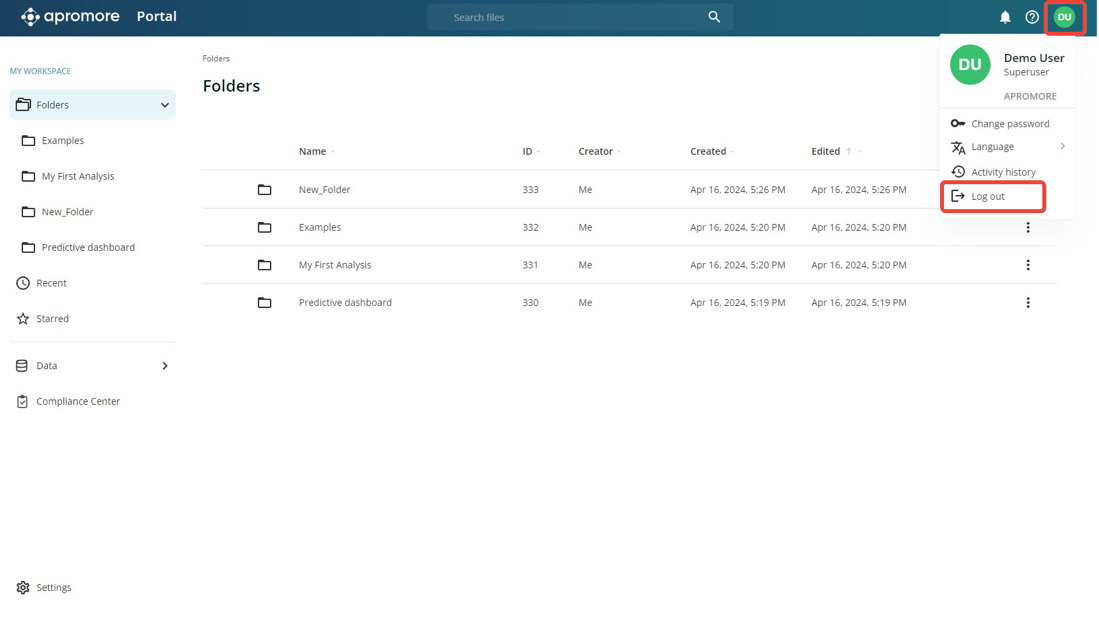
We can however explicitly log out by going to the user menu in the top right corner (usually the initials of your name) and clicking Log out.
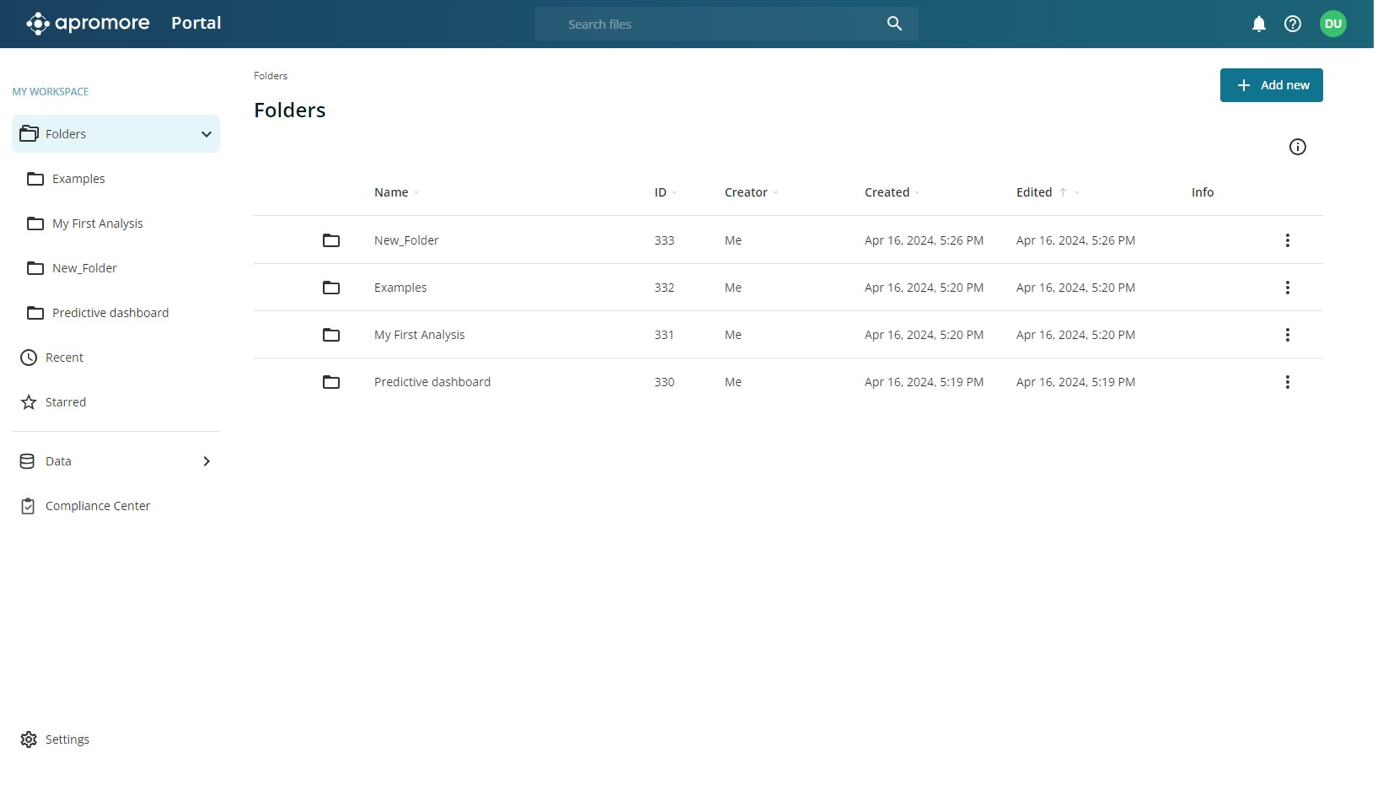
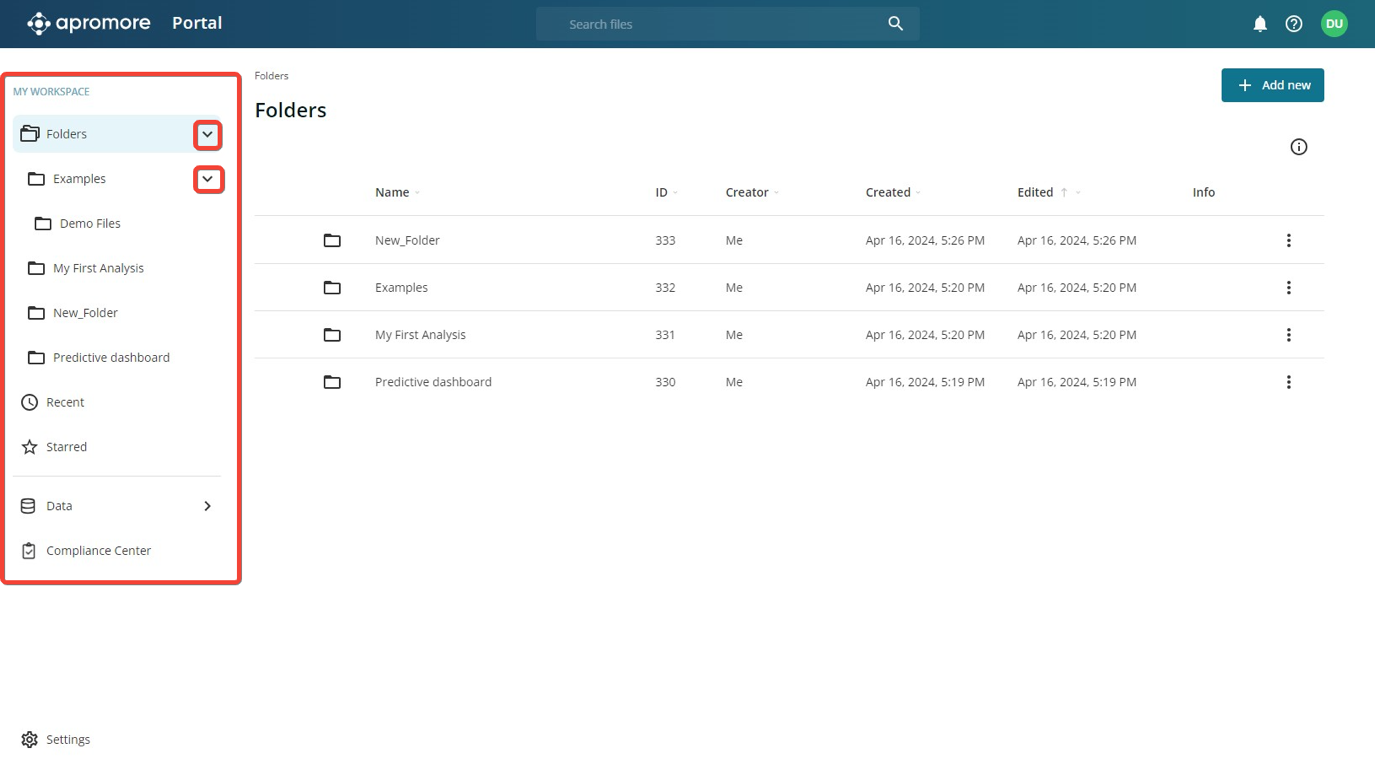
The Apromore Portal can be classified into three segments: the navigation panel, the top bar, and the main section.
The navigation panel is on the left side of the Portal. It displays the files and folders structure in the workspace. We can expand or collapse folders in the workspace by clicking the arrow icon next to the folder.
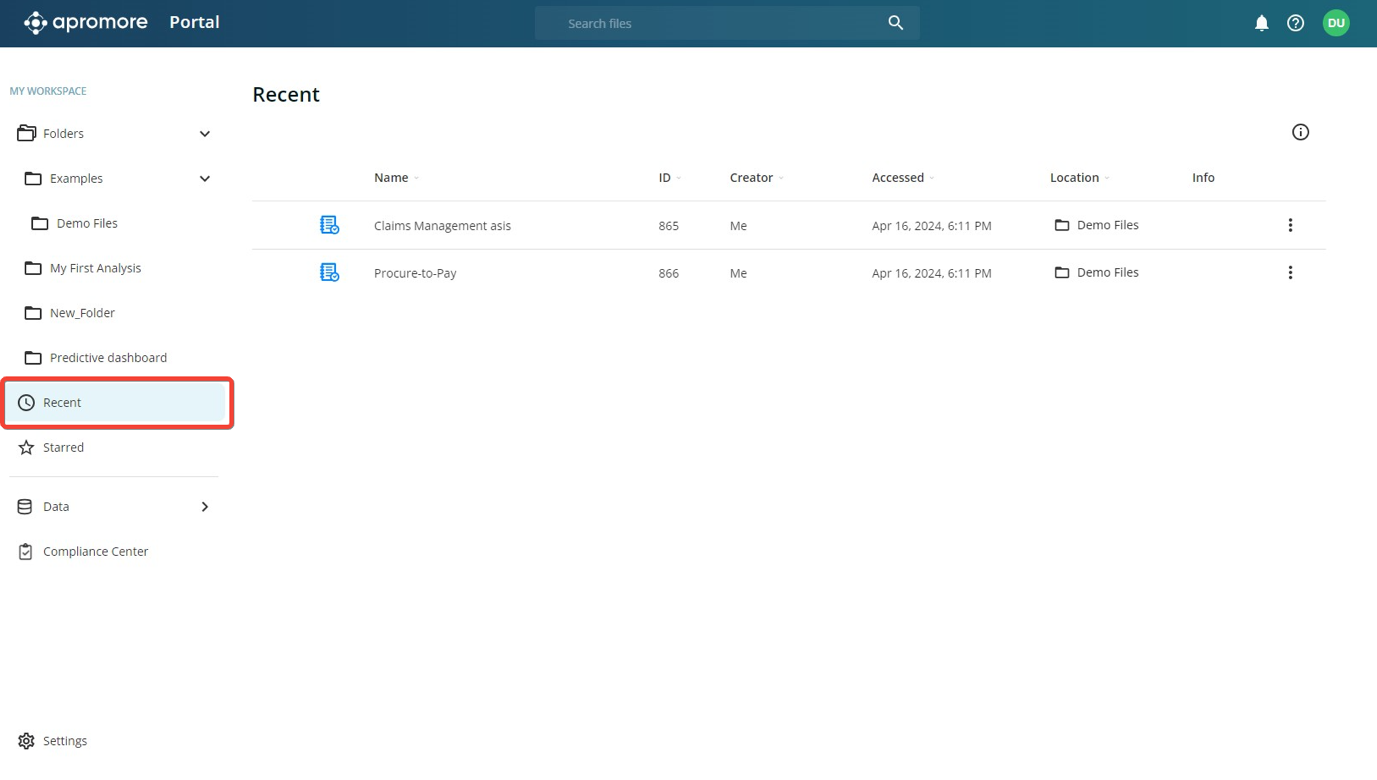
We can also view recently added files by clicking Recent.
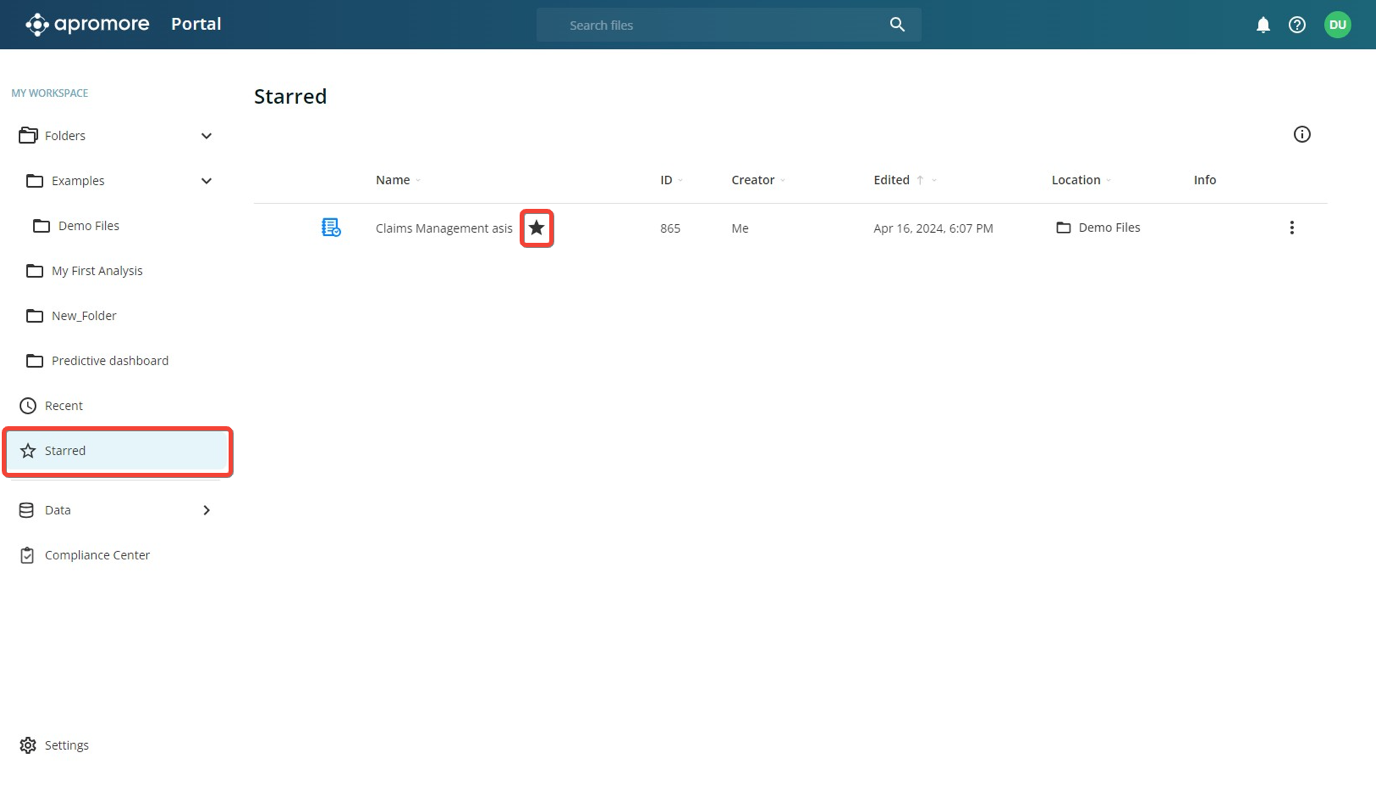
We can also star certain files so that we can quickly refer to them later. When we star a file, the file will appear in Starred irrespective of its path. To view your starred files, click Starred.
Just below the workspace section, we can create and manage data pipelines. To do this, click Data.

The central area of Portal is the main section where all the files and folders are displayed. Files could either be process models (represented by a flowchart icon), or event logs (represented by a logbook icon.
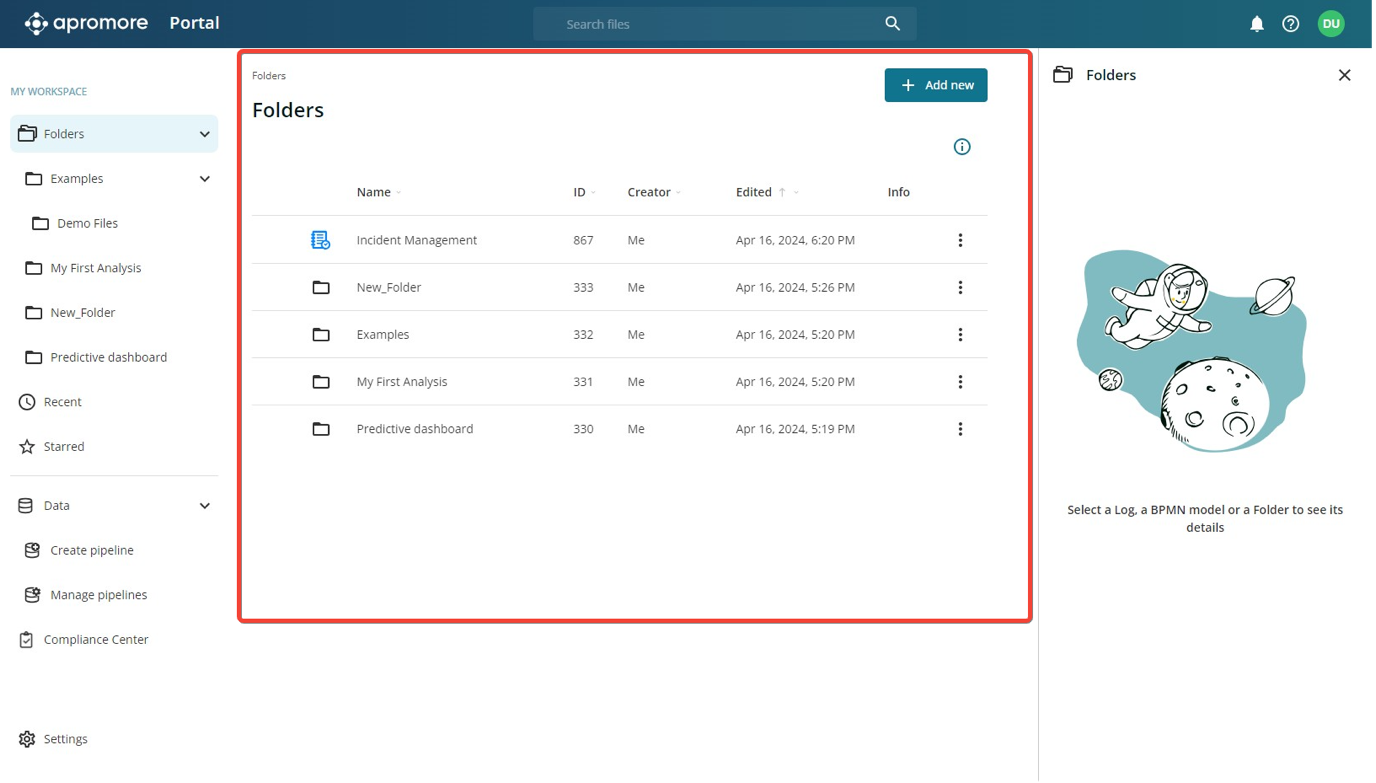
We can double-click on a process model to edit it using the BPMN 2.0 standard in the BPMN Editor. Likewise, we can also double-click on an event log to analyze the process map or BPMN model from the selected log in the Process Discoverer.
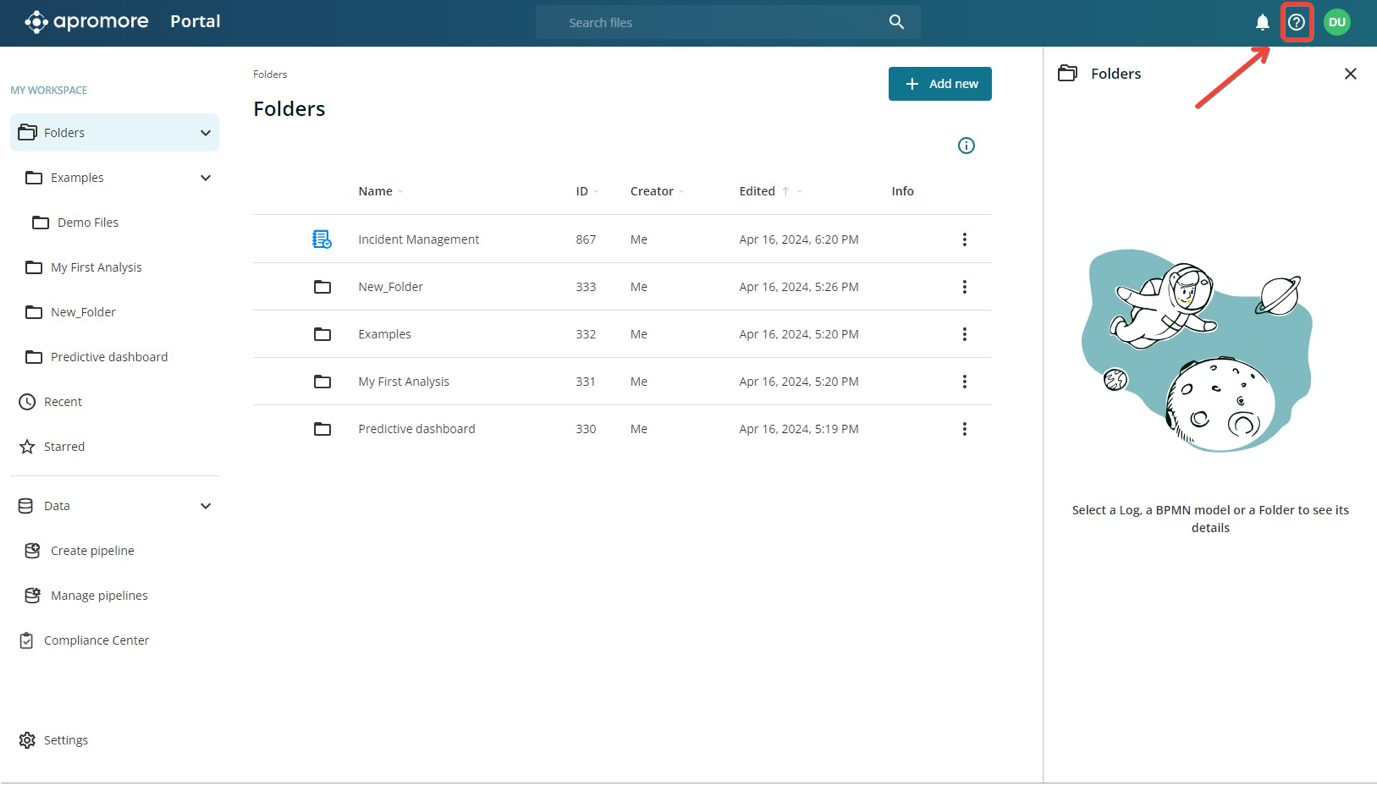
We can access the user guide from the question mark button on the top-right corner of the Portal.
The assets and details panel
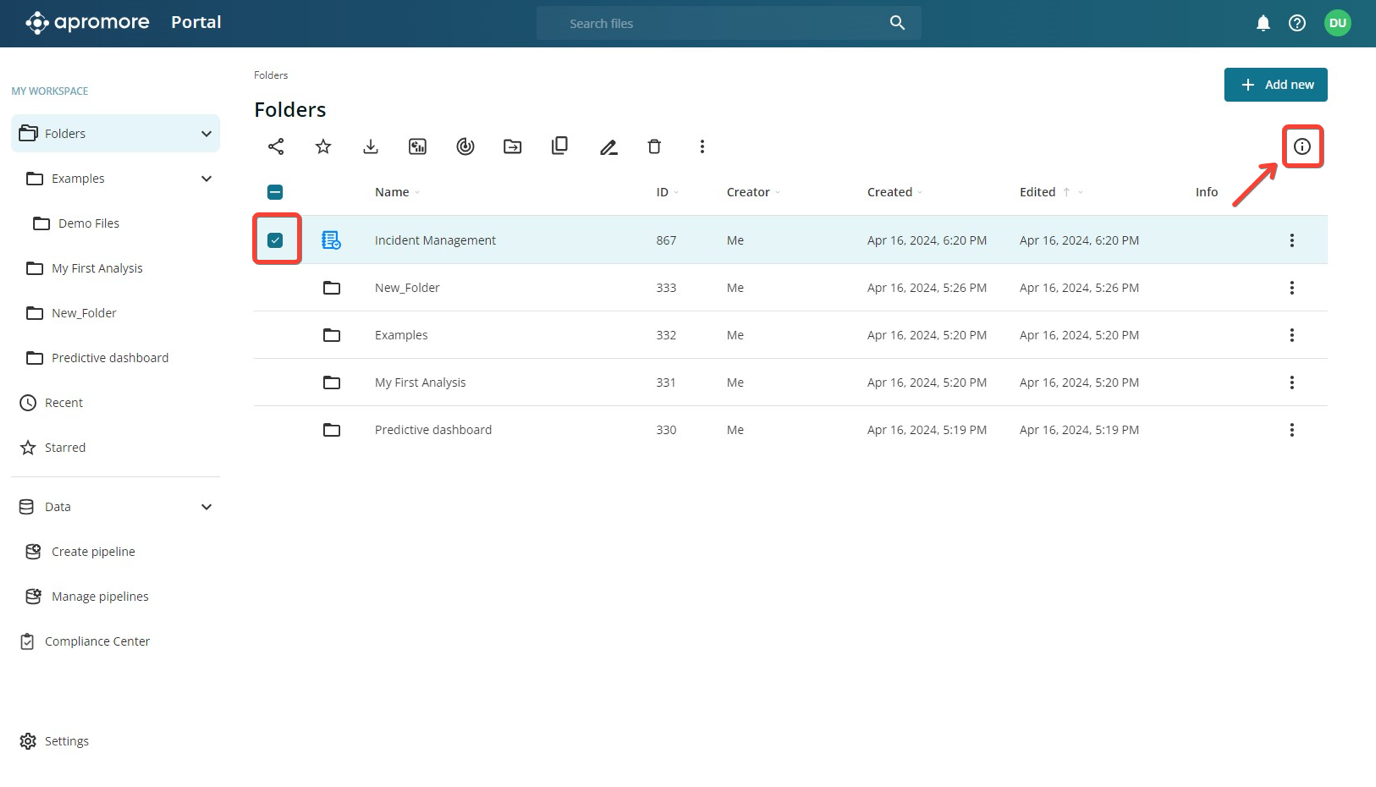
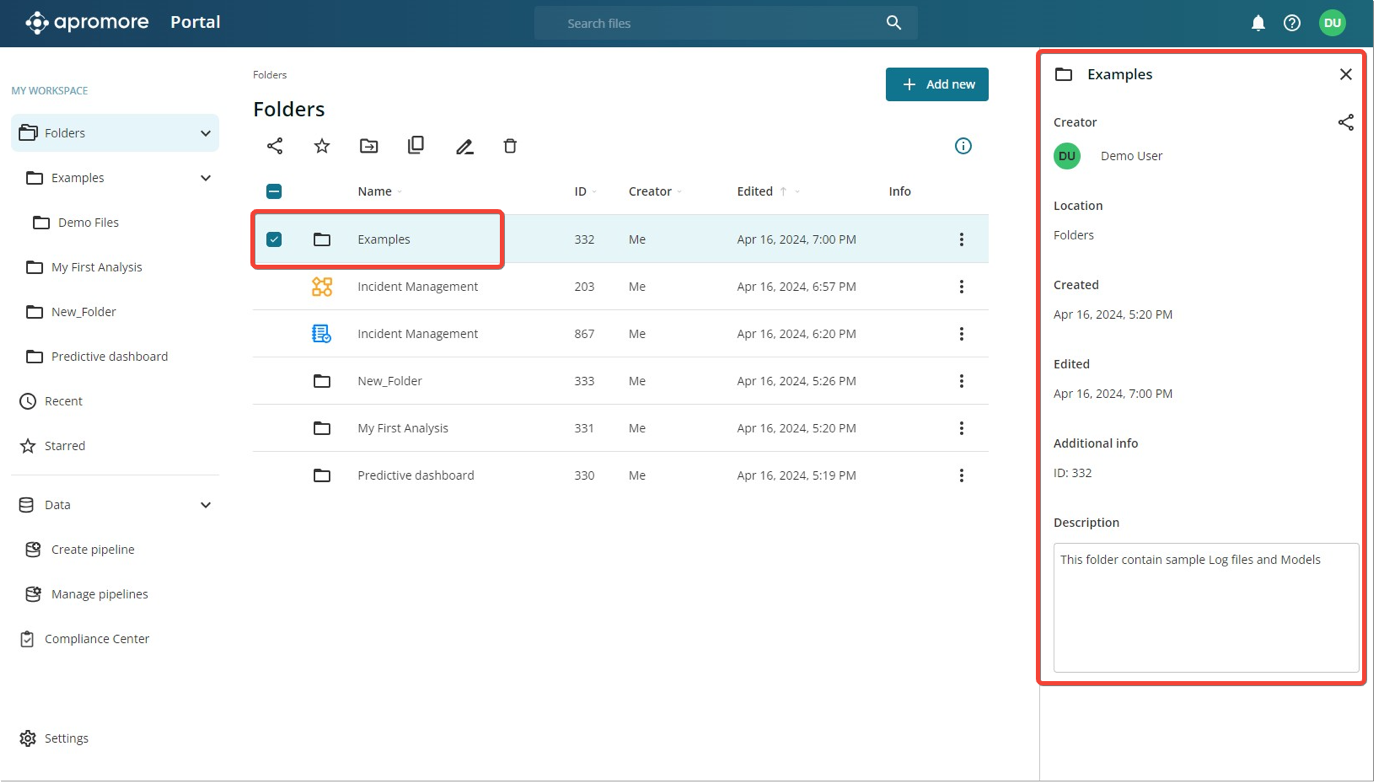
The assets and details panel lets us see details of a selected file or folder. By default, the assets and details panel does not appear in Portal. To display this, select a file or folder, and click the info icon on the far right.
When we select a process log, the panel displays the assets attached to the log and details of the log.
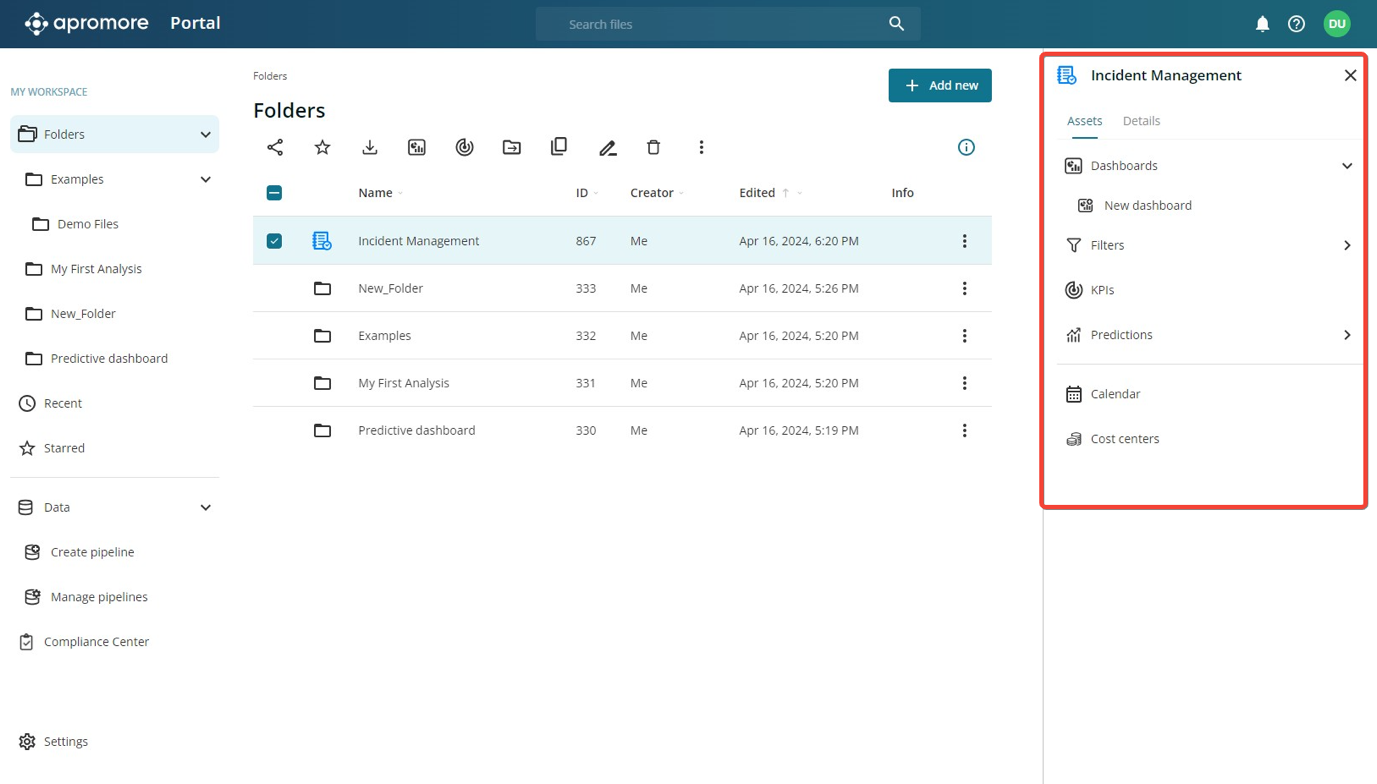
In the Assets tab, we can see the dashboards created from the log, the saved filters, KPI, etc.
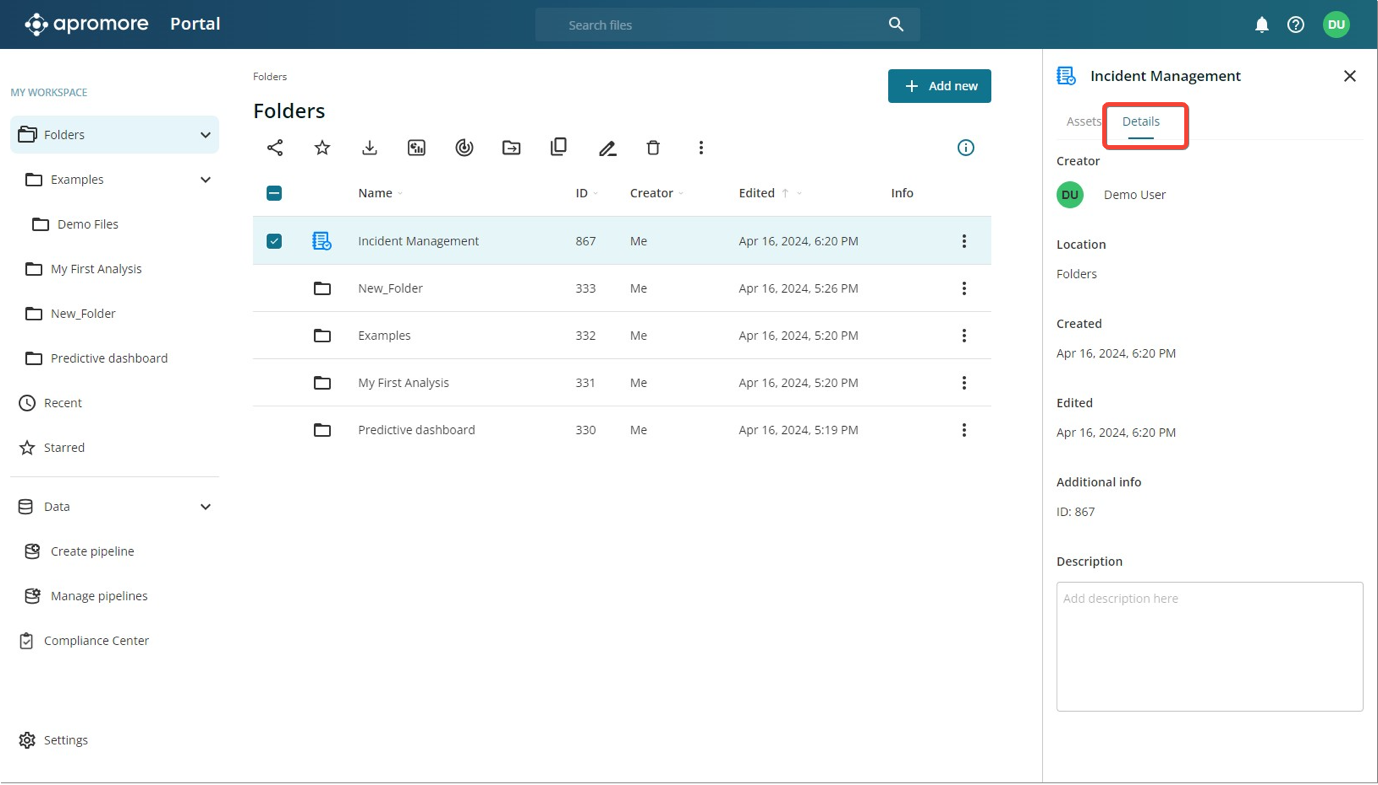
We can also click Details tab to see information about the log including the creator, the location of the log, the creation time stamp, the last time it was edited, the ID of the log and the description when the log was saved.
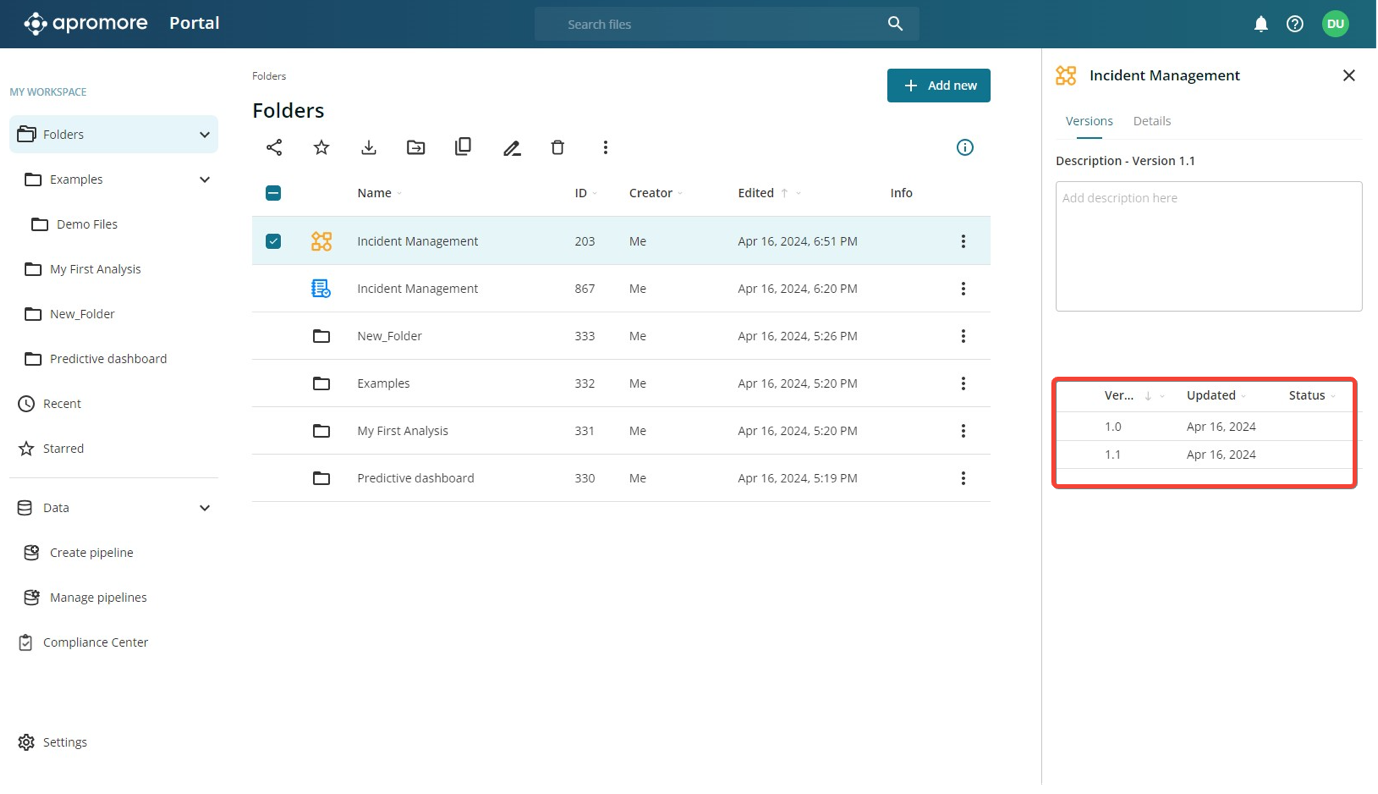
When we select a process model, the panel displays the versions and details of the model.
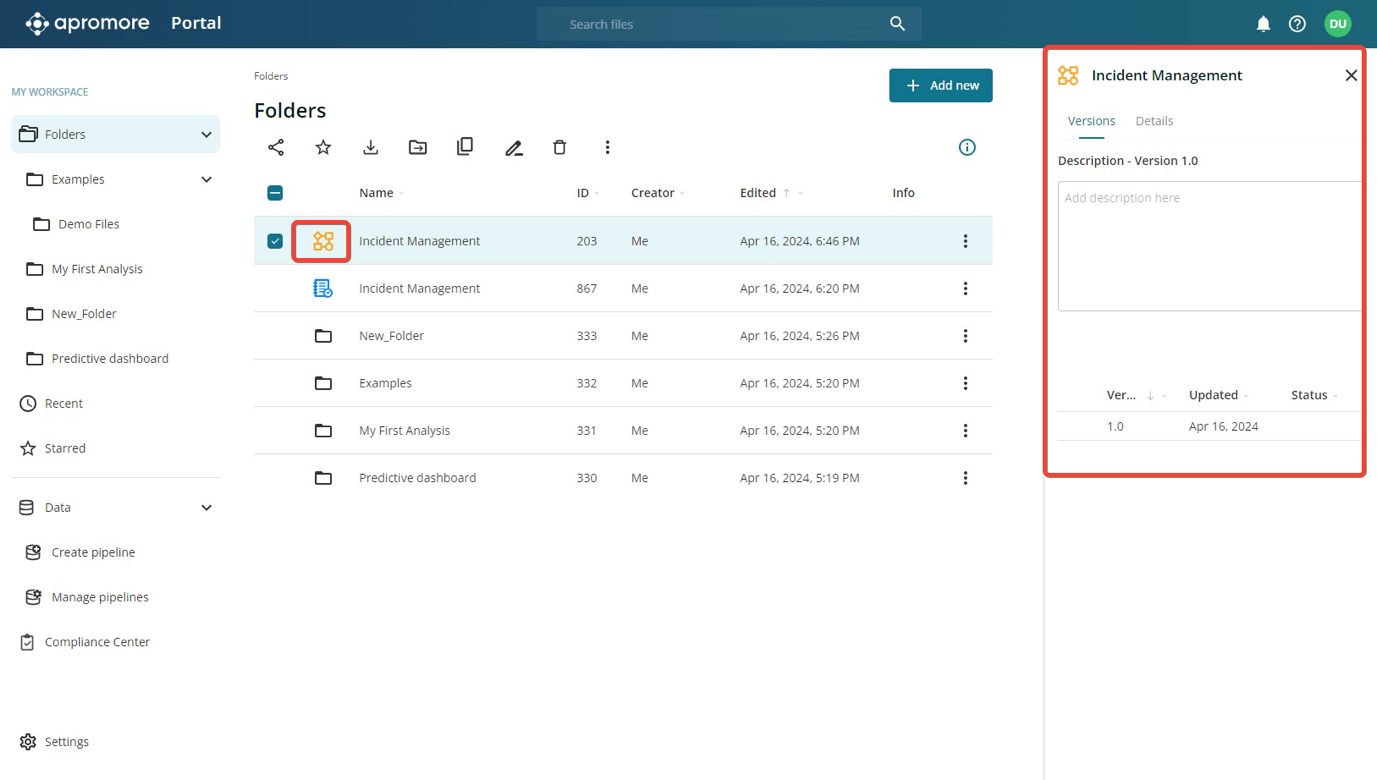
We can select specific versions and perform further operations on it.
We can also double-click the model version to open it.
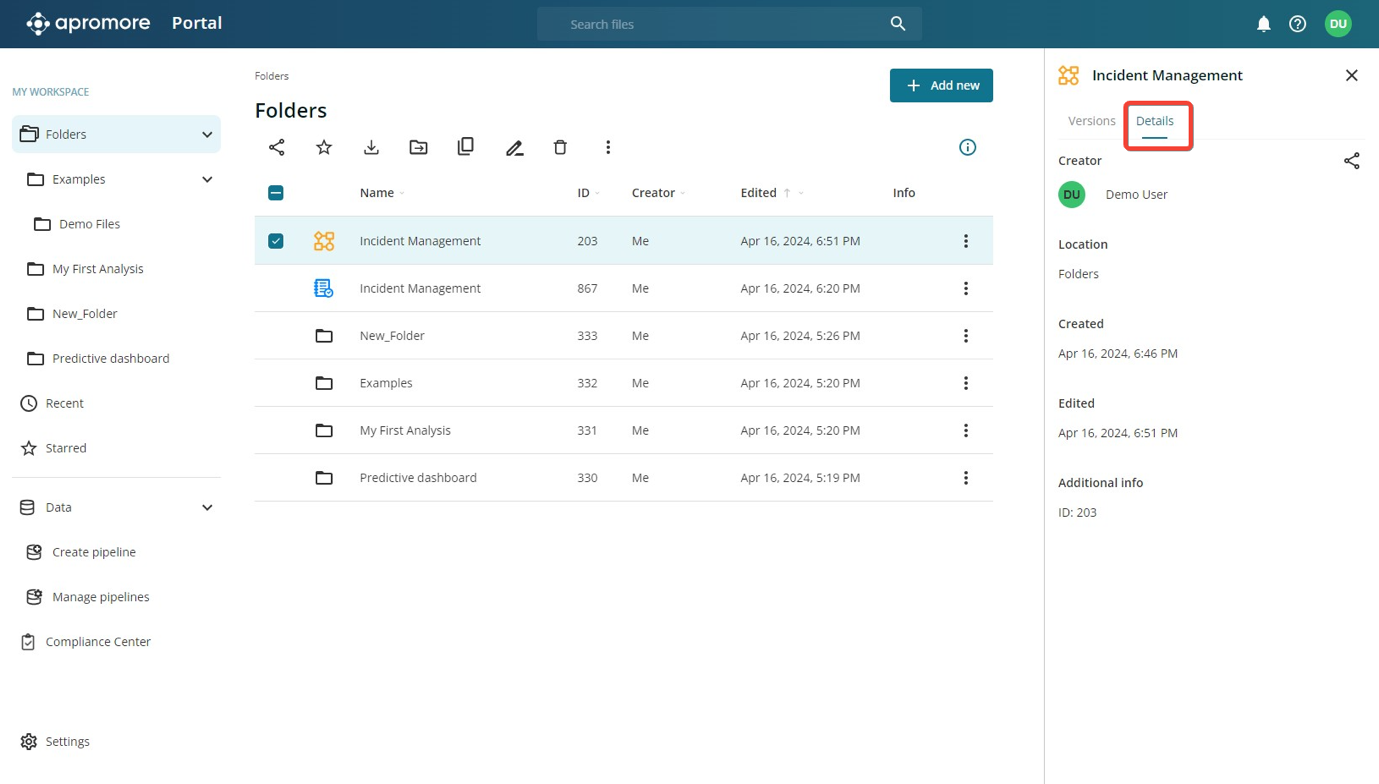
In the Details tab, we see information about the model such as the creator, location of the model, the creation time stamp, the last time it was edited, and the ID of the model.
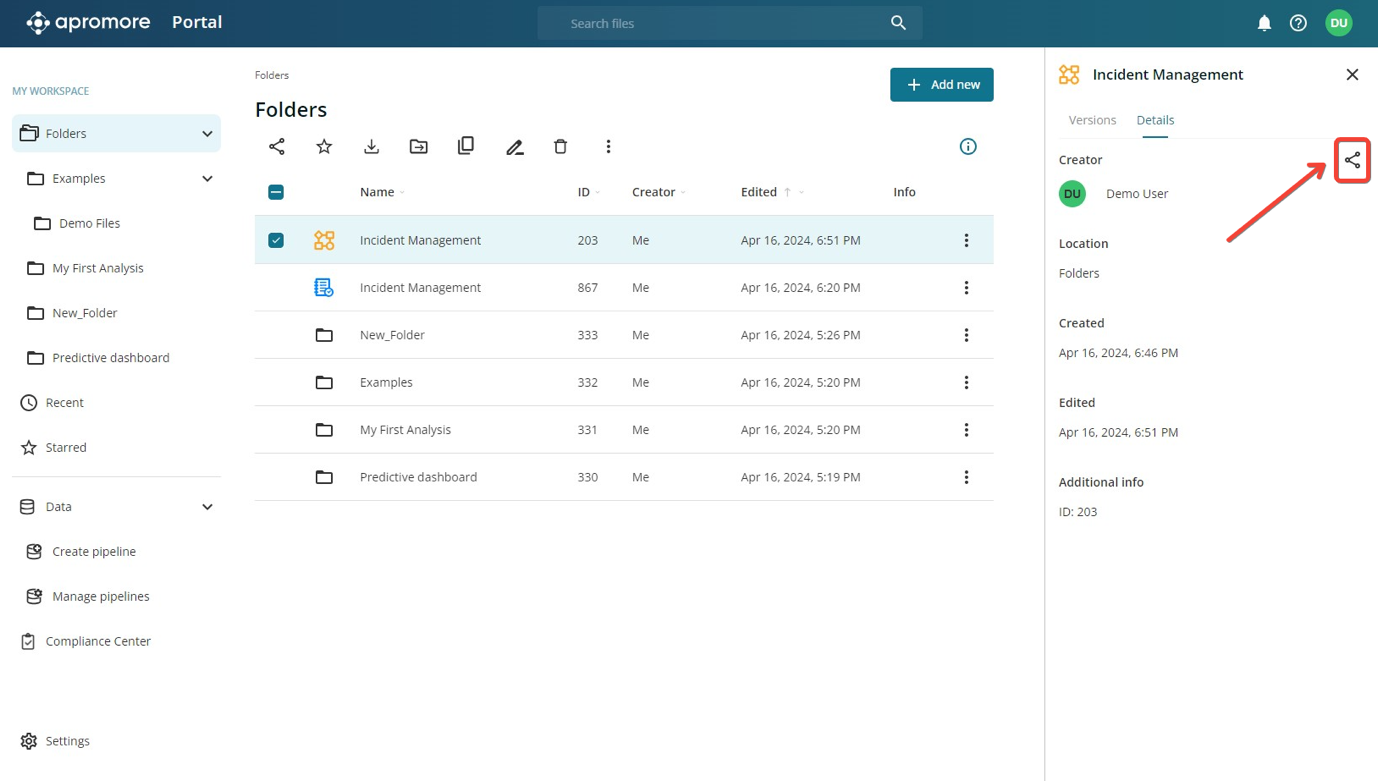
We can also share the model to another user by clicking the Share icon.
When we select a folder, the panel displays information about the folder such as the creator, the location of the folder, the creation time stamp, the last time it was edited, the ID of the folder and the added description when the folder was created.
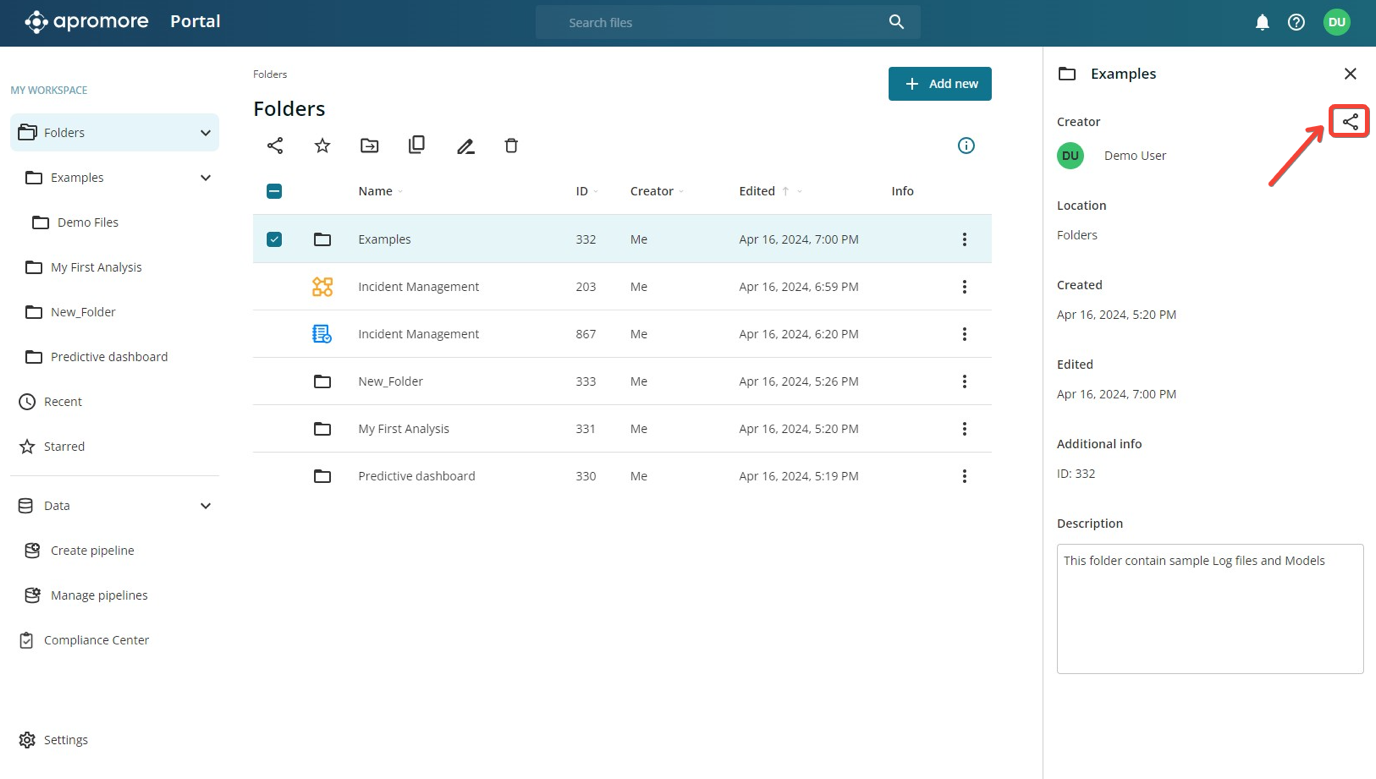
We can also share the folder to another user by clicking the Share icon.
The menu bar
The menu bar provides access to the various process mining and process modelling capabilities in Apromore. The options in the menu bar change based on the type of file(s) selected.
When we select a process map, the menu displayed is shown below.

A. Share file B. Star file C. Download file D. Create or view dashboard E. Manage KPIs F. Move file G. Copy file H. Rename file I. Delete file J. More actions.
When we click More actions, we see further actions that can be done on the process map. They are:
Discover a model from the log.
Filter the log.
Manage the calendars attached to the log.
Manage the cost center.
Manage predictors on the log.
When we select a process model, the menu displayed is shown below.

Share model B. Star model C. Download model D. Move model E. Copy model F. Share model G. Delete model H. More actions.
When we click More actions, we see further actions that can be done on the process model. They are:
Publish model.
Edit model.
Simulate.
Search similar.
When we select a process map and process model, the menu displayed is shown below.

Star the files B. Download the files C. Move the files D. Copy the files E. Animate the log F. Perform conformance checking. G. Delete the files.
When we select a folder, the menu bar displayed is shown below.
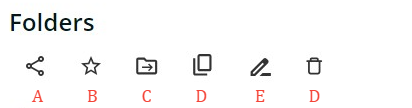
Share folder B. Star folder C. Move folder D. Copy folder E. Rename folder F. Delete folder.
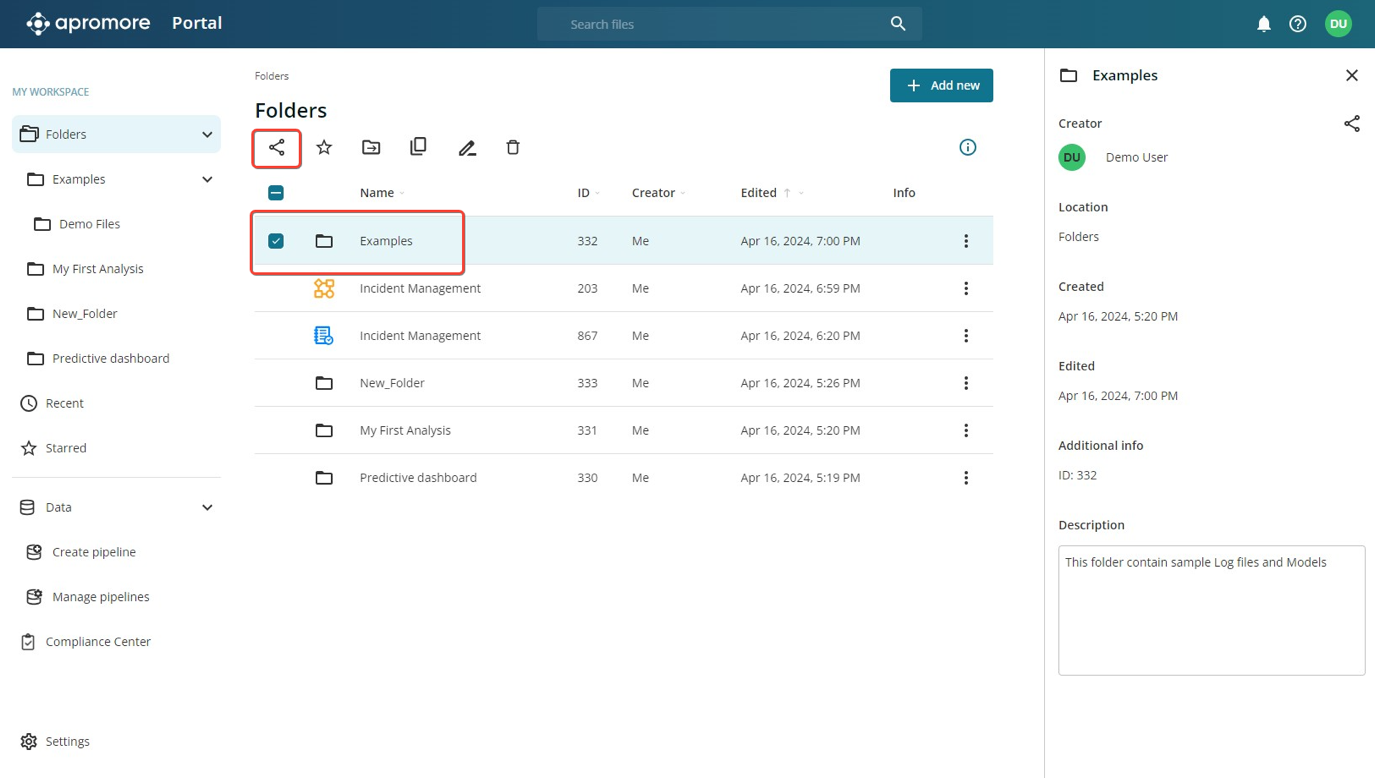
Share file/folder
To share a file or folder, select the file or folder and click the Share file or folder button that appears in the menu bar.
Manage users and groups
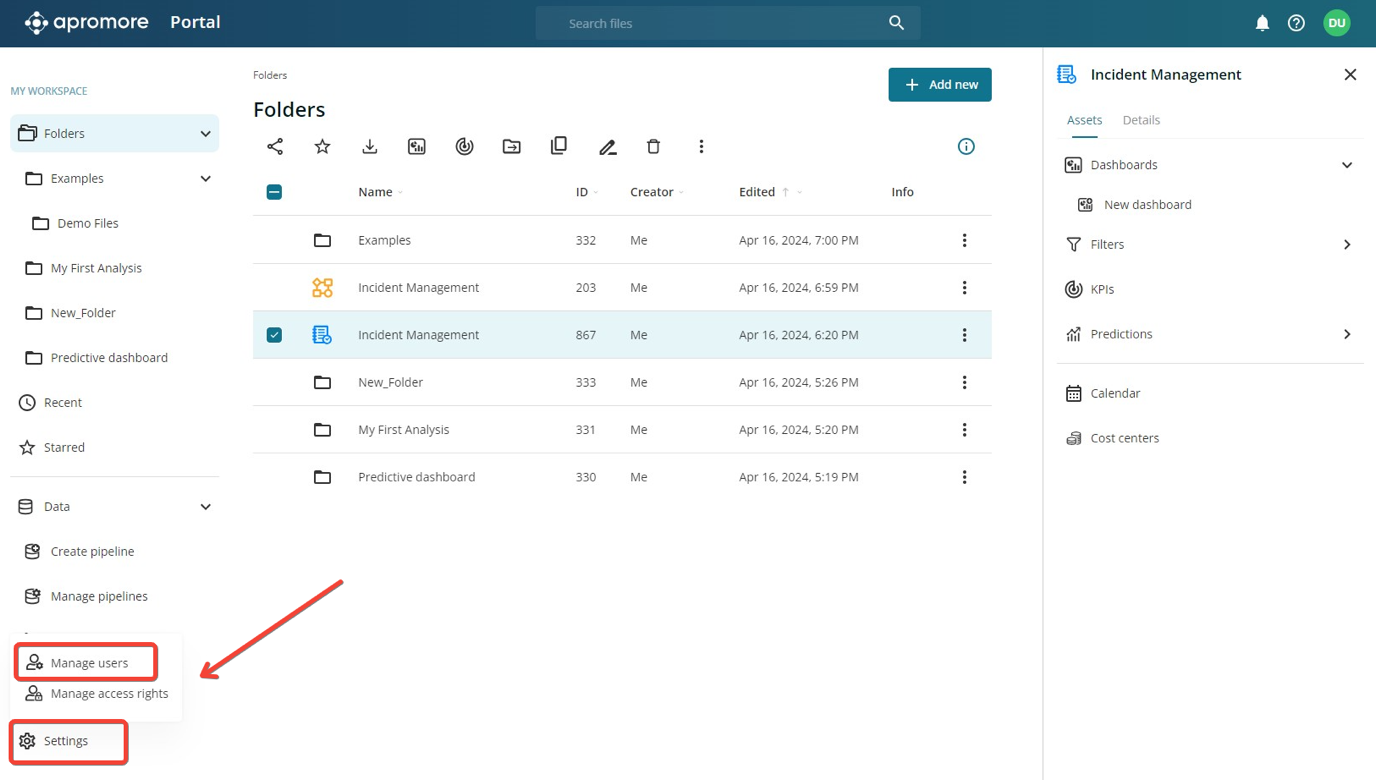
As an administrator or superuser, we can create and manage users and groups within our Apromore tenancy. To manage users and groups, click Settings in the bottom left corner. Click Manage users.
Note
Only a user assigned to the administrator or superuser role can access Manage users and groups.
Access rights
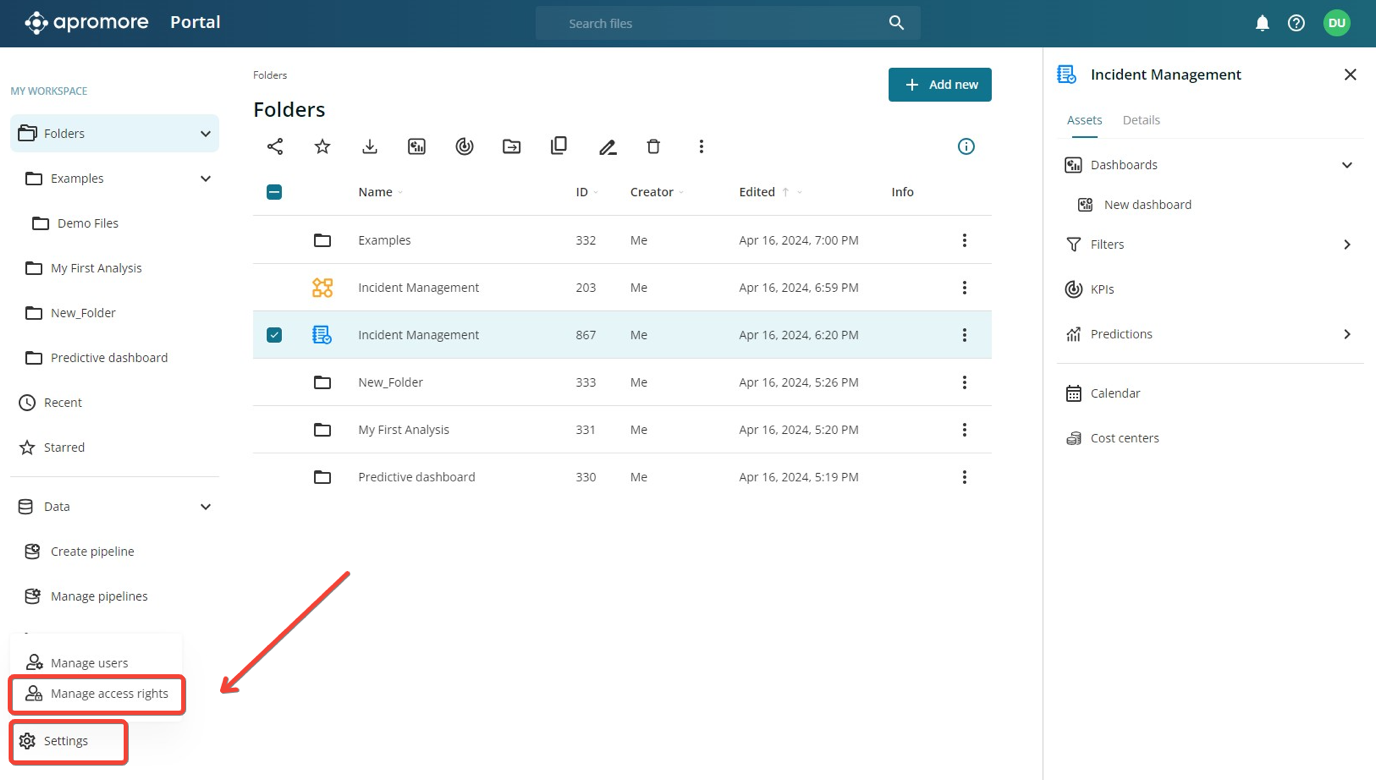
As an administrator or superuser, we can manage access rights to view and control who has control to certain files or folders. To view a list of all the files and folders along with the users and access rights, click Settings in the bottom left corner. Click Manage access rights.
Note
Only a user assigned to the administrator or superuser role can access Access rights management.
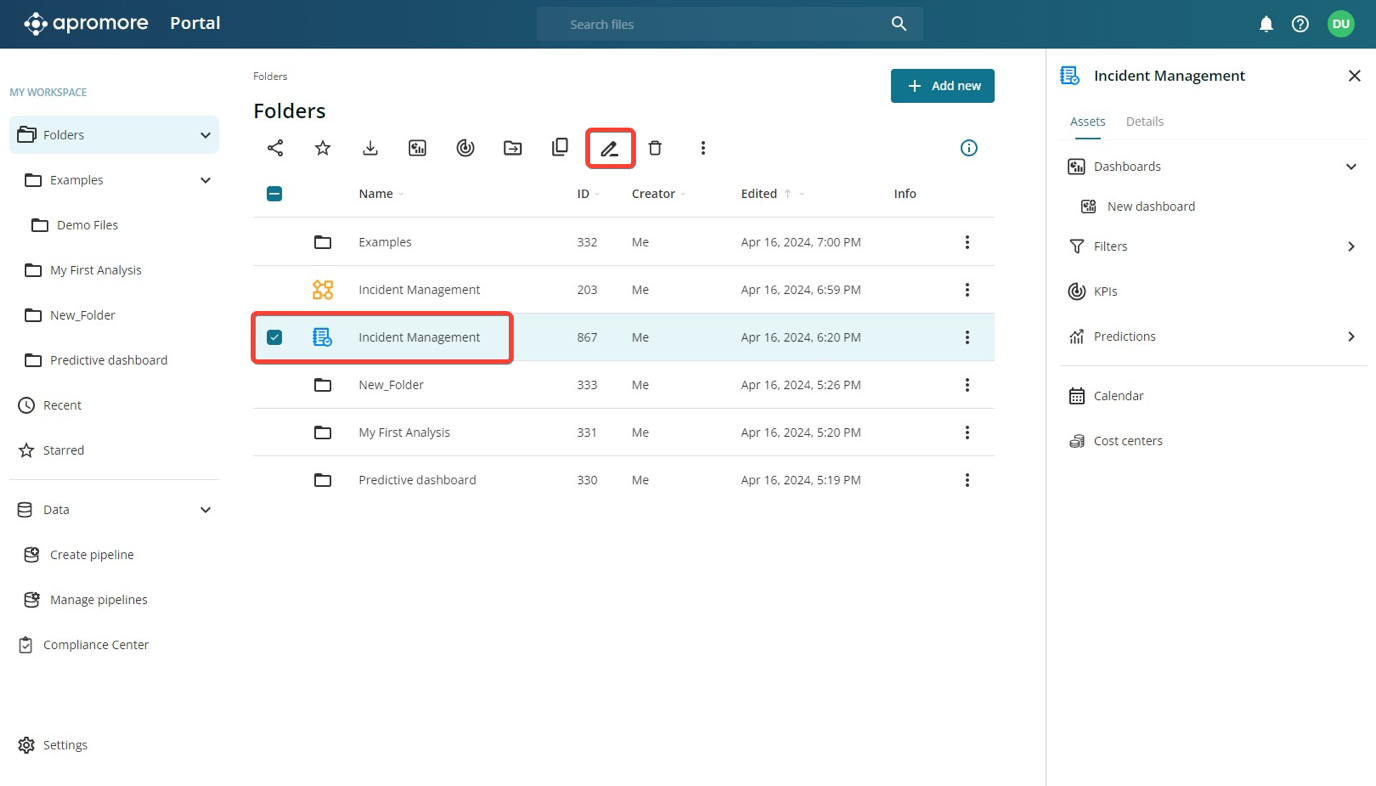
Rename file/folder
To rename a file or folder, select the file or folder and click Rename icon
Alternatively, we can right-click the file or folder or click the three-dot icon and click Rename.
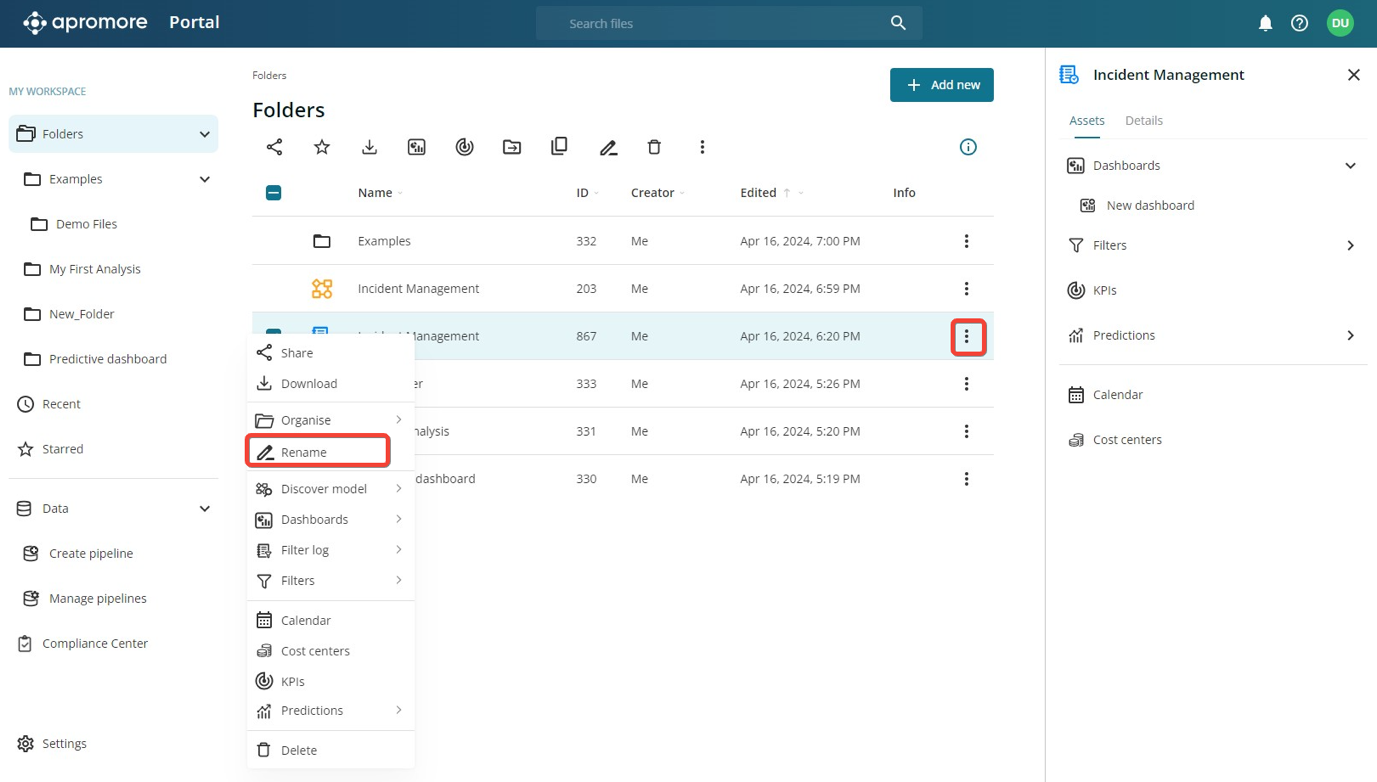
Enter the file/folder name and click Save.
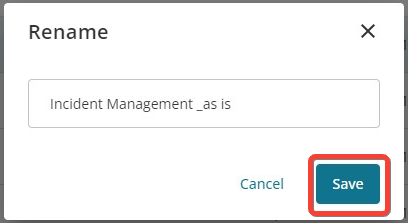
To change the name back to the previous one, click on Reset.
Delete file/folder
To delete a file or folder, select the file or folder and click the Delete button from the menu bar.
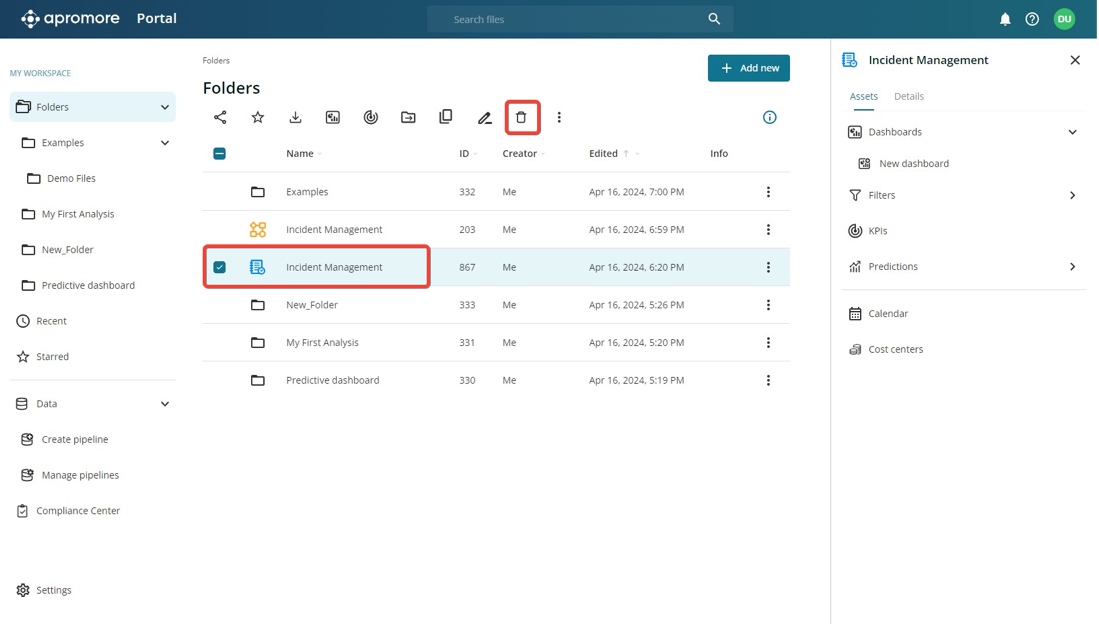
Note
If a process model has multiple versions, the model with the latest version is deleted
Cut/Copy/Paste files
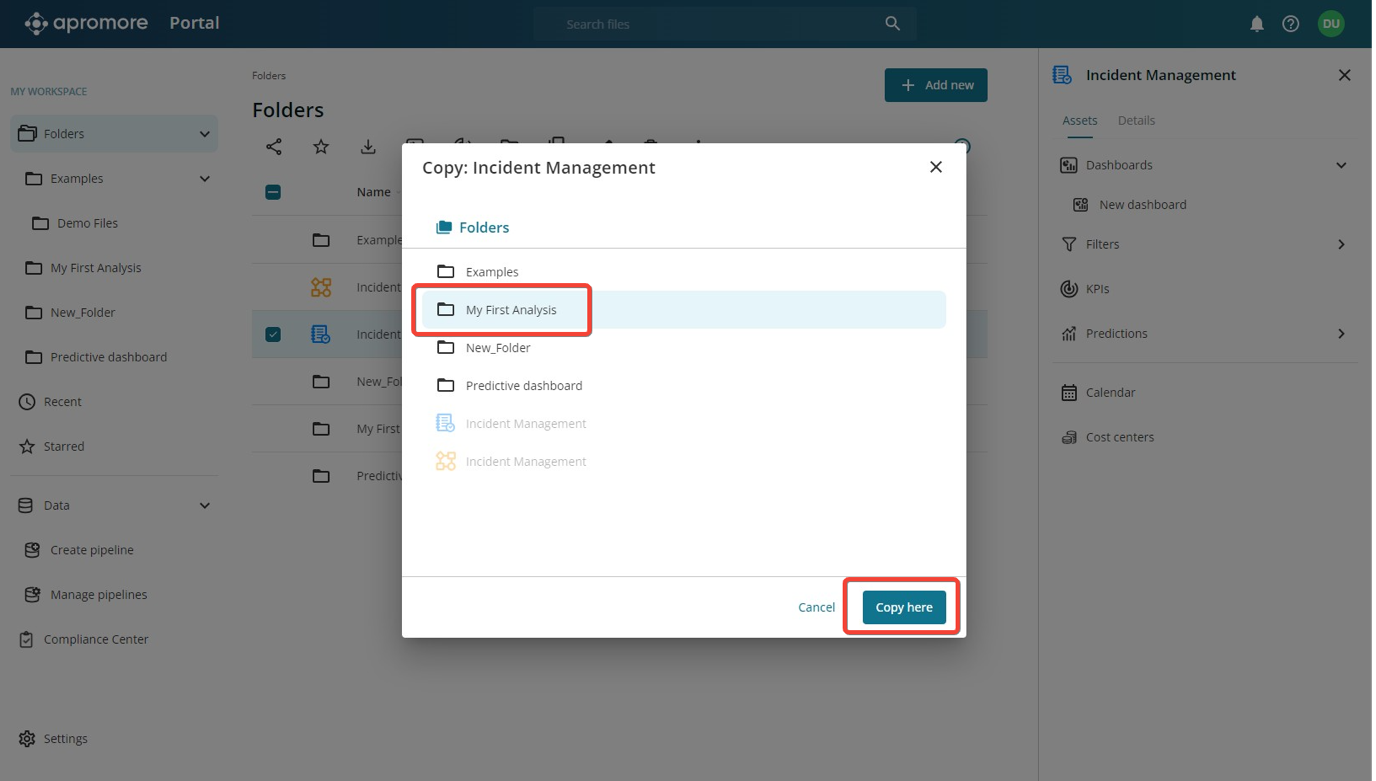
To copy a log/model, select it and click on the Copy button.
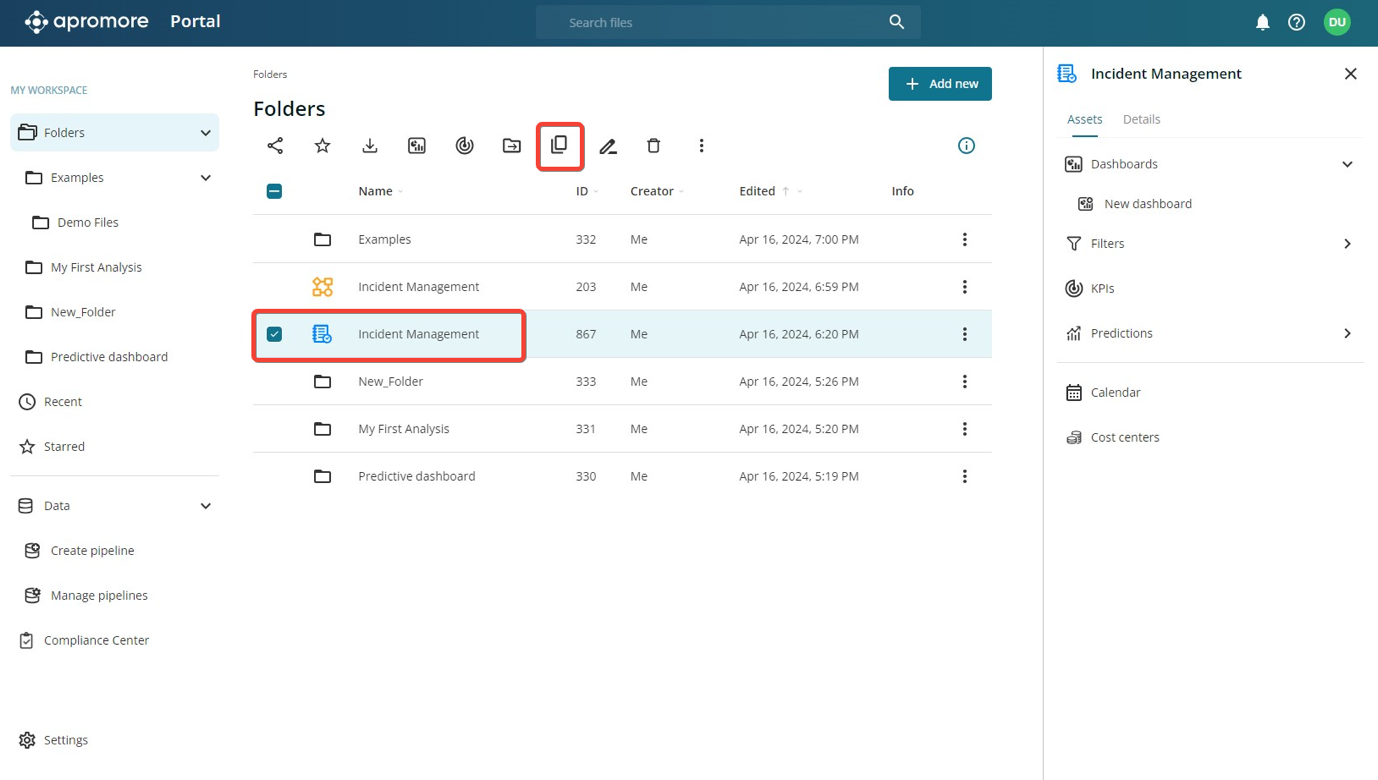
Navigate to the folder where we want the log or model to be copied and click Copy here.
To move a log/model, select it and click on the Move button.
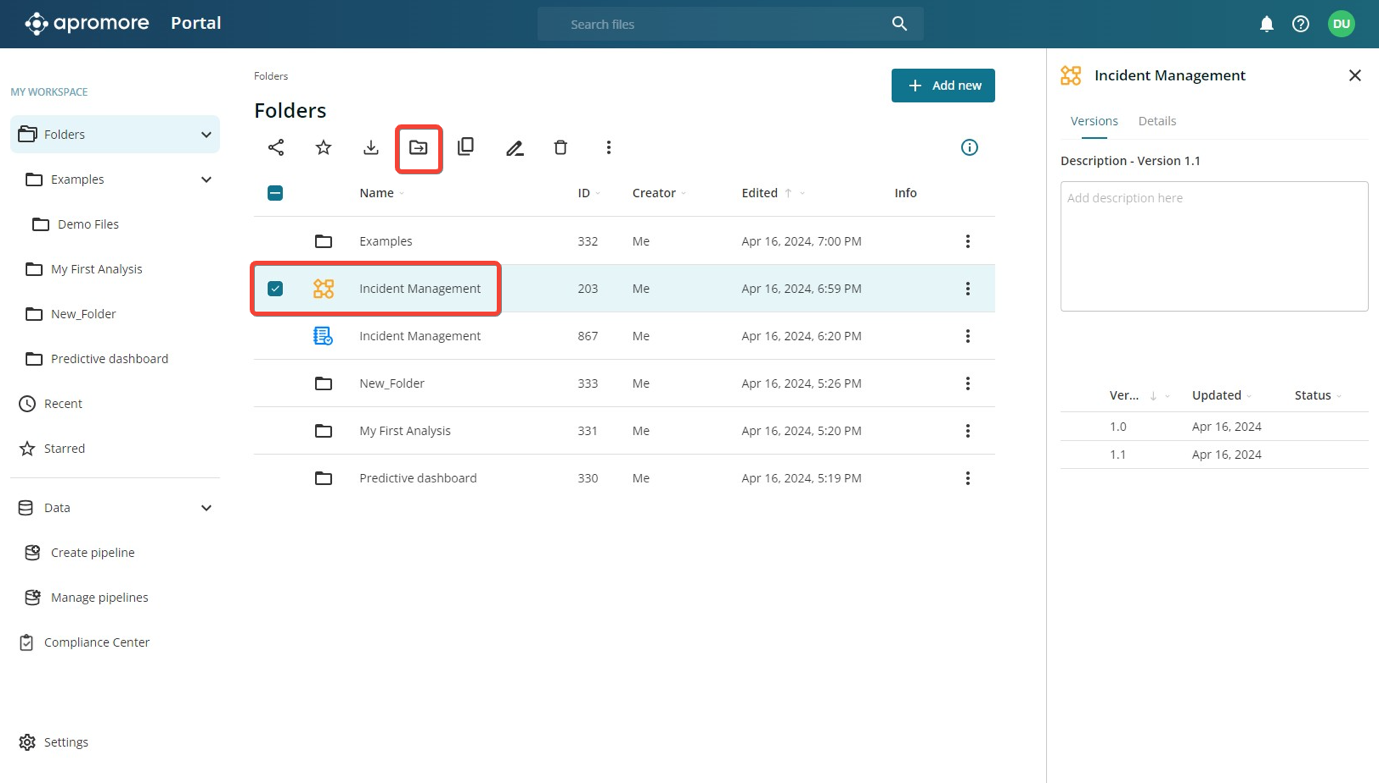
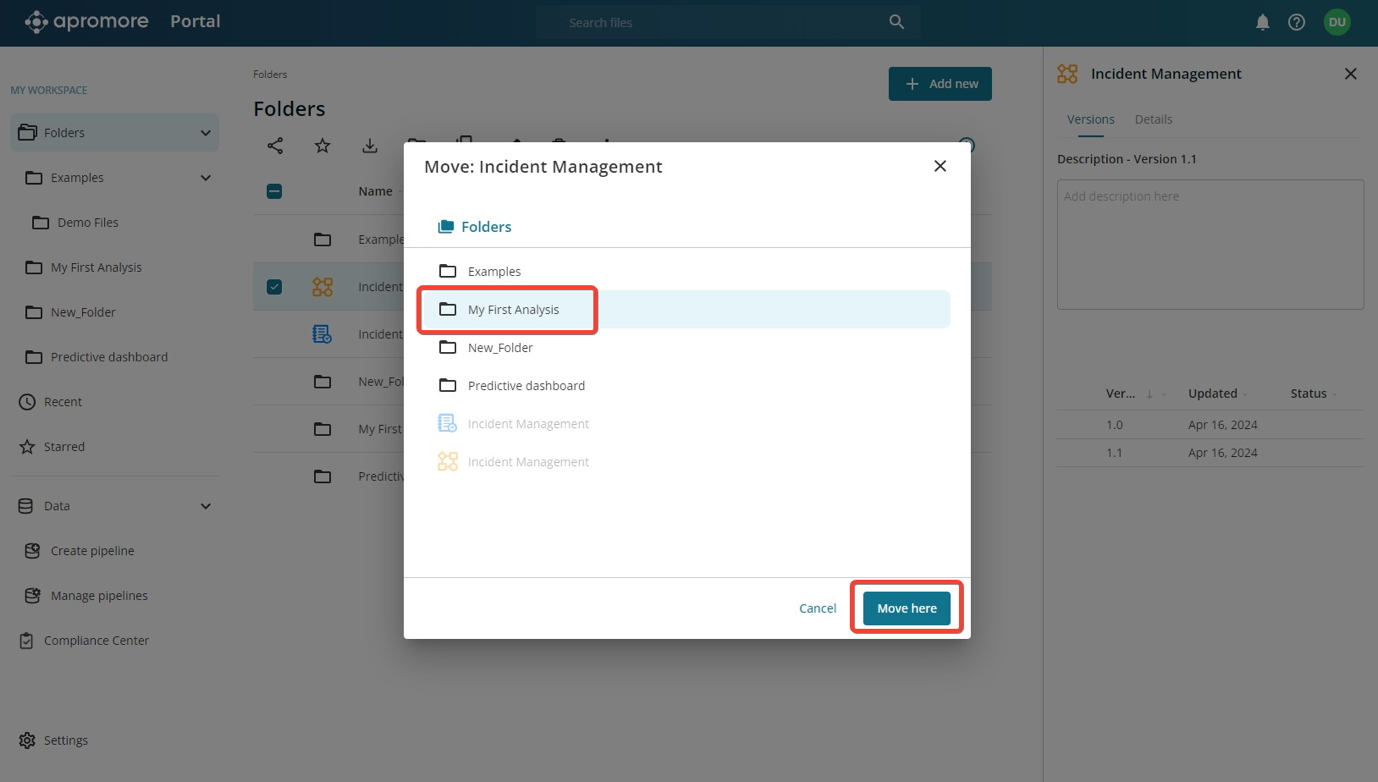
Select the folder where we want the log or model to be moved to and click Move here.
Tip
Alternatively, we can drag and drop a log/model to move it.
Warning
When a file is moved to a different directory, we get a pop-up window informing us that the file will inherit the access rights of the new directory.
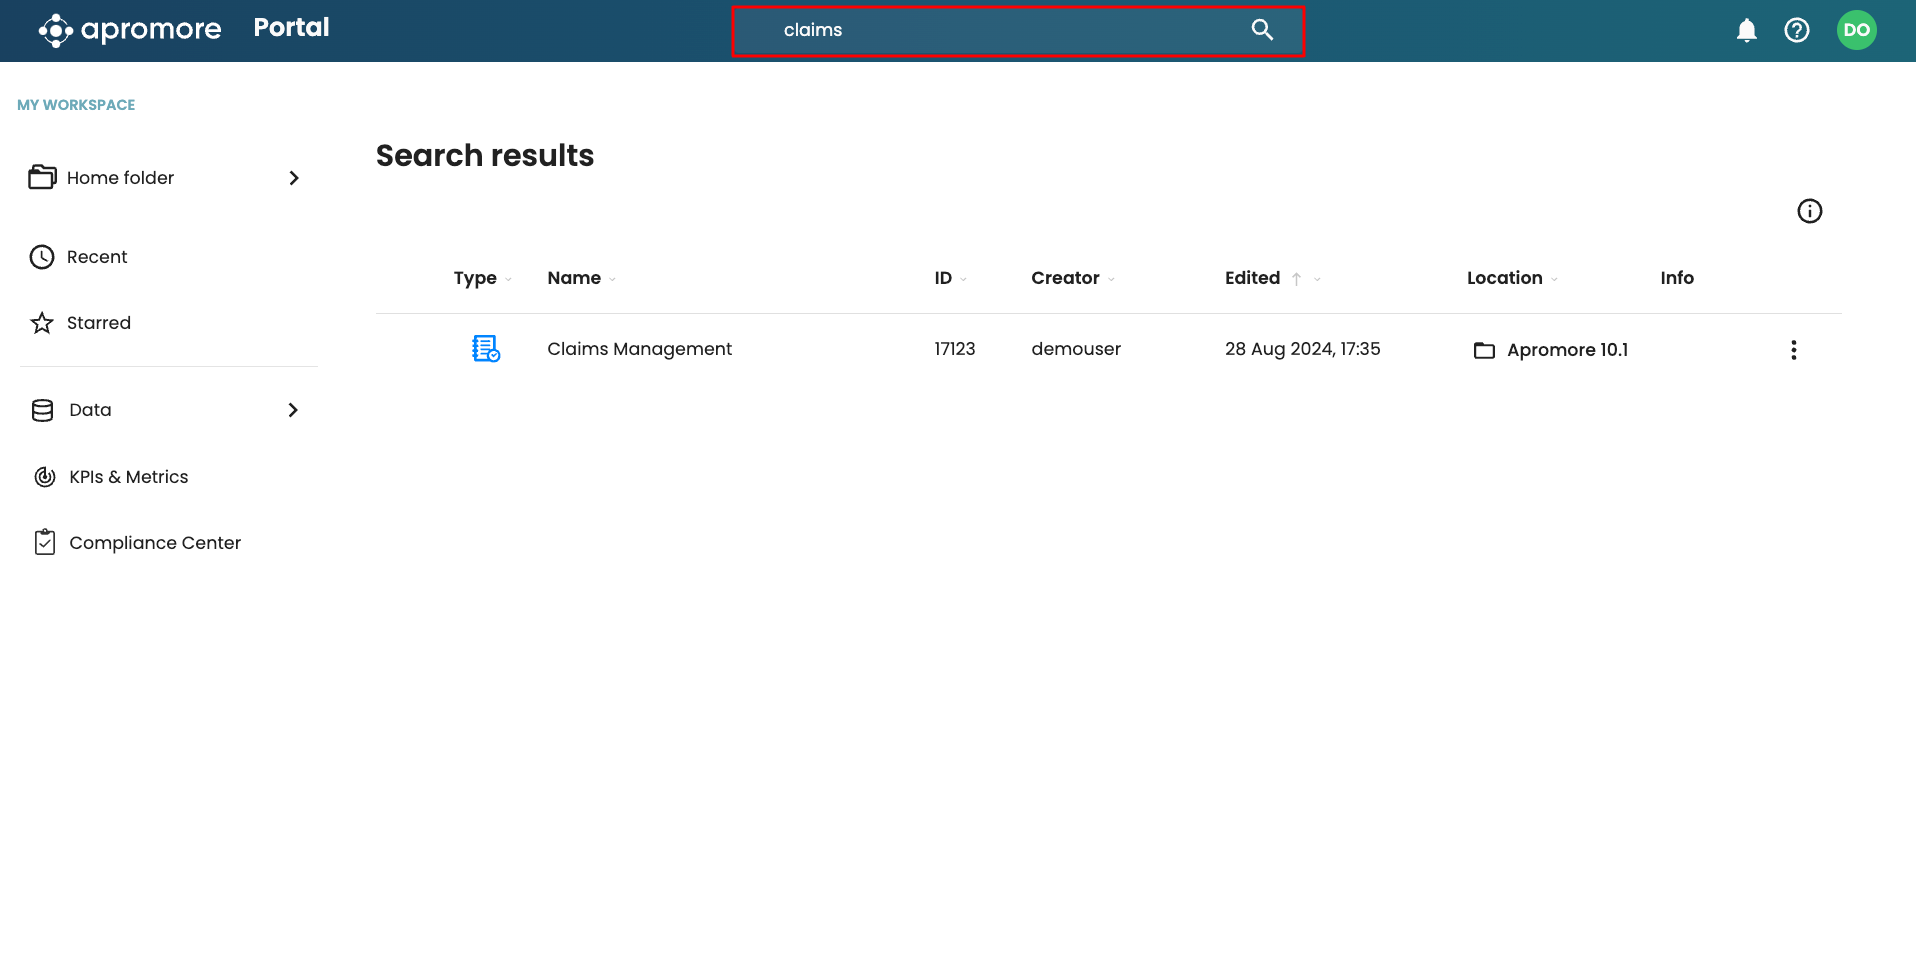
Search file/folder
We can search for specific folders or files by entering keywords in the search box. The results appear in the file view.
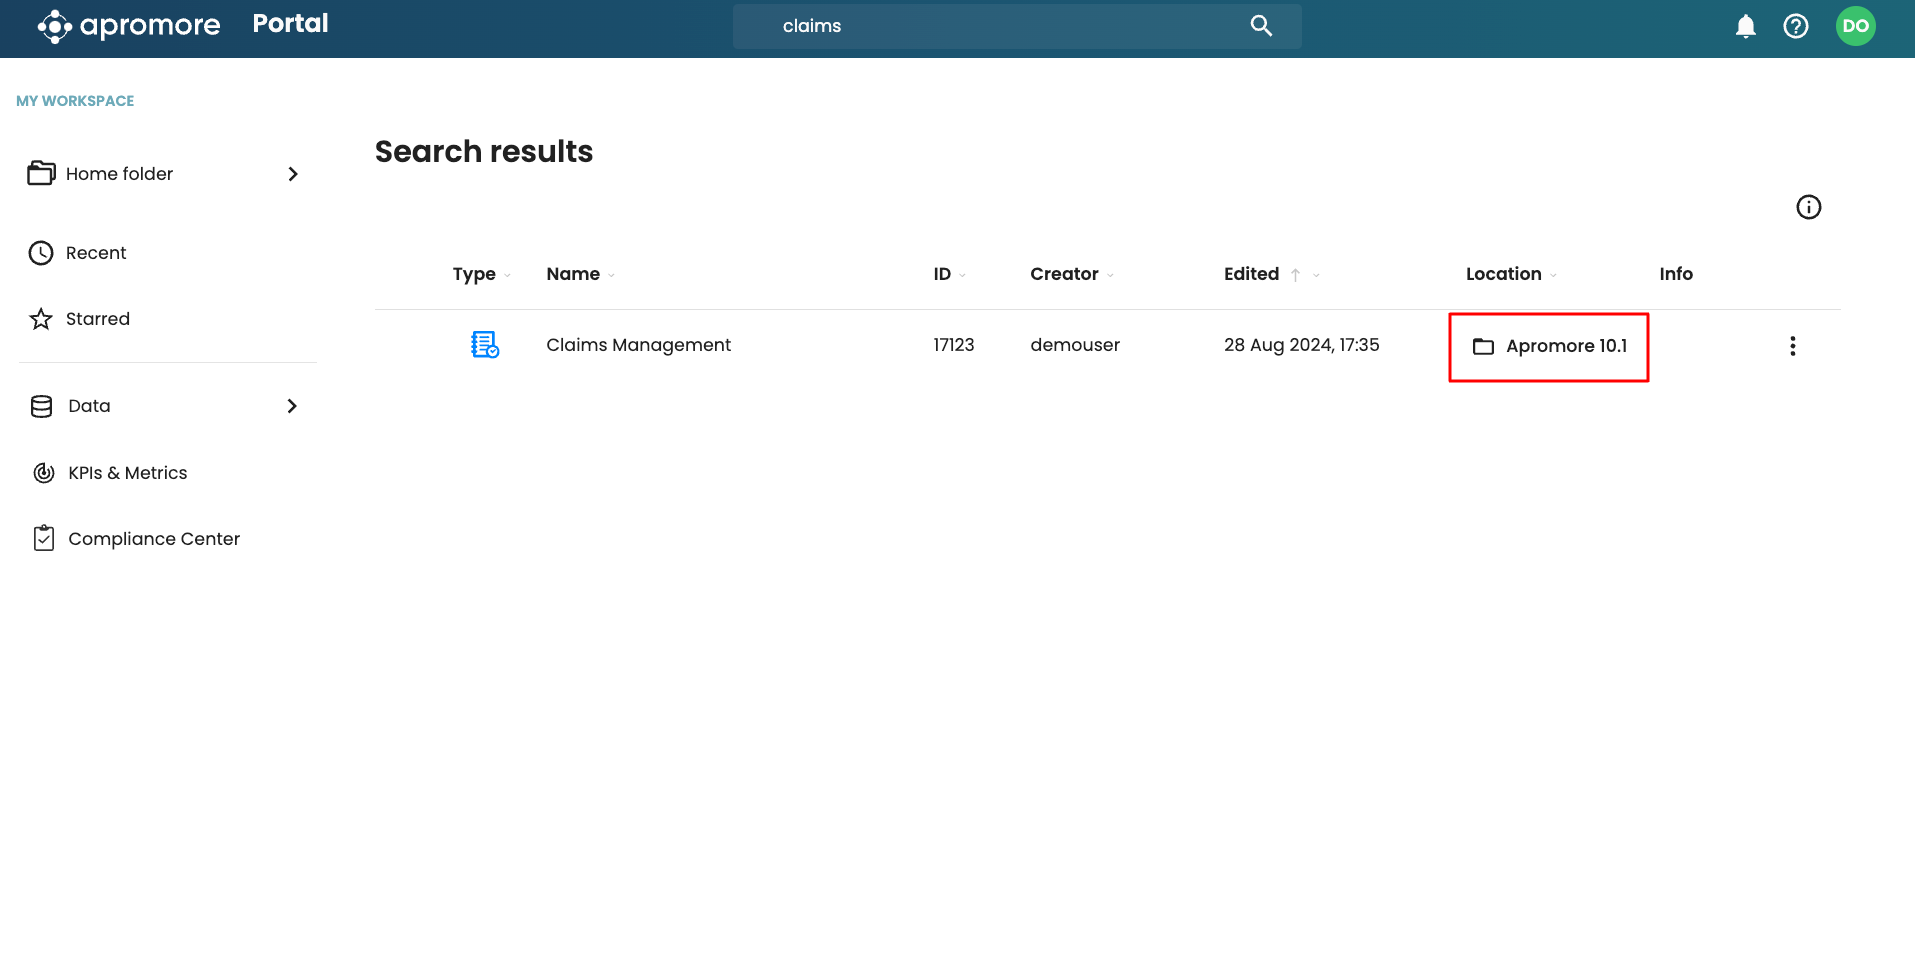
Note
In the search results, we can click the file location to open the folder where the file is located.
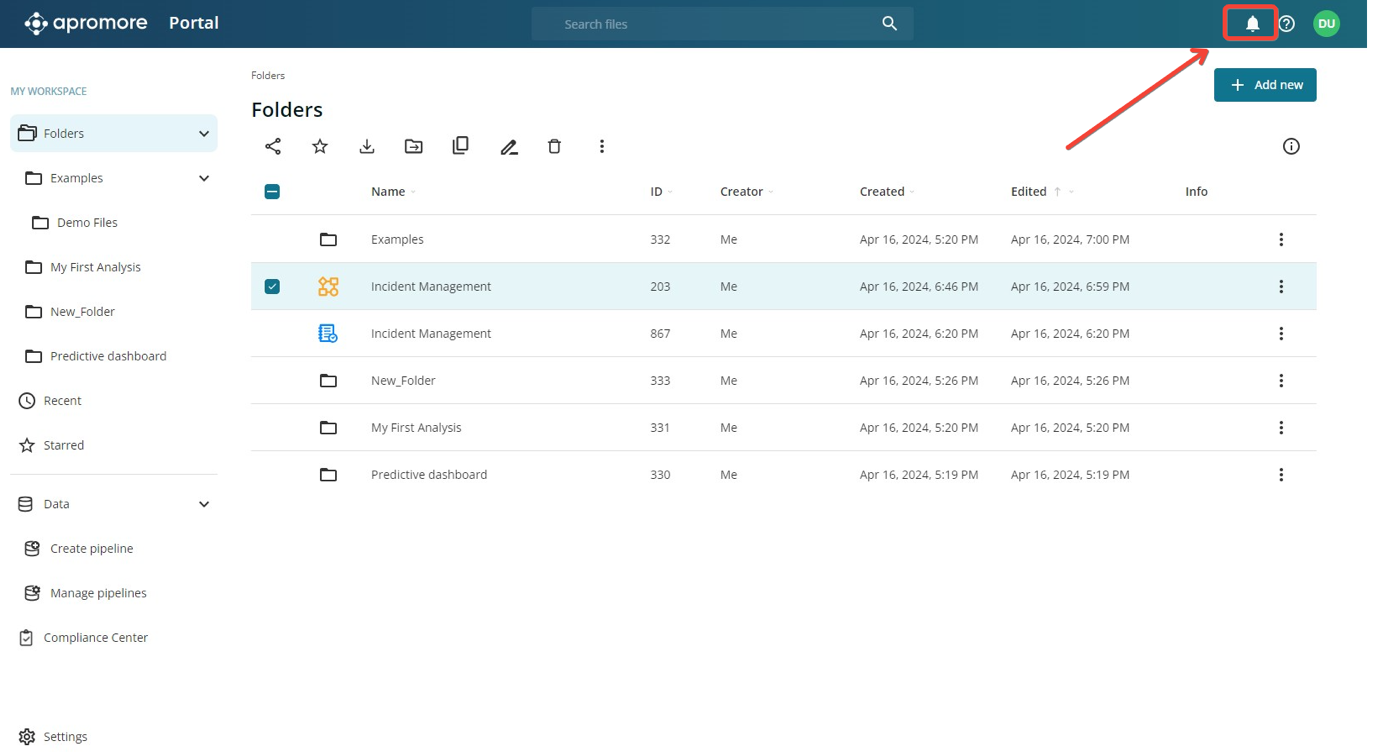
Notification center
We can perform certain tasks in Apromore such as downloading a file, the notification center informs us when the task is complete. To open the notification center, click the bell icon.
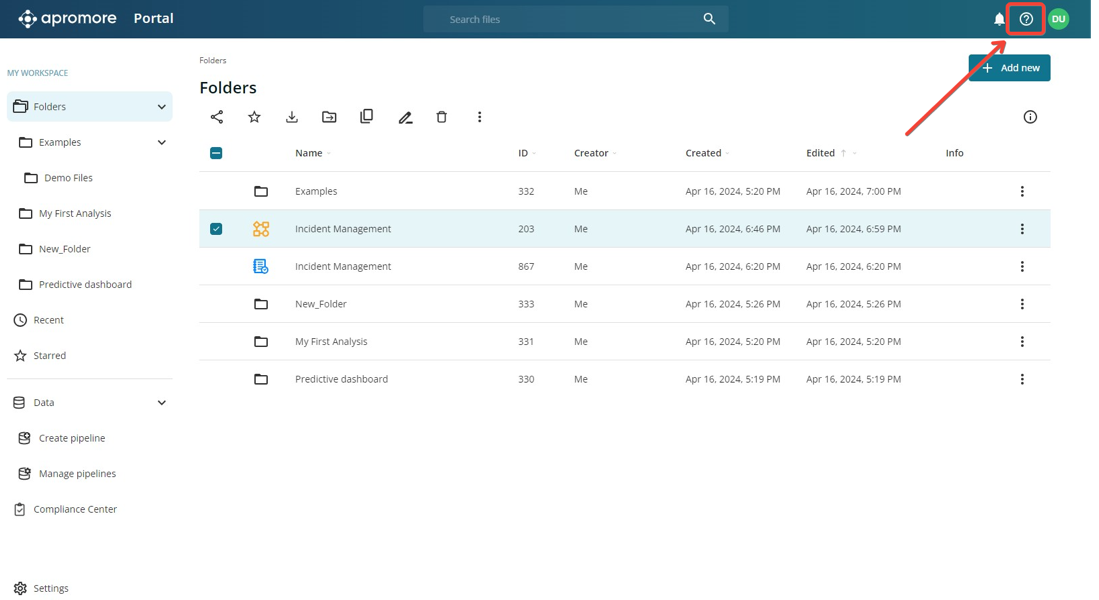
Help button
When we are unsure about how to use certain functionalities in Apromore, we can click the help button on the specific window. This redirects us to the section of the user guide that explains the functionality. To do this, click the help button.
This opens the dropdown menu with the following options:
Help center: Opens the user guide for the current page.
Report an issue: Allows us to send an email to report an issue or bug with Apromore.
About Apromore: Displays the version of Apromore we are currently using.

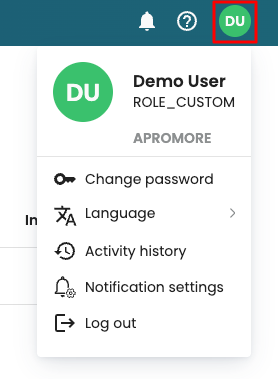
User menu
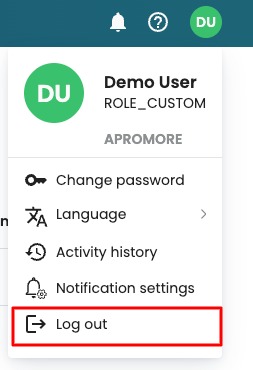
The user menu contains information about the user, the ability to change password, activity history and the ability to log out of the session. To open the user menu, click the icon containing the initials of your name in the top right corner.
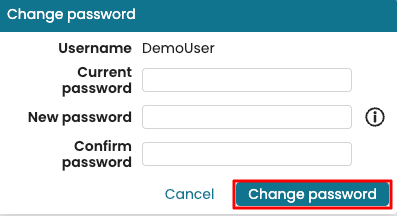
To change your password, click Change password.
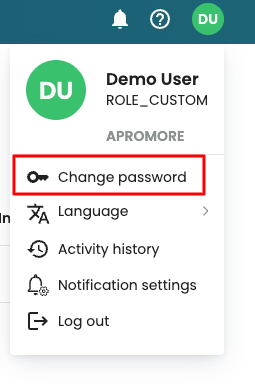
Enter the current password, and the new password. Click Change password to confirm.
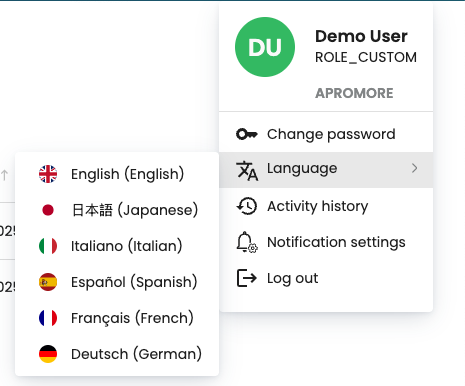
We can also change the language settings in Apromore. Apromore currently offers languages in English, Japanese, Italian, Spanish, French and German. To change Apromore language, click Language from the user menu and select the language we wish to change to.
We can also view the activity history, which provides a detailed log of user actions within Apromore. To learn more, see View activity history.
Additionally, we can change our notification settings. For more information, see Notification settings.
To log out of Apromore, click Log out in the user menu dropdown and confirm the action when prompted.
Notification settings
To keep us up-to-speed with what is happening in our process, we can subscribe to in-platform and email notifications.
Note
By default, Apromore provides in-platform notifications, which can be accessed by clicking the bell icon in the top menu.
To customize our preferences or enable email notifications, go to the Notification Center settings. There, we can toggle the email notification option to receive important alerts directly in our email addresses. We can toggle on email alerts for:
KPI breaches:
When a KPI target is missed or met.
When new cases violate a KPI.
When new cases fulfil a KPI.
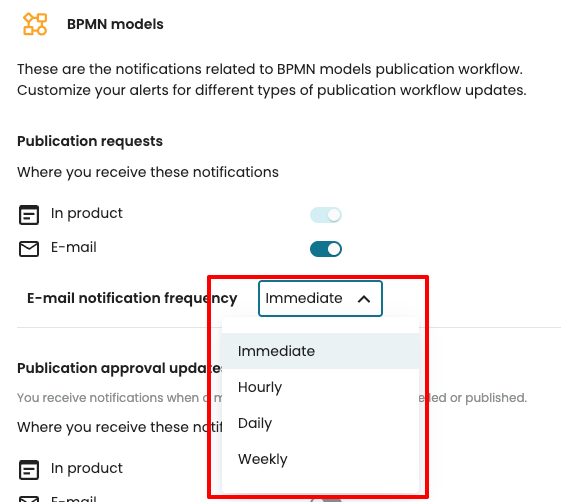
BPMN models:
When there is a model publication request.
When there are publication approval updates.
Data pipelines:
When a data pipeline outcome is ready, whether successful or failed.
When there are data pipeline updates.
Compliance center: When a compliance checkout outcome is complete.
To subscribe for email notifications, click the profile icon from Portal. This is usually the account name initials.
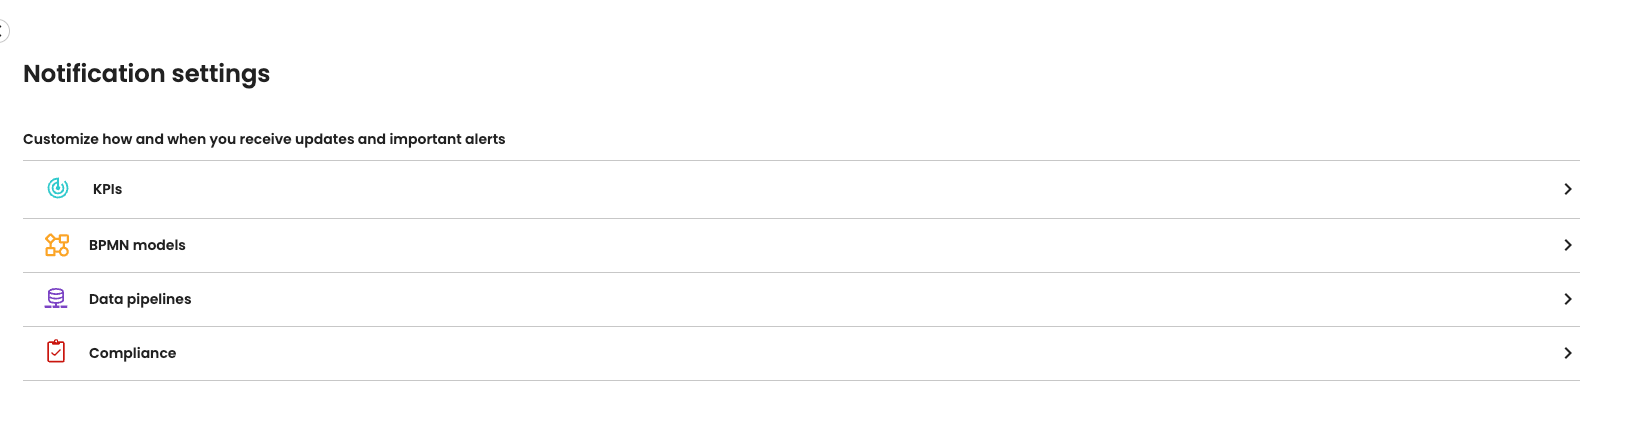
Click Notifications settings.
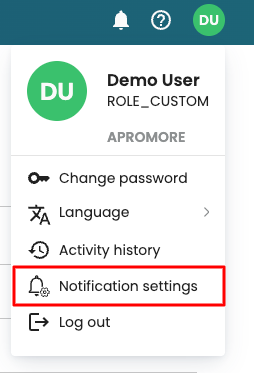
This displays the notification setting where we can toggle email notifications for KPIs, BPMN models, and data pipelines.
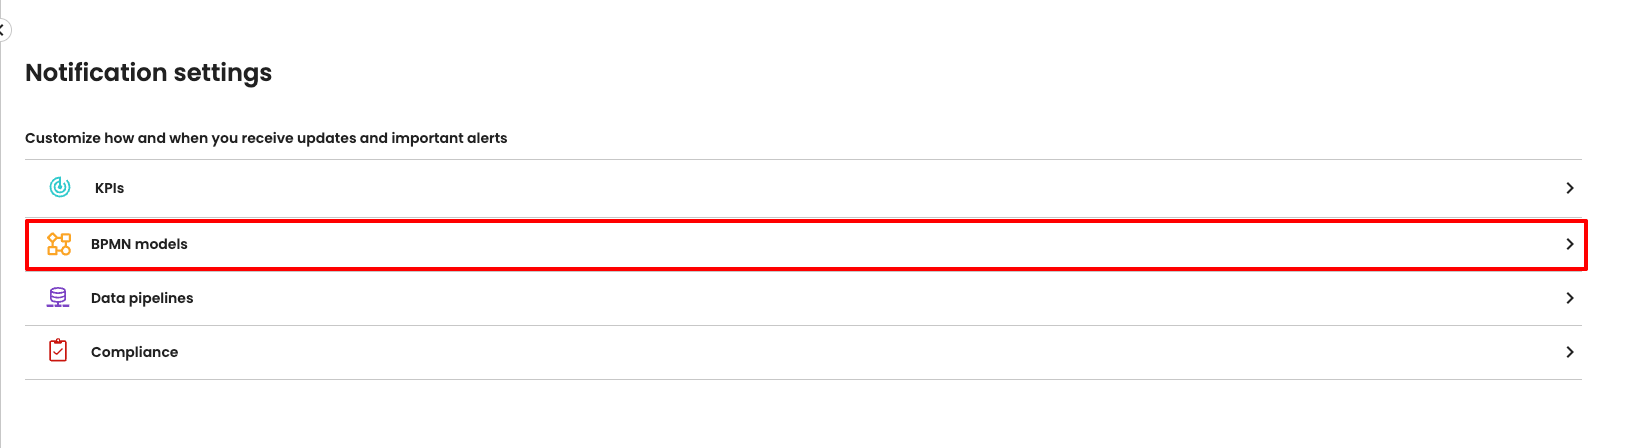
Open the respective dropdown and toggle on the notification we wish to receive. Suppose we want to receive emails when we get a model publication request and approval updates. Click on the BPMN models.
By default, we receive in-product notifications for model publication requests or approval. This is the notification when we click on the bell icon. To receive email notifications, toggle on email for the update of interest.
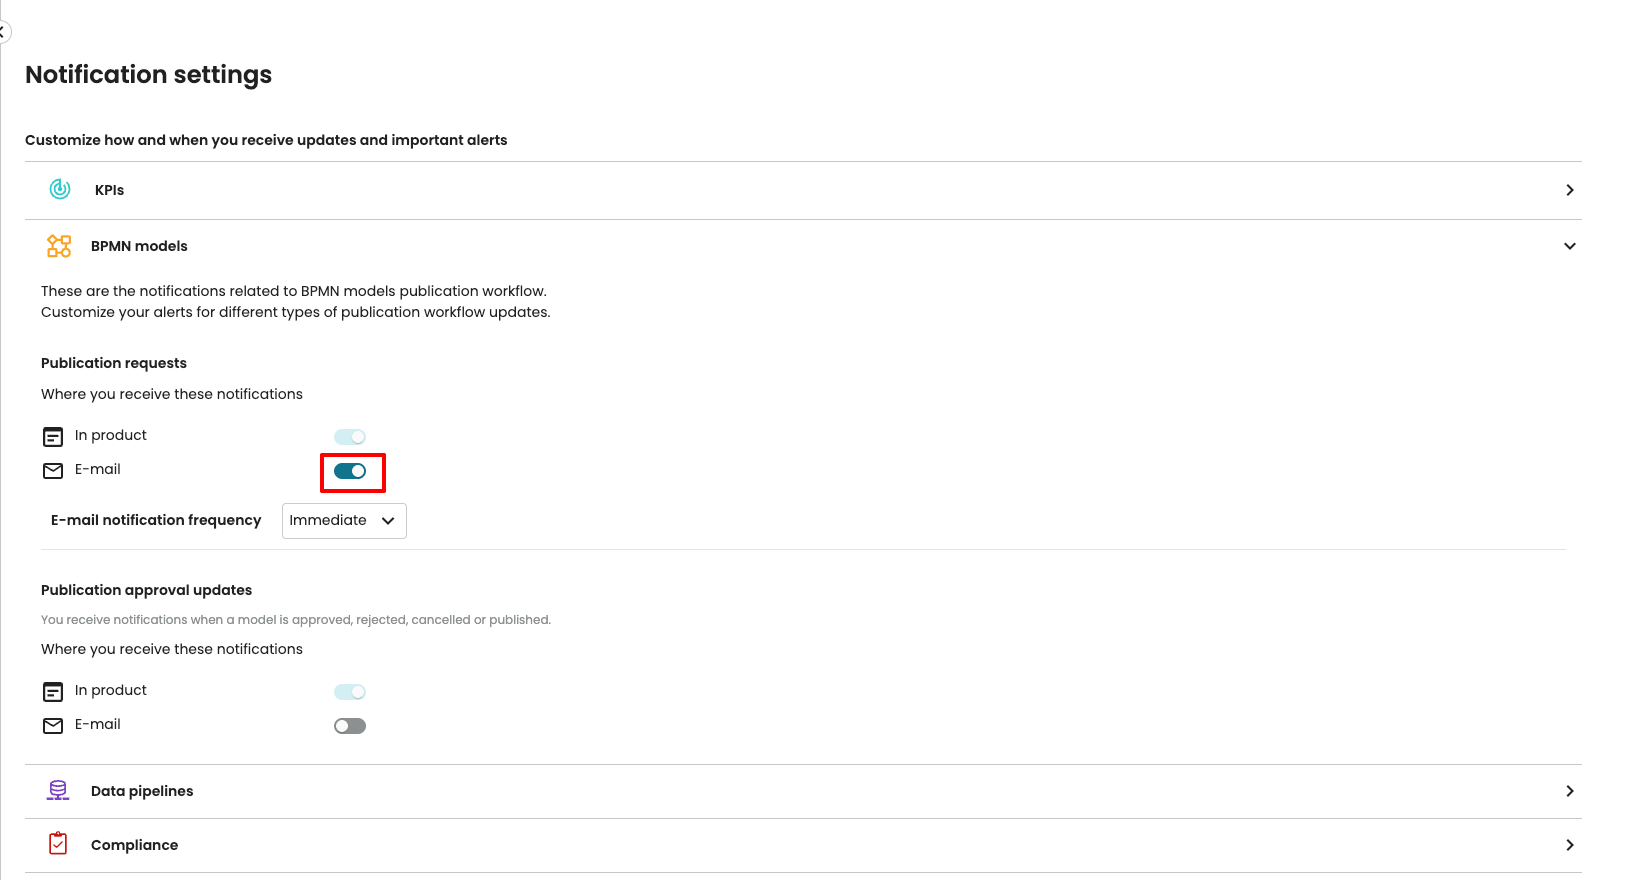
We can also specify the frequency of e-mail notifications, which could be immediate, hourly, daily, or weekly.